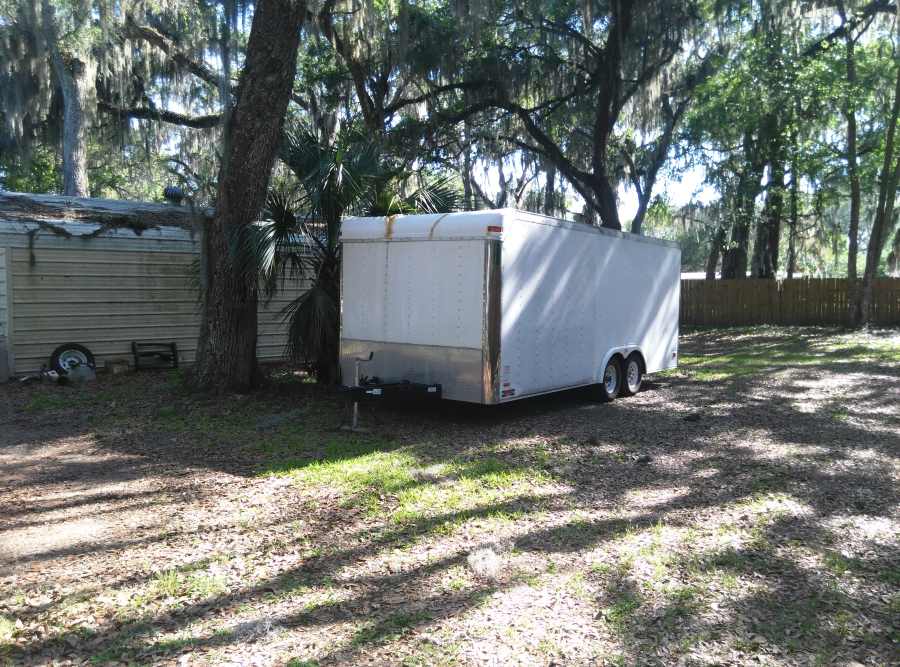
This is one very messed up trailer that arrived in the evening for us to rebuild. From this angle it doesn't look too bad, however ...
This is what happened when a larger tractor trailer cut this owner off and drove him into the concrete barriers on the side of the highway going 60.
You can see where the concrete barriers hooked the side of this trailer in the axle area and ripped down the side.
The concrete ripped out several vertical steel beams. We must remove the damaged steel beams and replace them with new strong steel beams.
But do we replace the entire beam, or just the damaged area?
The beams at the top were not damaged. However they connect up into the roof. To save the customer a bundle of money, we chose to not dismantle the roof to get to them.
We could cut off the damage at the bottom and weld on a new extension piece to them and make them strong as new for a lot less money.
That 4"x4" post is used to hold up the roof so it does not sag while we disconnect the beams. We want that roof to be at the same height when we reconnect everything back together.
As you can see below, the corner beam received the most devastation.

In case you cant read his mind, he is probably thinking, "what the hell do I do with this." Well, that's what I was thinking anyhow.
Look at the corner beam at it's top. Notice it's very unusual configuration and shape. Our best efforts could not find a manufacture of that weird beam nor an equal replacement.
The trailer MFG did not have a part number for it, therefore they said they could not get us a replacement.
That left us having to manufacture our own beam to match it.
We are pretty proud of being able to do what the other welding repair shops can't do, but now here is a test to see if we have false pride, or if we really have amazing skills.
To be honest, this one took some pondering and deep thought.
What are all of our options? Which can we choose from? And which is the best idea?
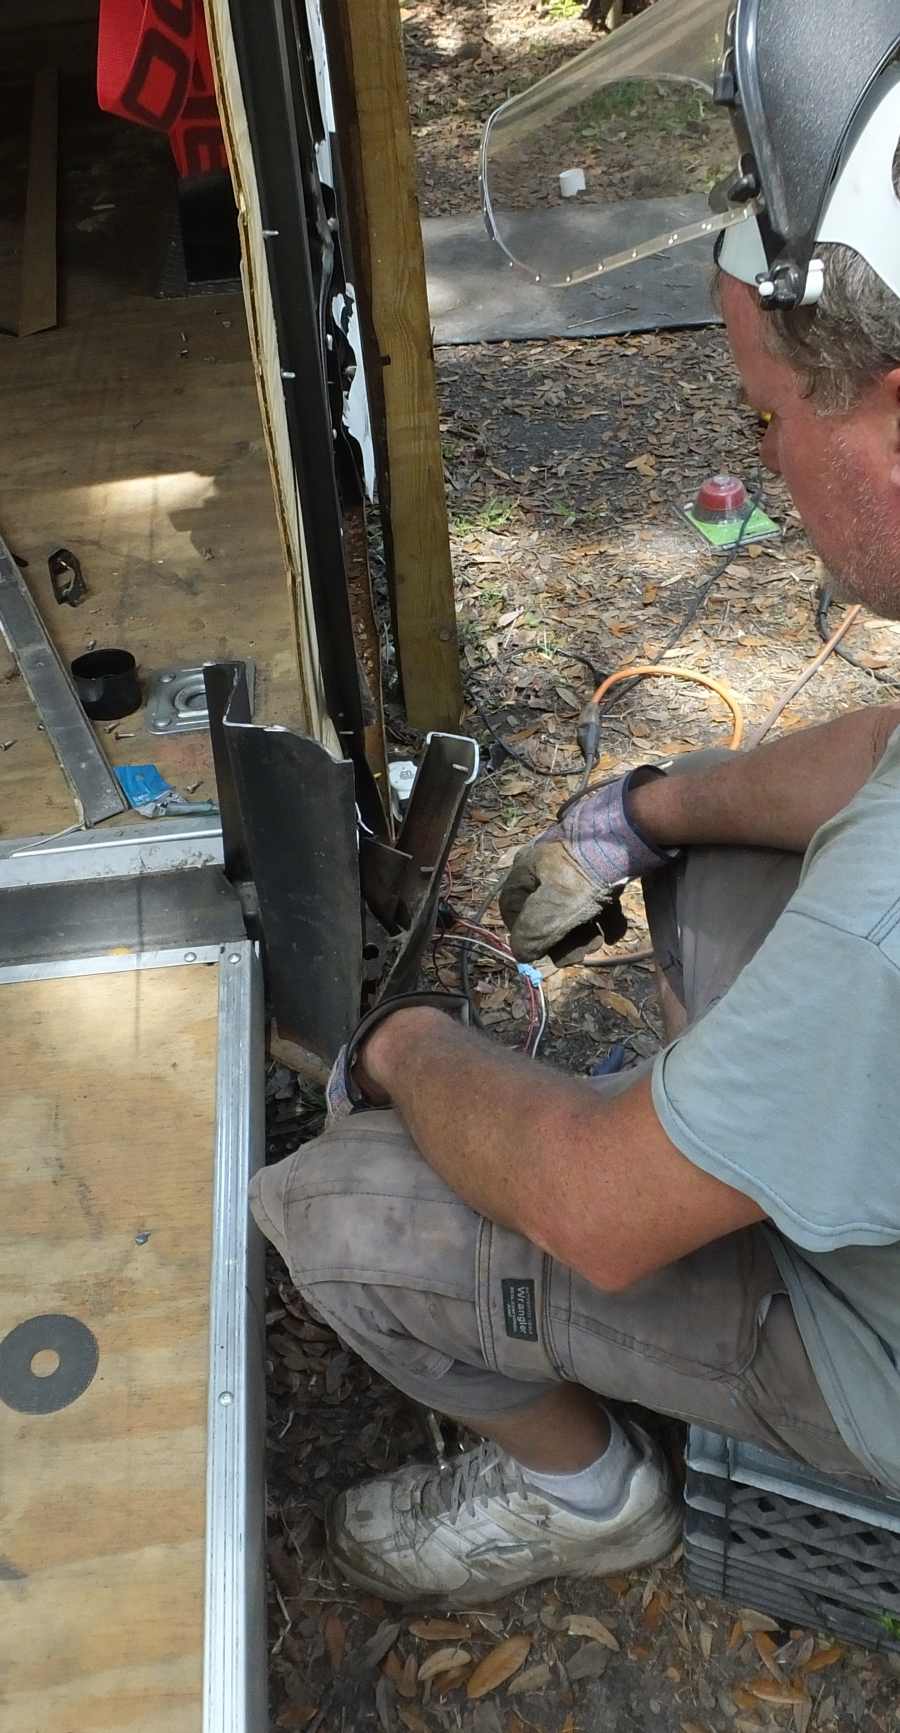
Well, no matter which way we go, first the bad steel must come out. So pull harder. Come on, you can do it.
A torch would have been the easy way, but it also would have done much damage to the wood that we didn't want to disturb. So a torch is out.
As you can see, we can make very precise cuts without doing any damage to surrounding areas.
Below: That is the twisted corner beam that came out. Those oval holes are for recessed lights.
So what ever we put back, must also be able to hold recessed lights so it matches the other side.
Now we have the first piece in the corner that is going to reconstruct the corner beam.
Actually it's two pieces welded together. You can see the vertical seam that has been welded and ground down to be smooth.
And now you can see where its been joined to the upper beam. We have more grinding and smoothing yet to do to flatten out the rest of the weld.
You can see the inside joint piece has not been added yet.
What a weird shape we must construct.
All the beams have new ends welded on and now we are putting on new aluminum skin.
A little primer paint on the beam to stop the rust. Now you can't see our welded joints.
And now we have added the holes for the recessed lights so they will look perfect again.
See above, where we're marking lines for the screws so we can maintain the vertical and horizontal plane of line the other screws are.
Remember that missing joint in the corner beam?
Now here is the finished look after that last joint has been added to the corner beam.
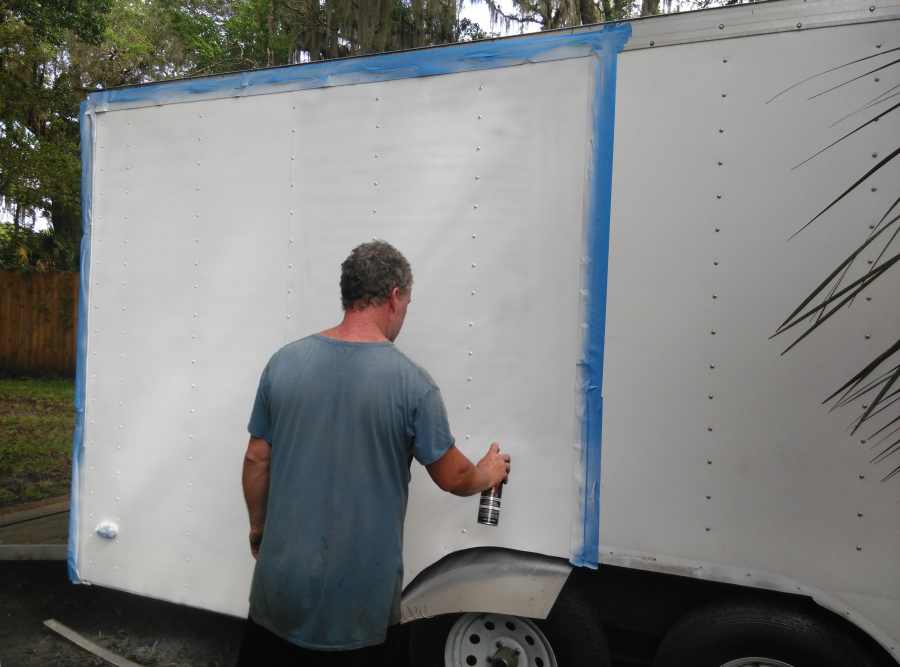
The customer didn't want the cost of a perfect paint job from a body shop. He wanted an economical look good, but not an expensive look perfect.
You can see the waves and lines in the first coat of paint. But you won't after the second coat of paint.

While the new paint is wet, it won't look the same as when it is dry. So you can easily see the difference now between the new wet paint, and the old dry paint.
But the more it dries, the more they will match. Or so we hope. Either way, this is the economical version.
The new fender was longer than the old fender. We couldn't buy an exact match in its length. So you can see the seam in the middle where we had to cut it and take out a few inches to make it fit perfect.
We still have paint drying on the corner beam. You can see its wet shine that will later disappear.
This trailer is great for moving furniture because its ramp is so gentle and low.
The customer lost the foot off his jack. As a freebee we cut him another foot and are welding it on.
This was not part of the original repair we agreed upon. This was our ego, our pride kicking it.
We wanted the rest of trailer to look and function as good as the parts we rebuilt.
And most of the ugly is black soot that will easily wire brush off.
All done. Now waiting on the customer to come get his rebuilt trailer.

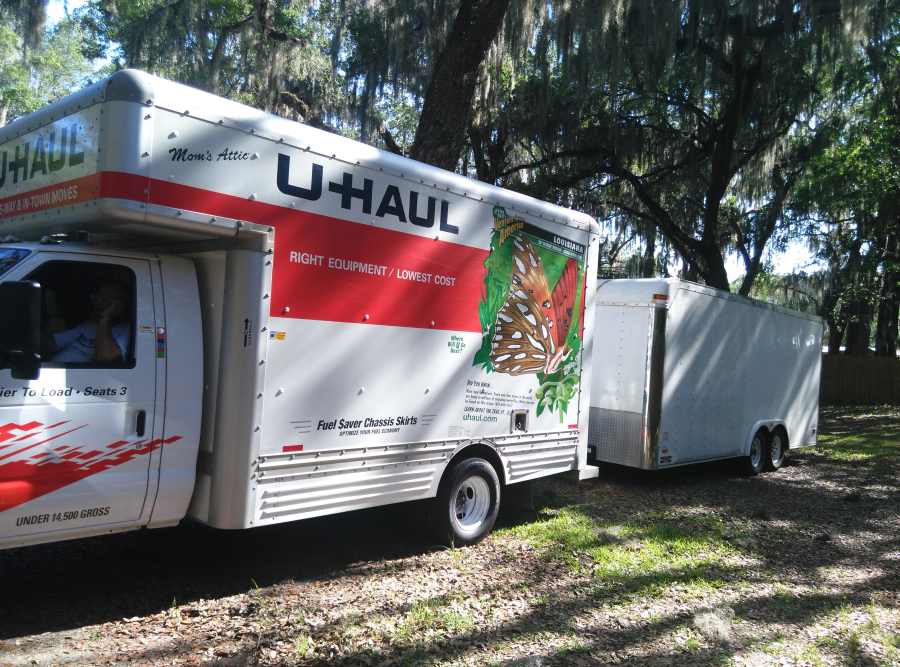
Poor customer. His pickup truck is now in the repair shop but he can't make his move from California to Florida wait, so he had to rent a U Haul to pull the trailer.
Actually he was a very happy customer. He is on the road again rolling down the highway.
He was amazed with our work and is very happy. Considering he wanted the economical repair, he stated that he was amazed with how good the end result was. We are also pleased.

Ok, get to work. Get that furniture in California moved here to Florida.


