


Build page 1 . BBQ offset smoker built in St Augustine.
THIS PAGE IS Build page 2. BBQ offset smoker built in St Augustine.
Build page 3 . BBQ offset smoker built in St Augustine.
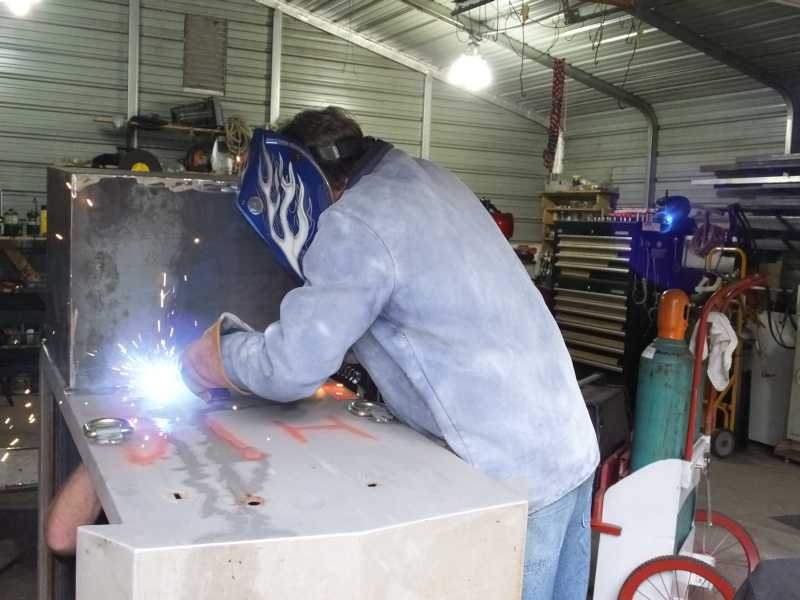
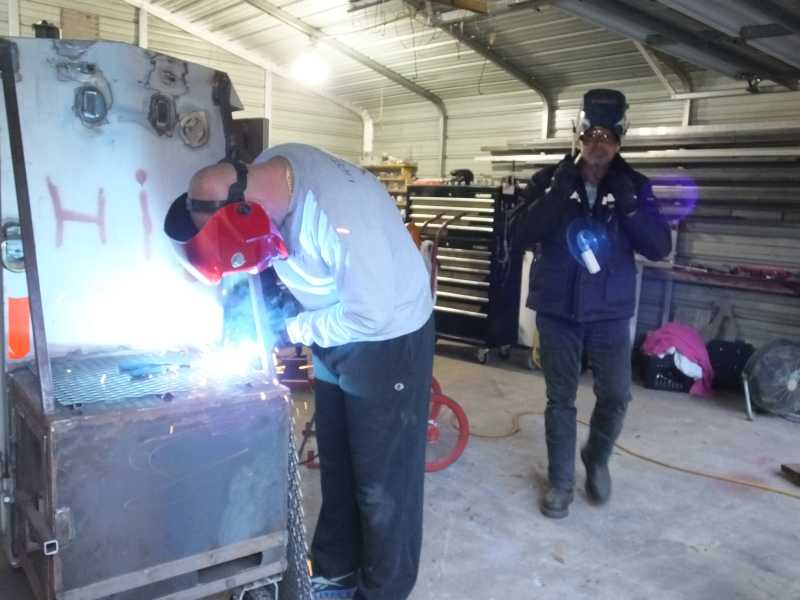
Now I am getting ready to weld some tie down points to the smoker so it can be securely strapped to a trailer for hauling around town from party to party.
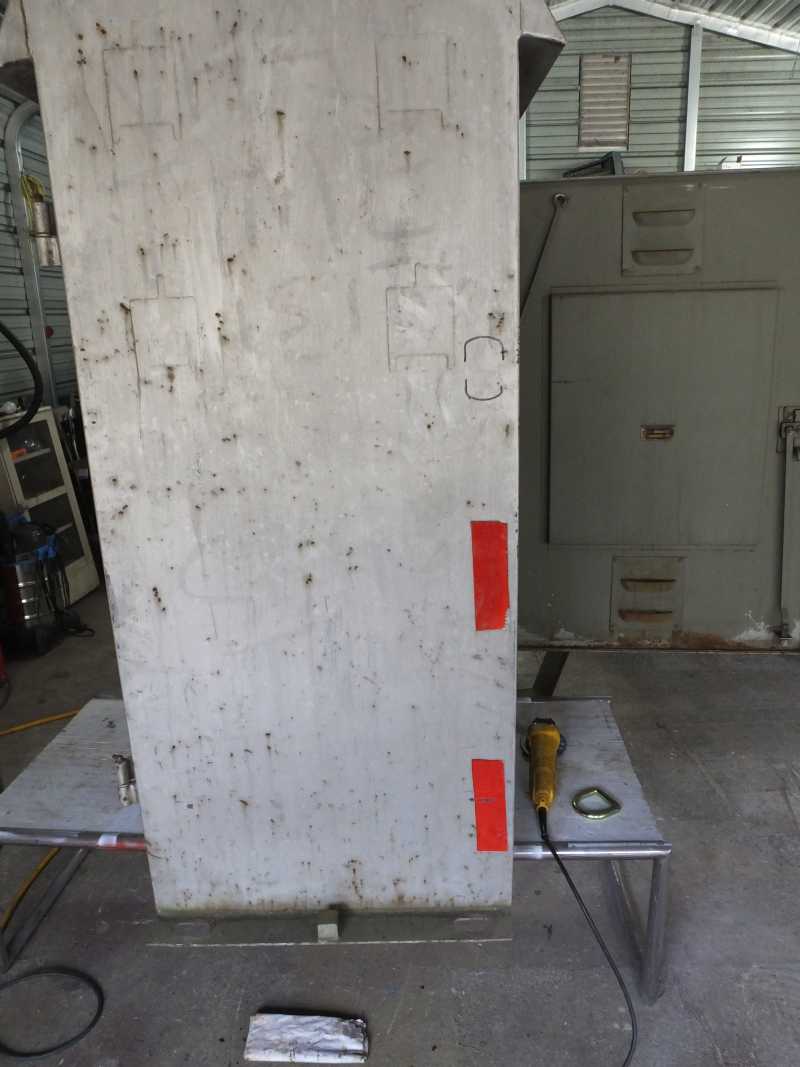
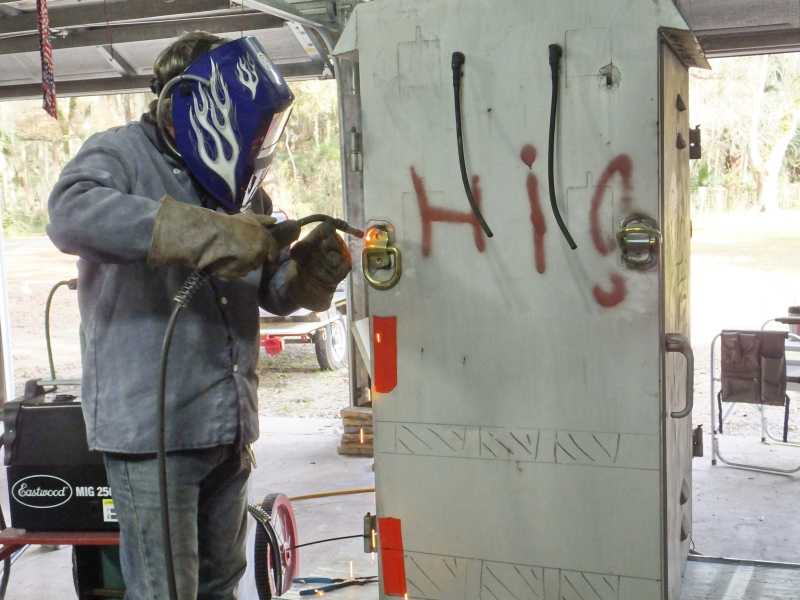
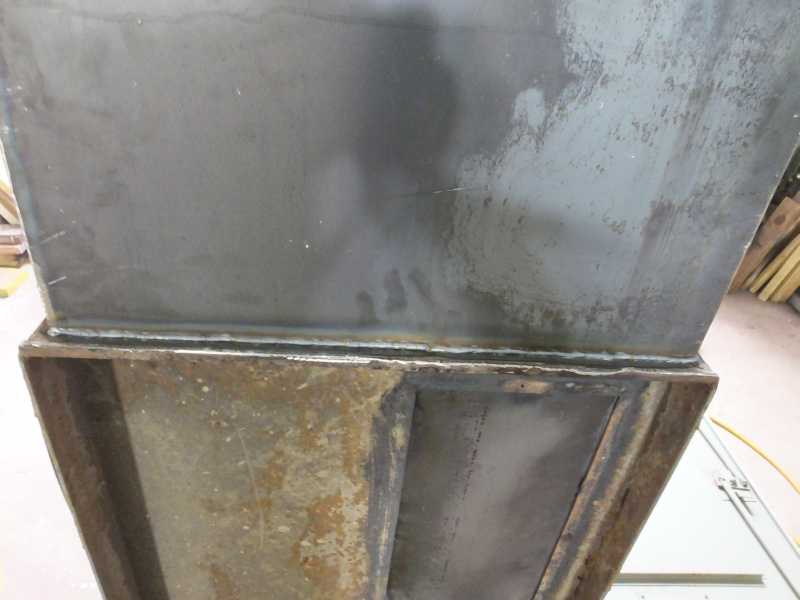
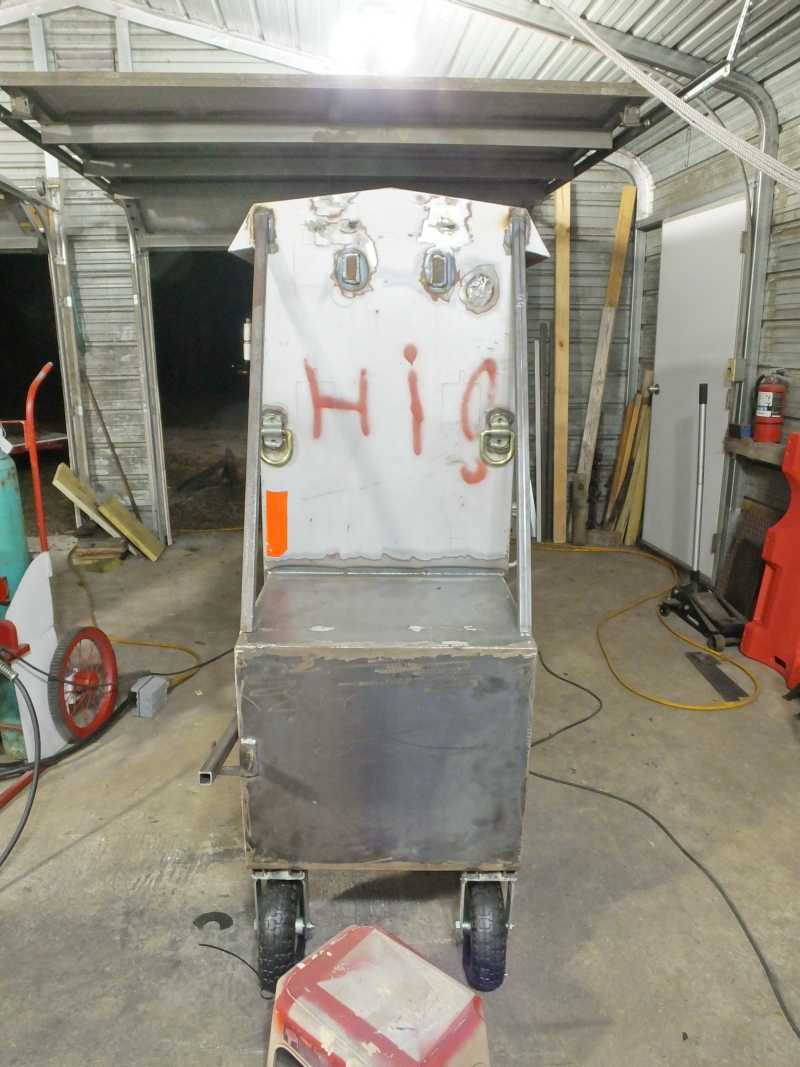
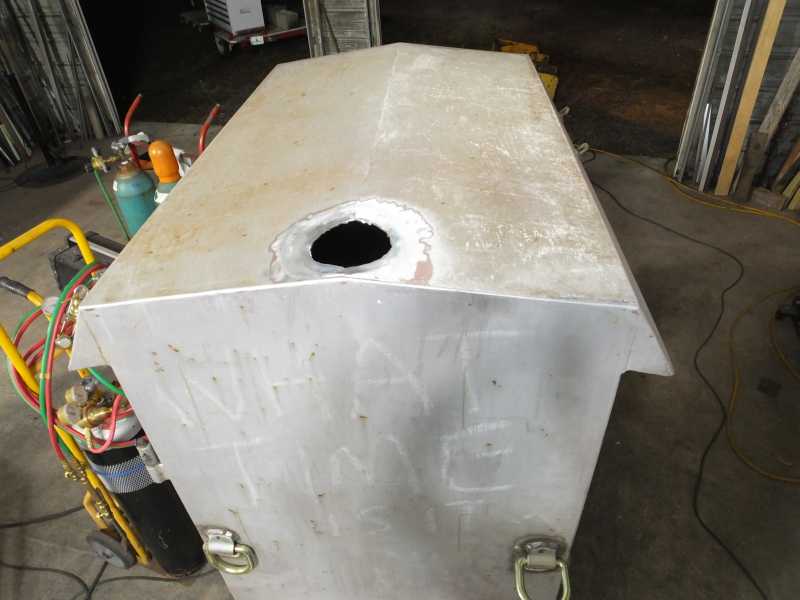
Below you can see I cut three holes in the side of the smoker chamber so heat and smoke can transfer easily and efficiently out of the firebox (which is not yet mounted) and into the cooking chamber.
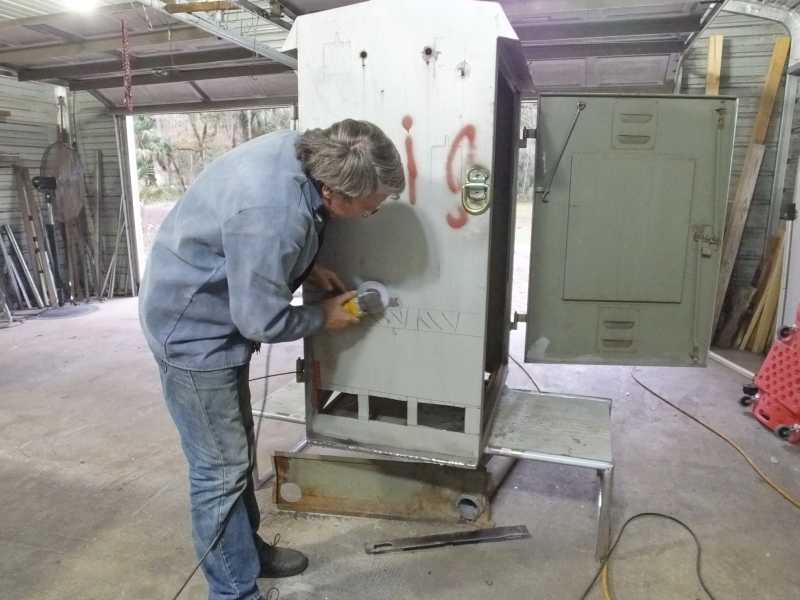
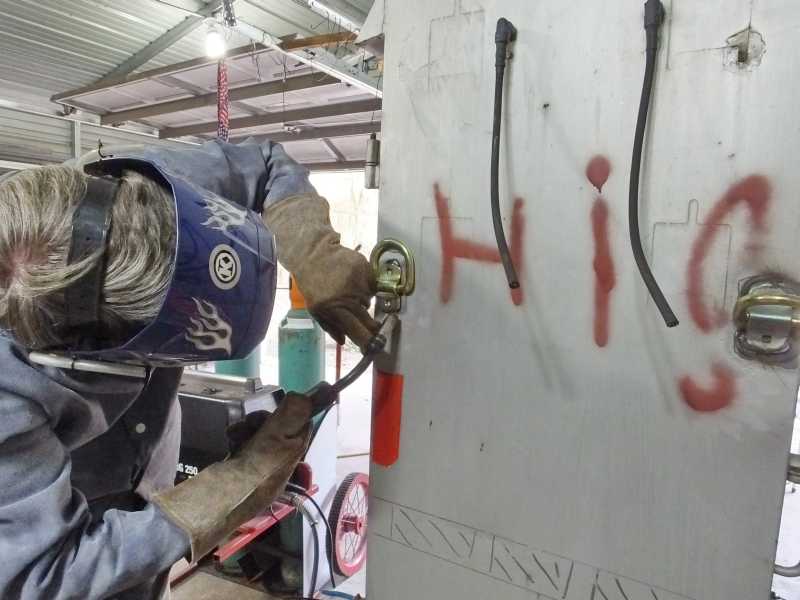
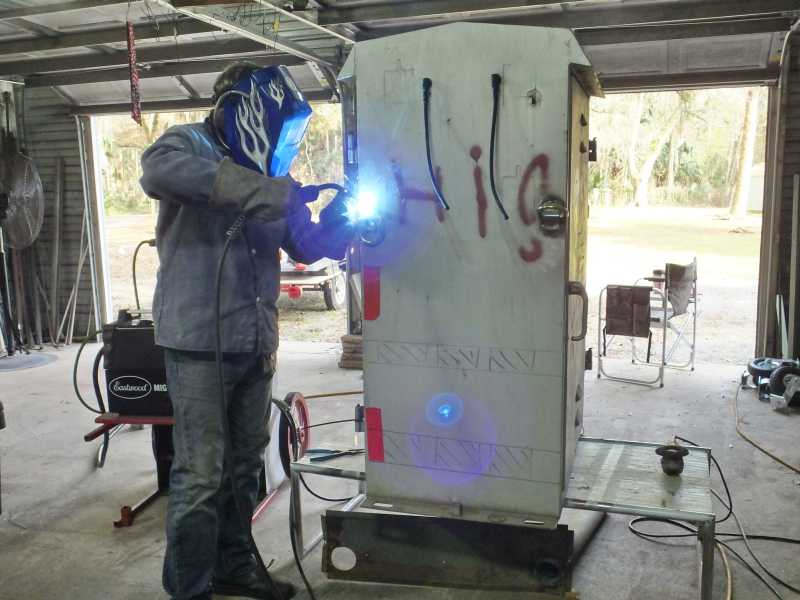
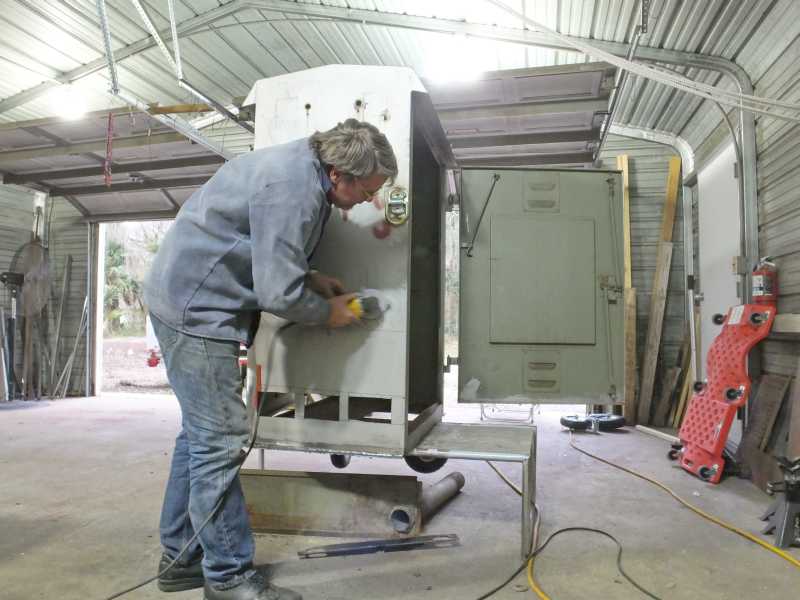
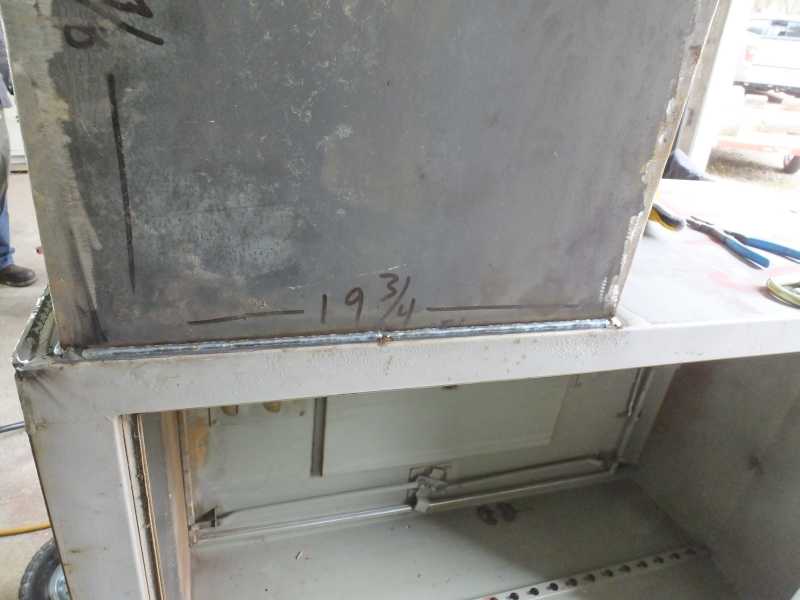
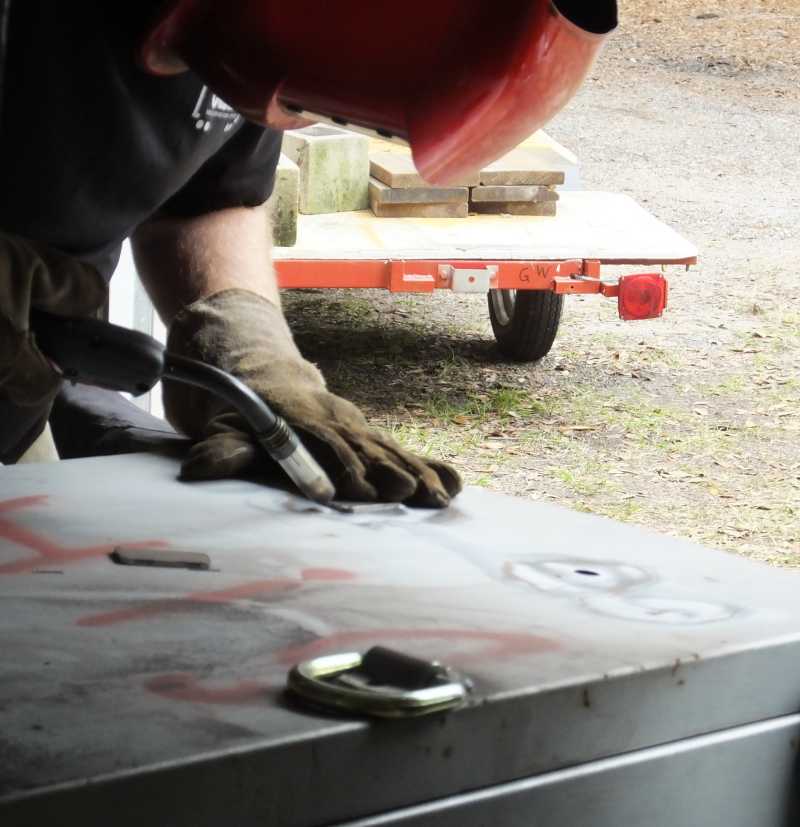
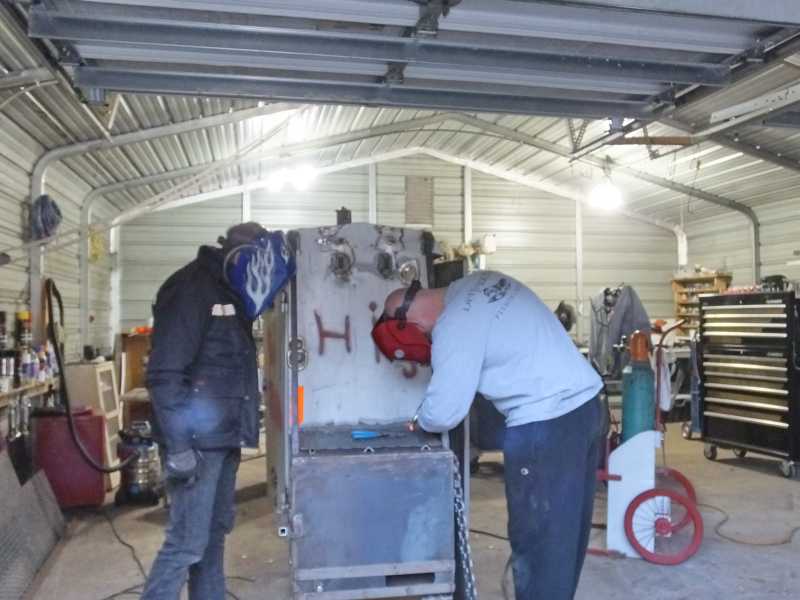
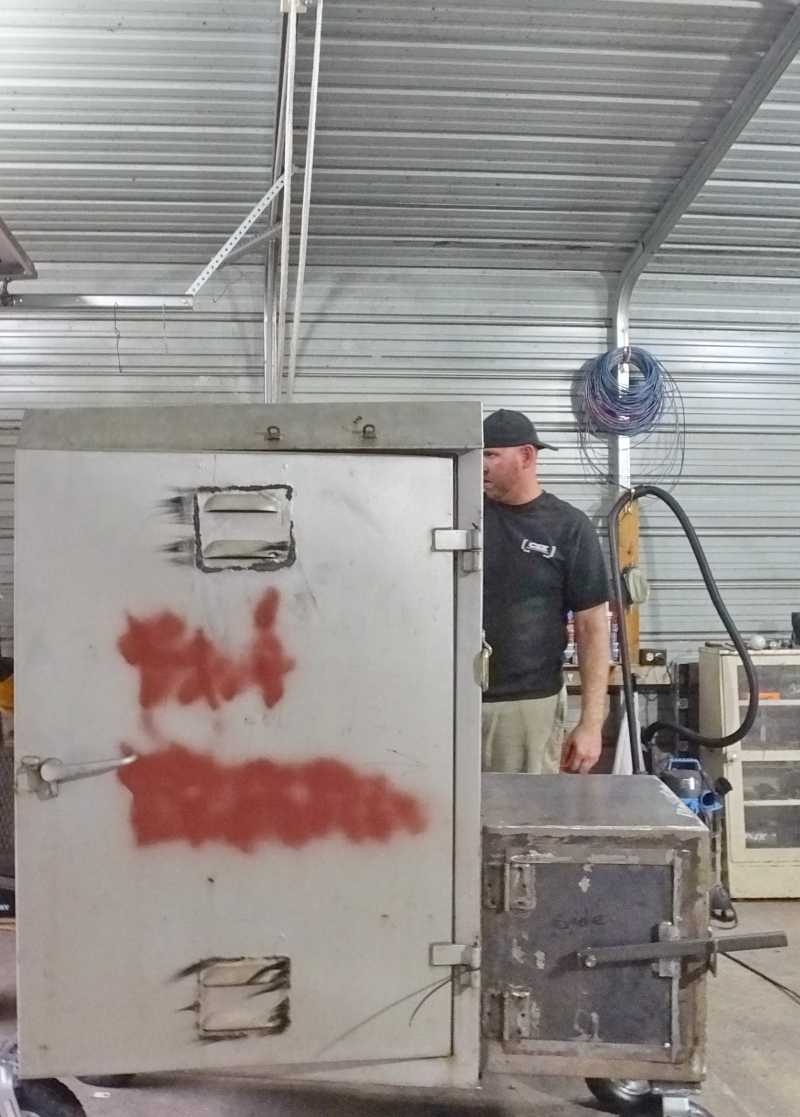
Now I'm cleaning paint off the side so I can weld on the firebox there.
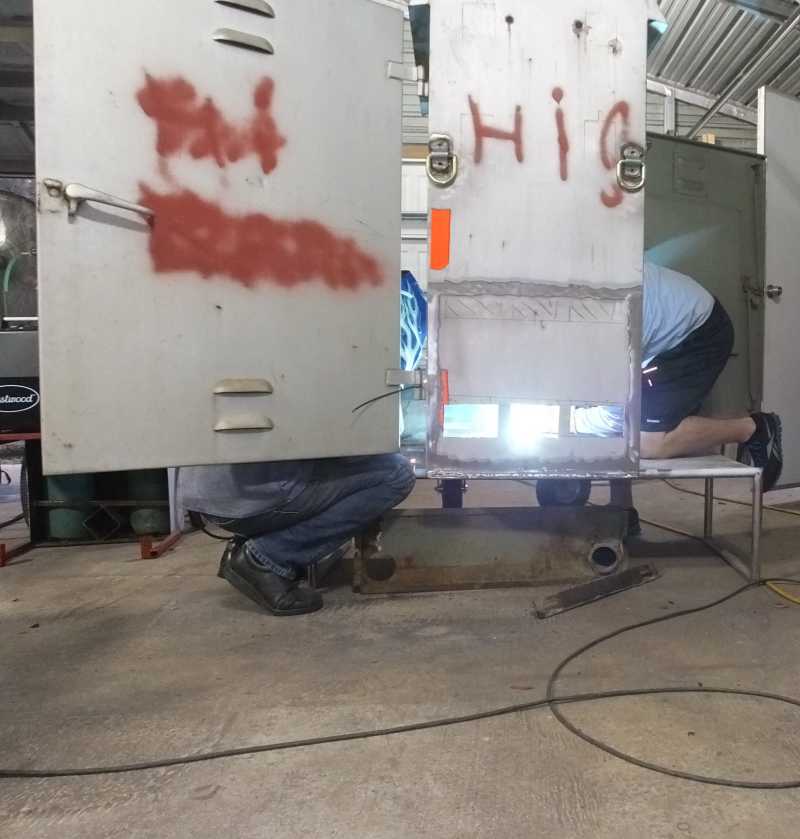

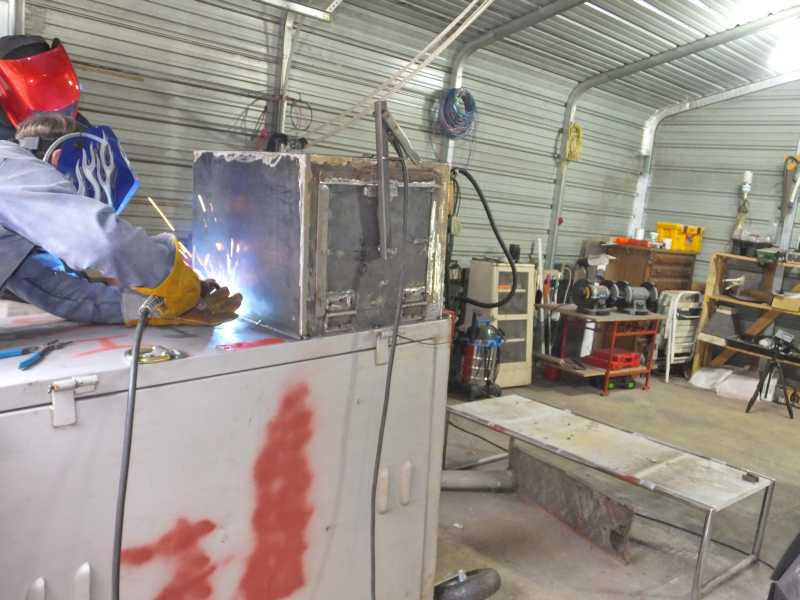
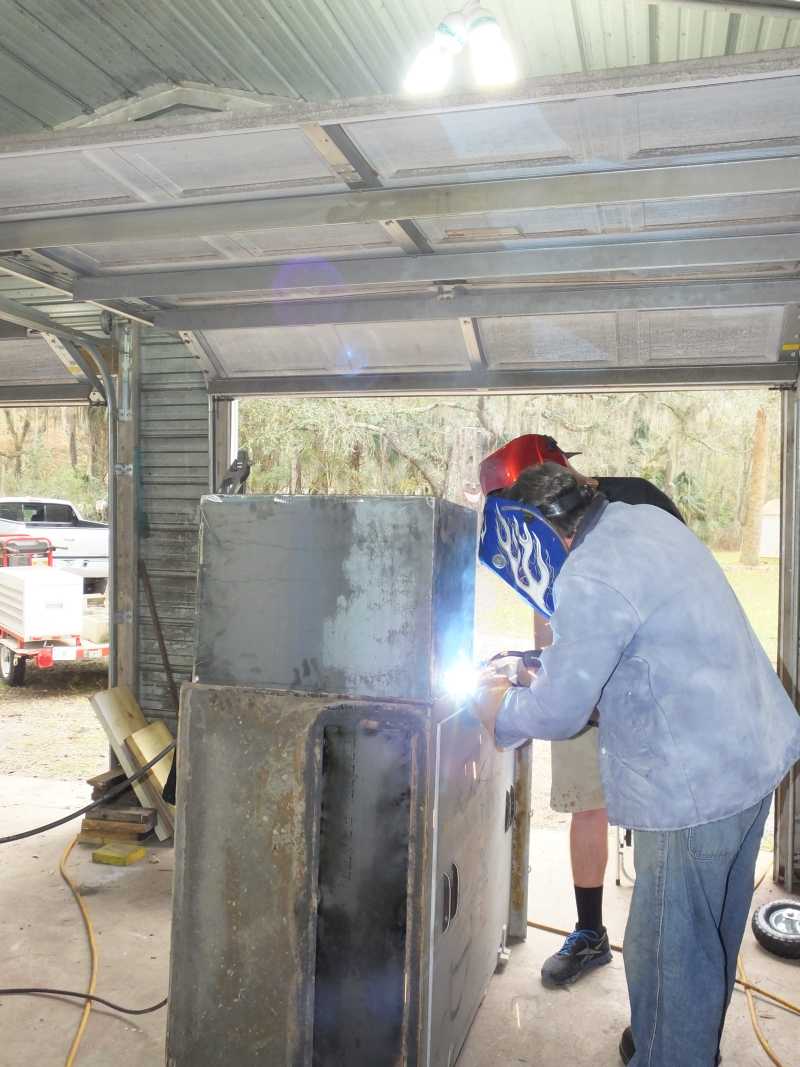
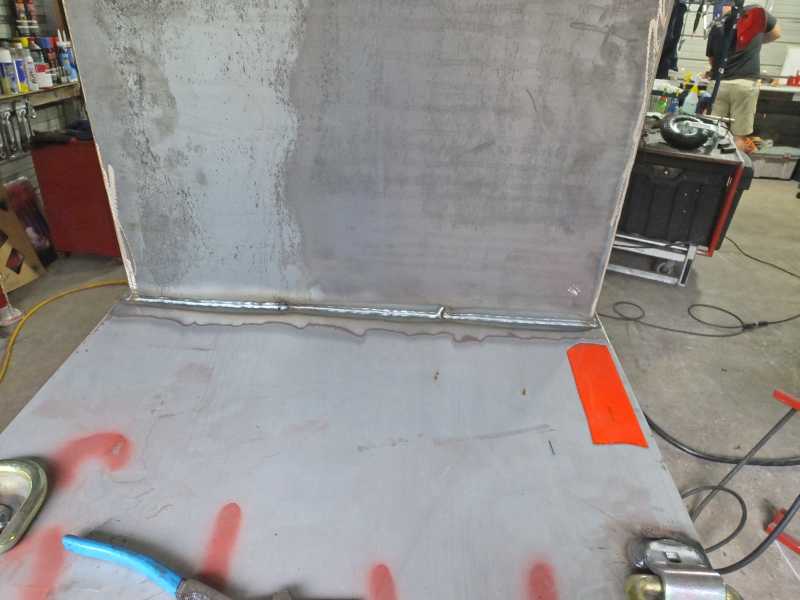
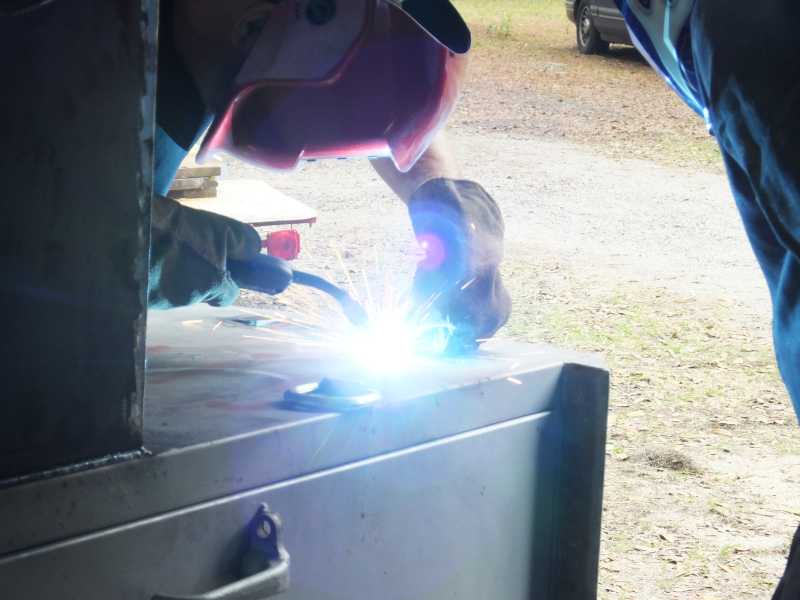
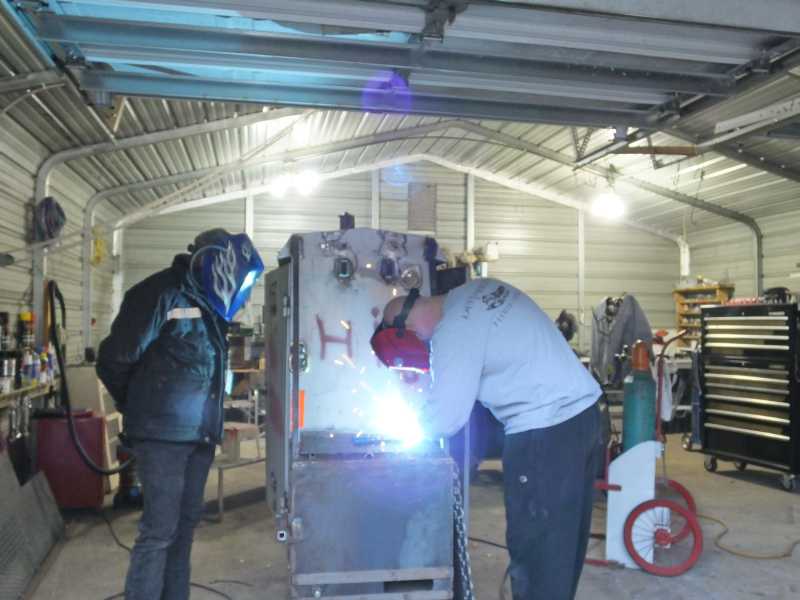
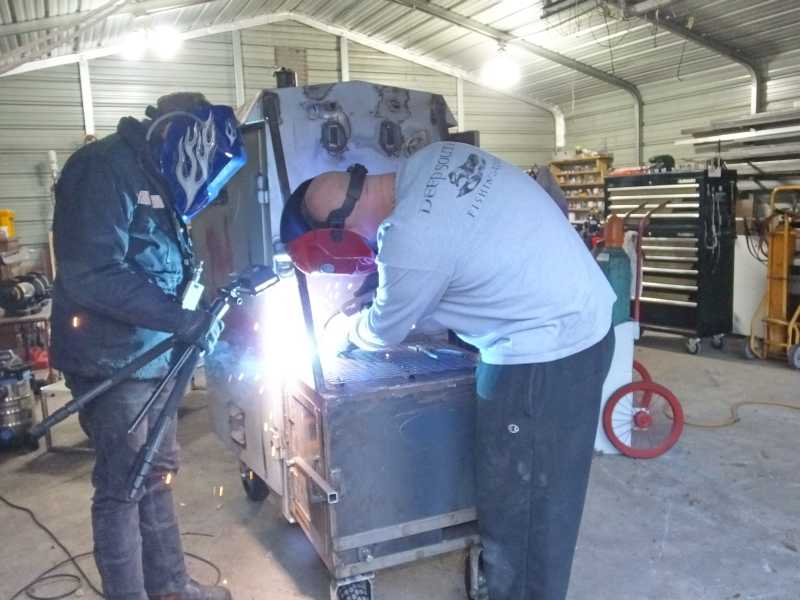
We've turned the smoker on its side, mounted the firebox and are welding the firebox permanently and solidly to the smoking cooking chamber. When done we'll stand it back up.

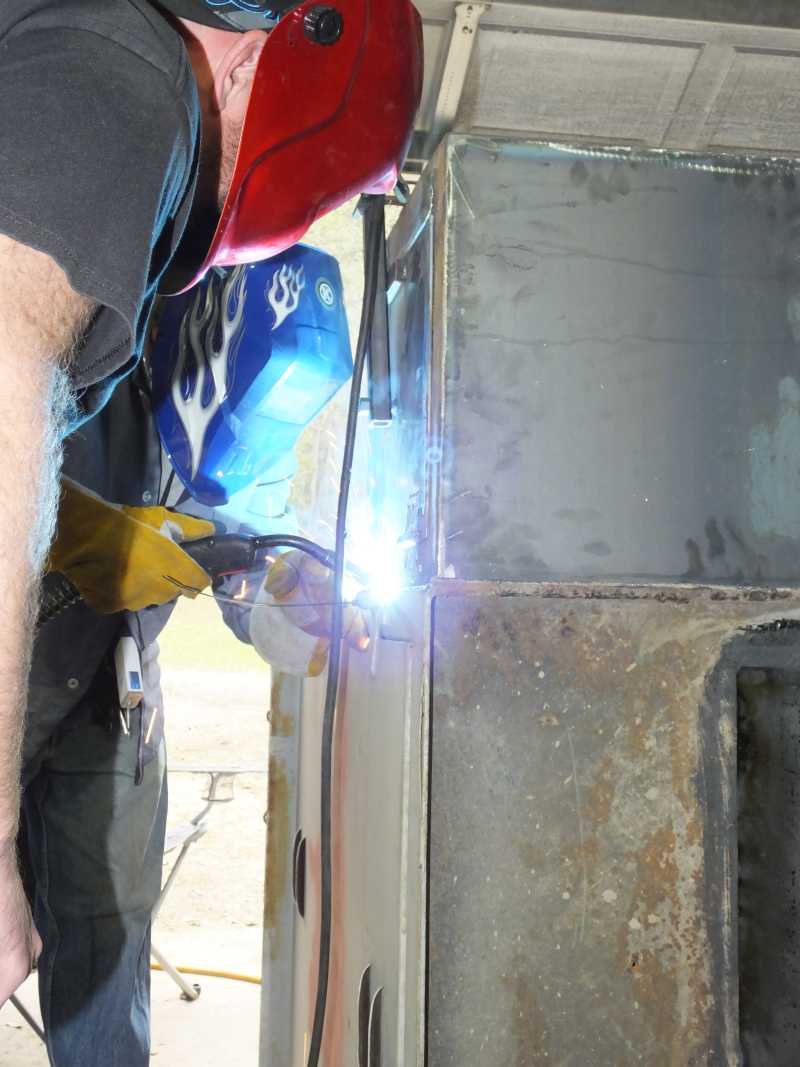
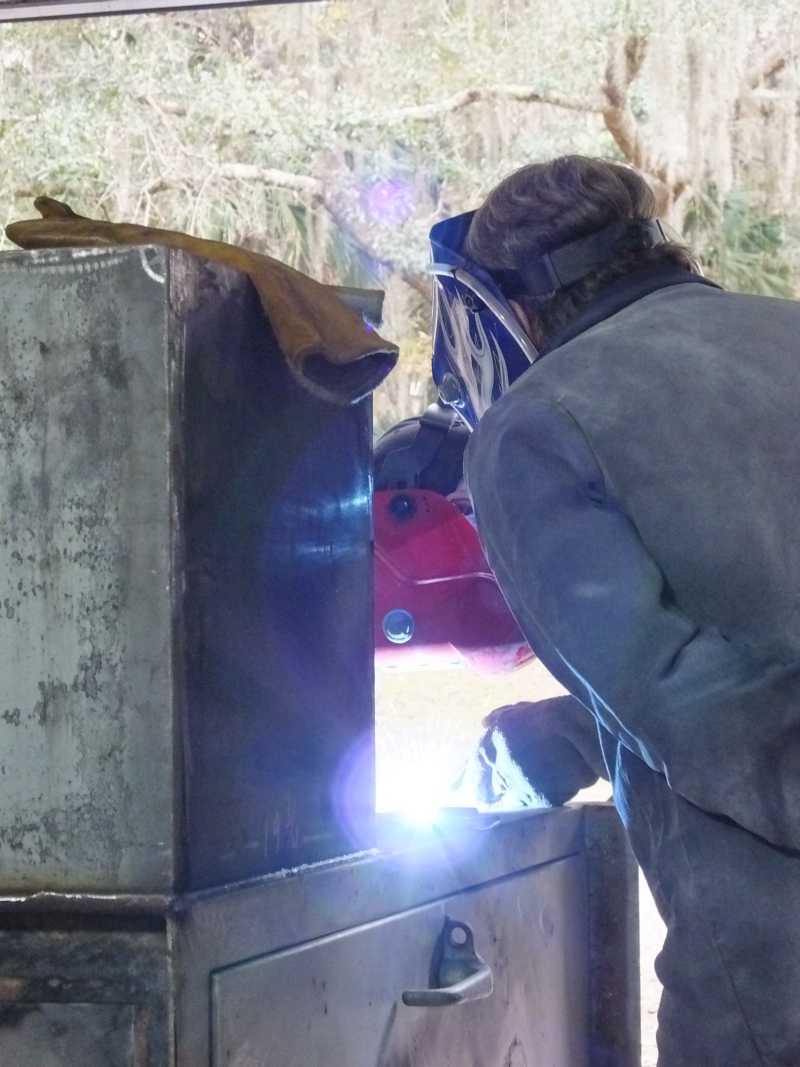
On the bottom of the firebox where no one could see, we let Jamie do the welding. He was a very fast learner. I was impressed how well he did.
Below: Look at his weld. This customer Jamie did extremely well.
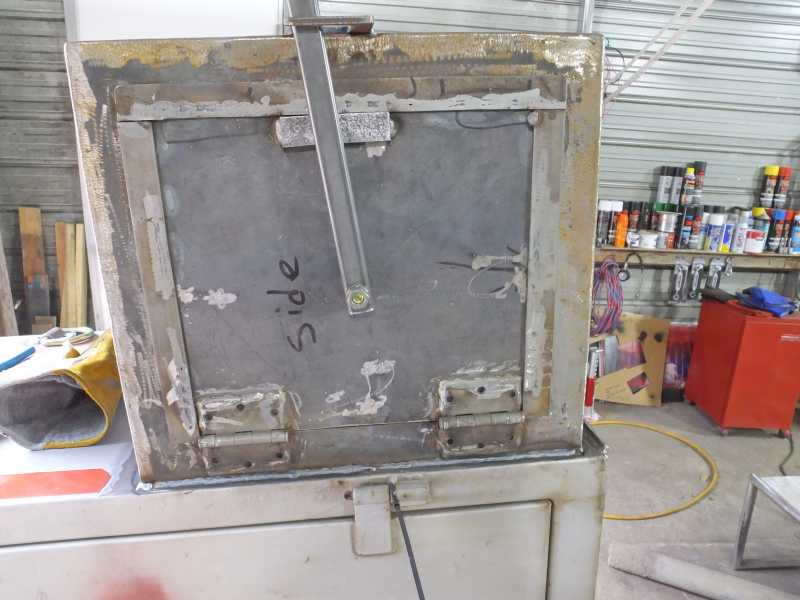
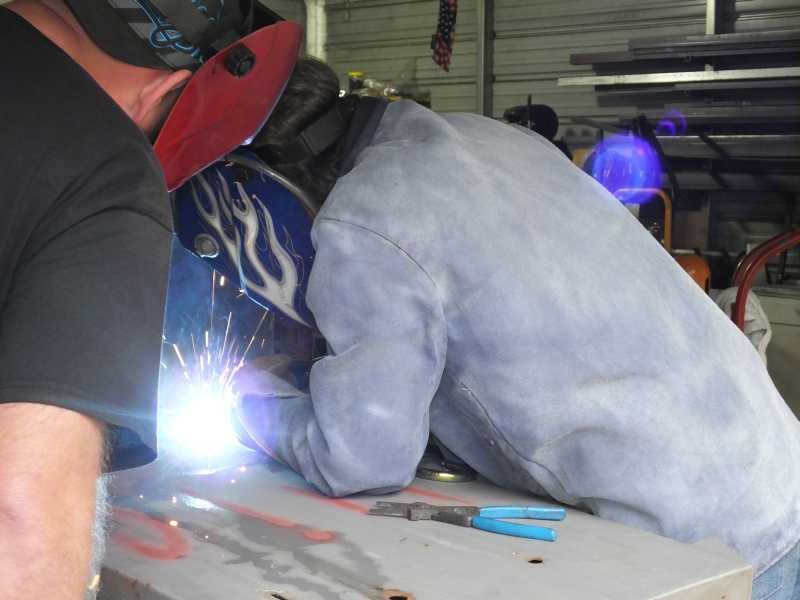
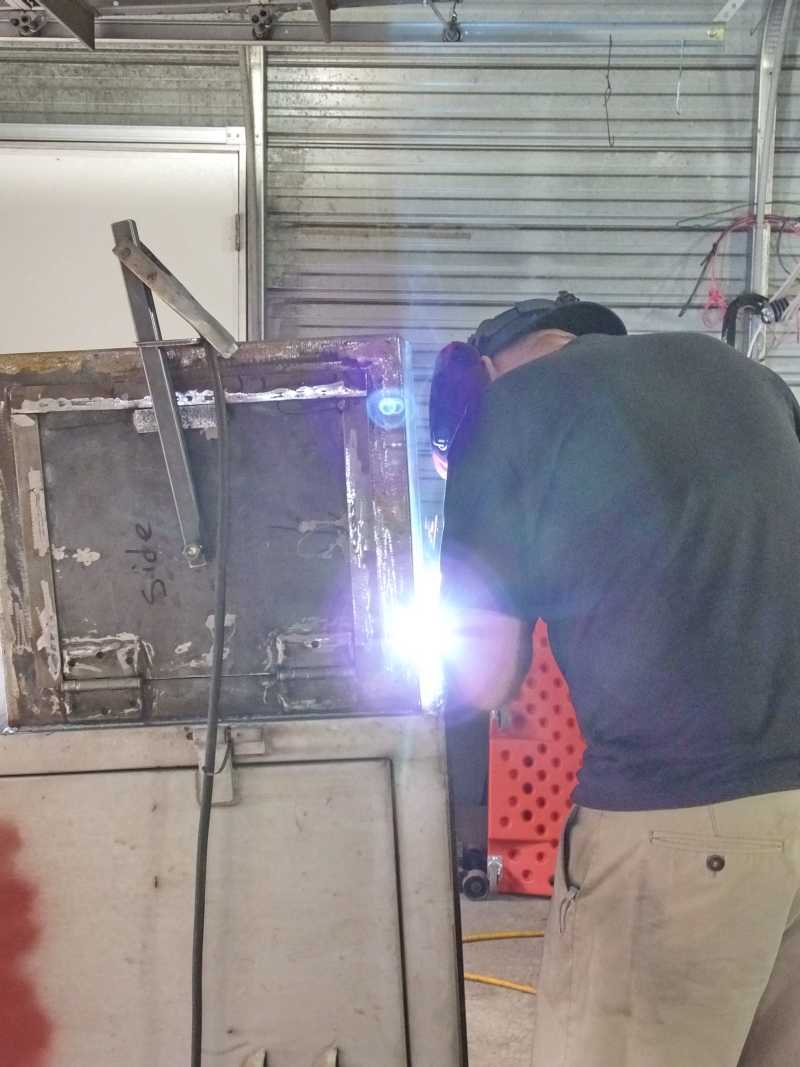
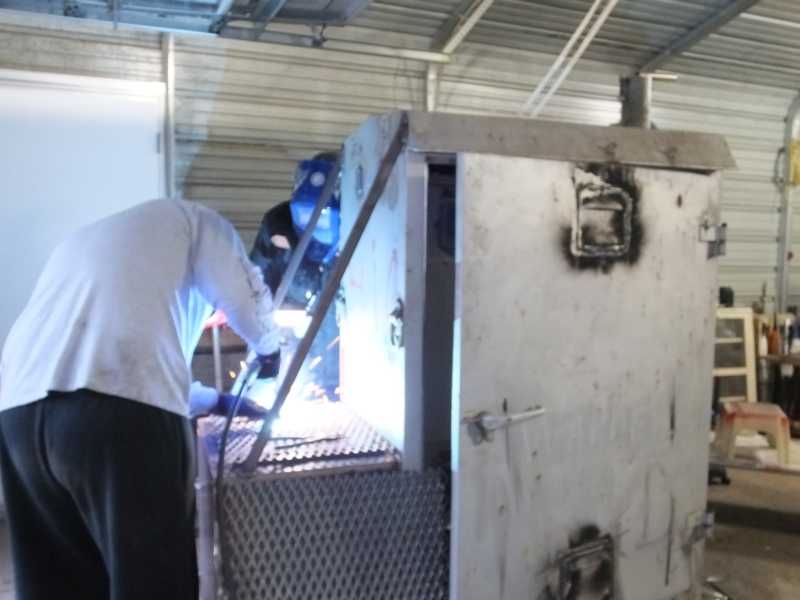
His box came with some small holes that wires ran through. He is cleaning the paint off so he can weld the holes closed so the smoker does not leak.
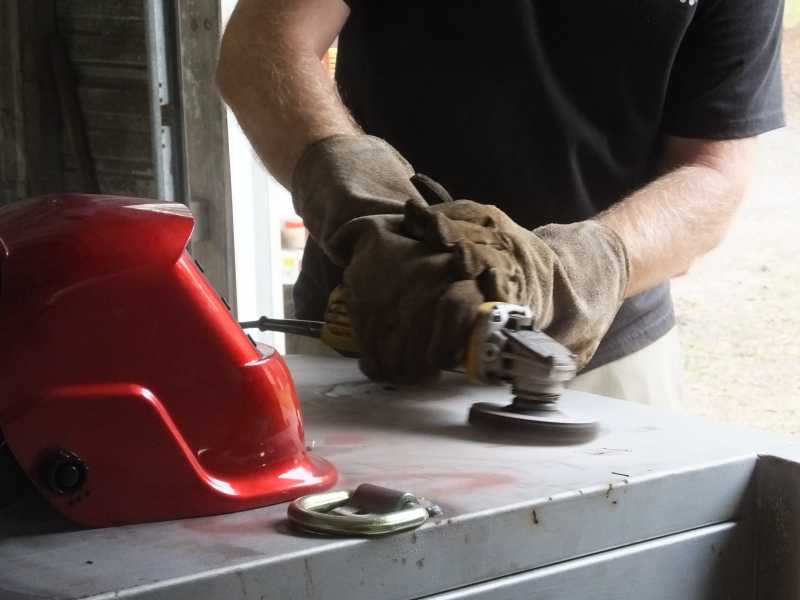
I'm watching him, giving him welding advice. He learned so fast.
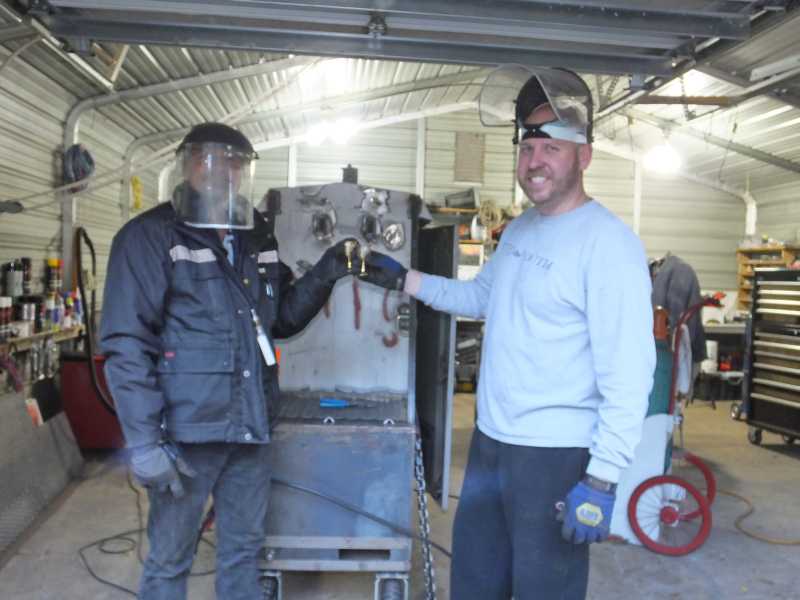
Having a shot of Brandy, toasting our great success and fabulous progress and new friendship.
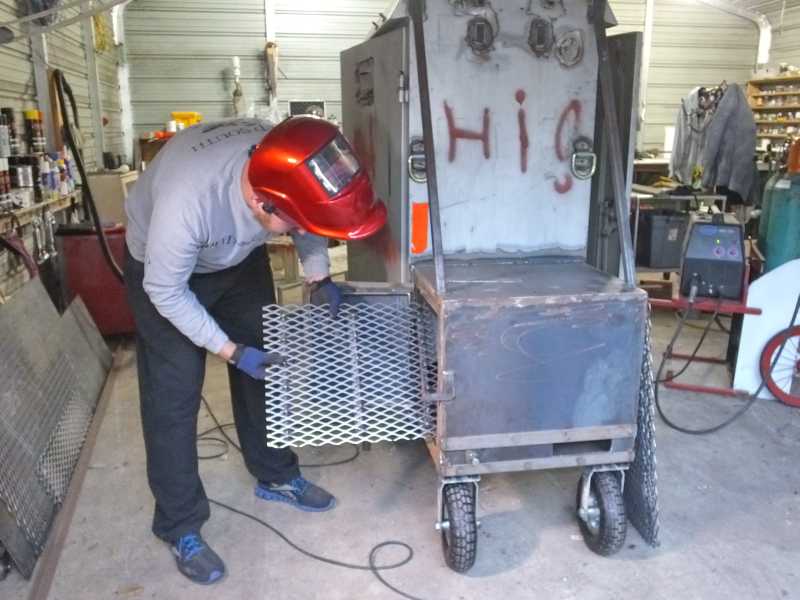
Now he is building a grate that will go in the firebox under the burning wood so oxygen can feed the fire and ashes have a place to congregate below the burning wood.
After Jamie is done building it, he will place it in the firebox. It can be removed for cleaning purposes.
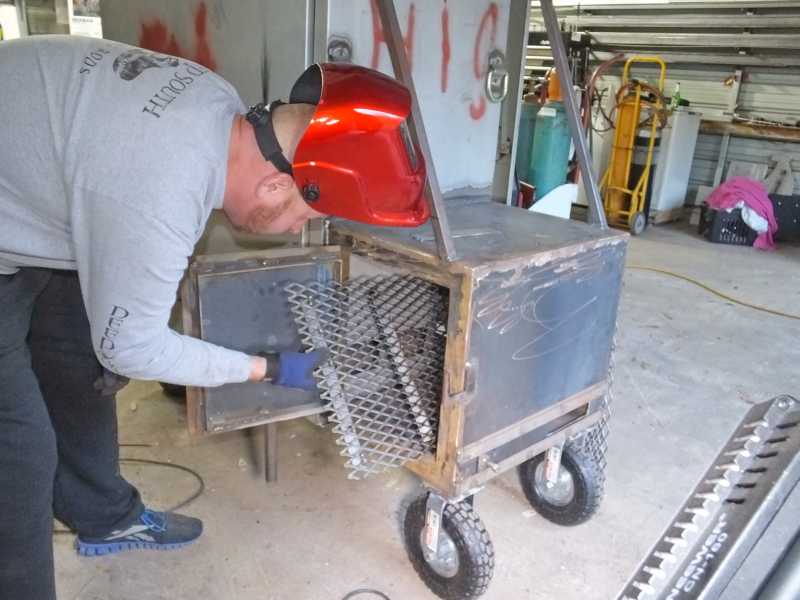
Now Jamie is putting the ash grate in the firebox.
Another perfect fit. Sometimes we amaze ourselves. <grin>

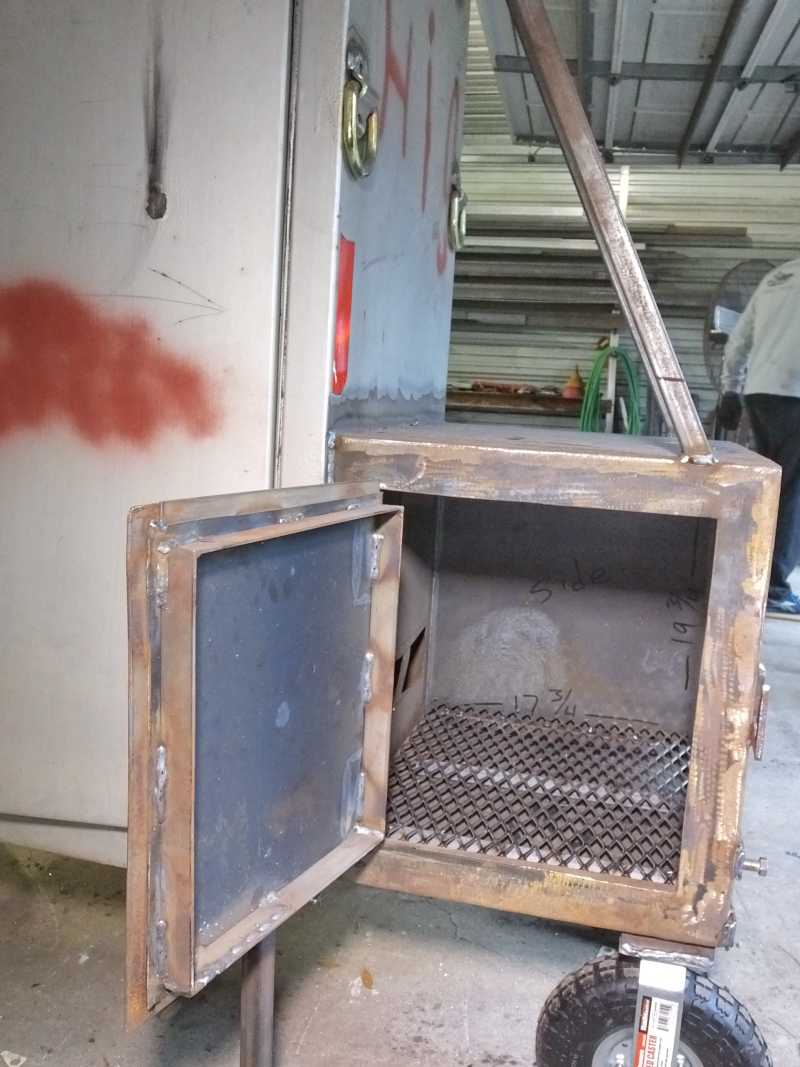
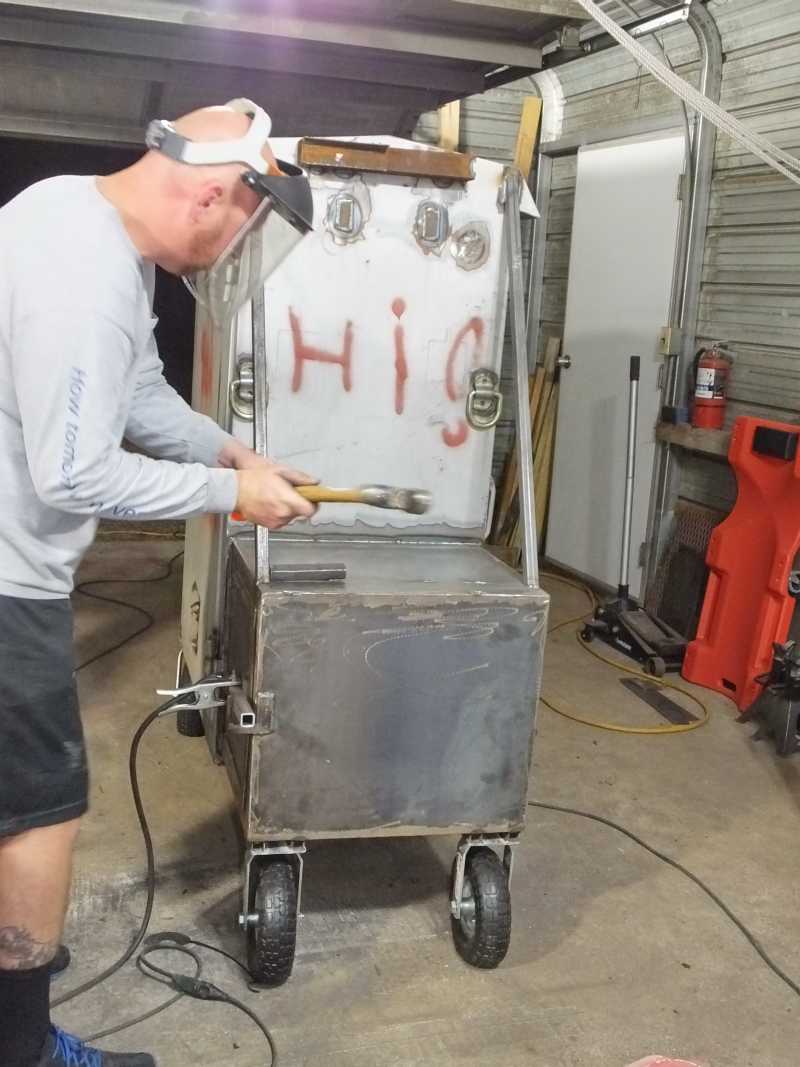
Now you can see the reinforcement that is welded into the inner door frame to stop heat warpage.
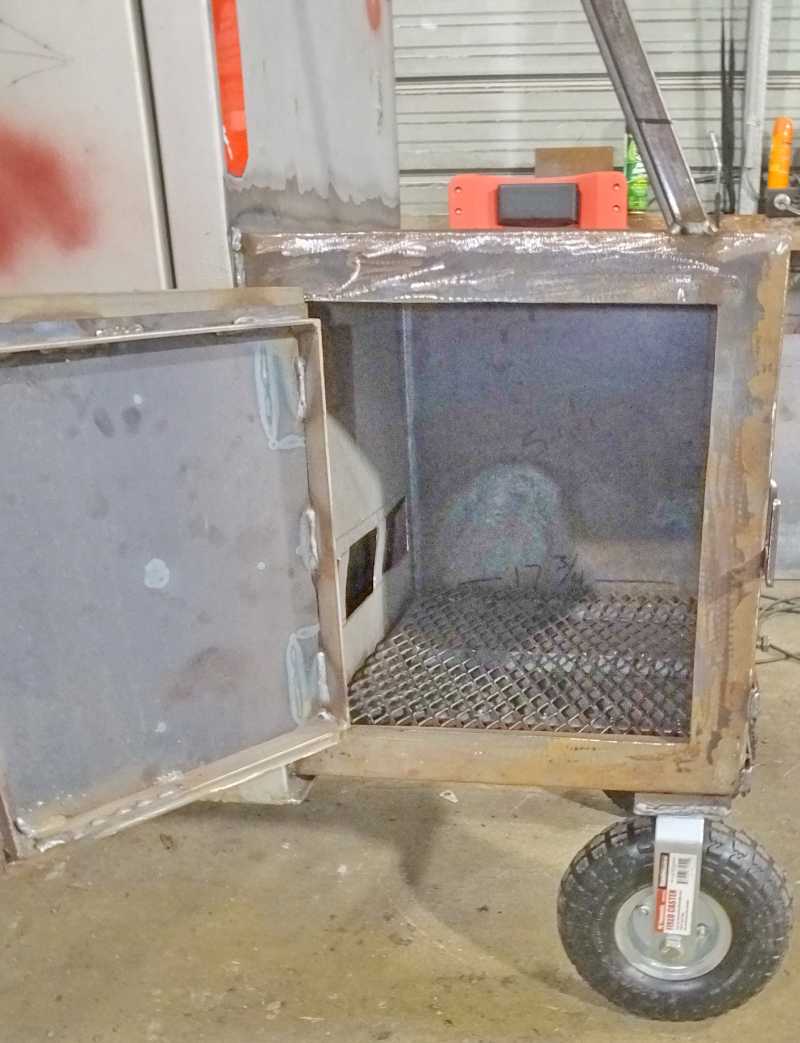
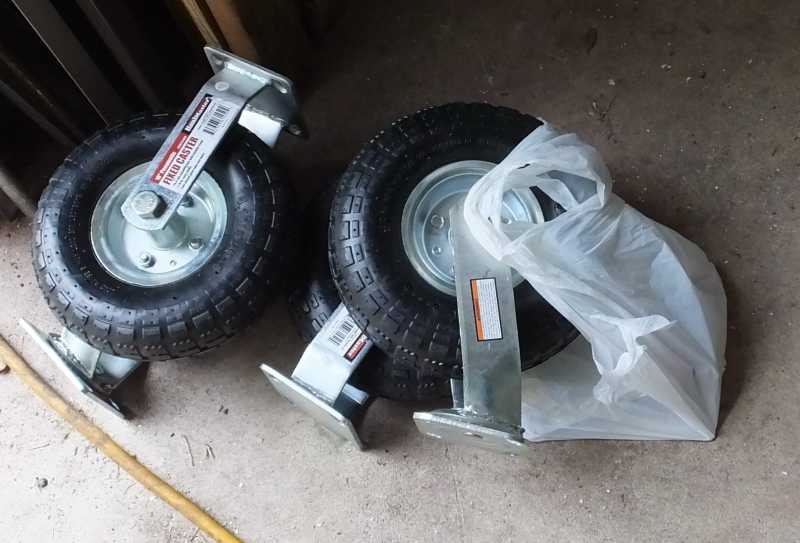
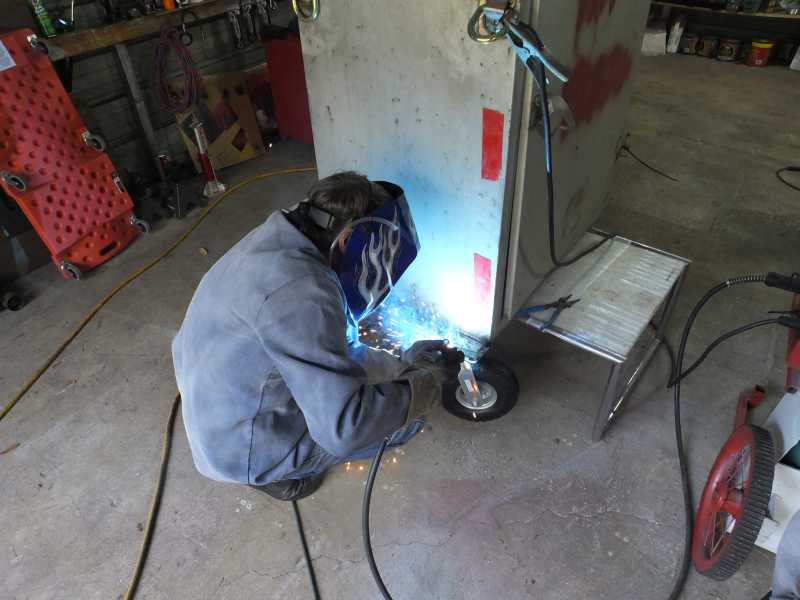
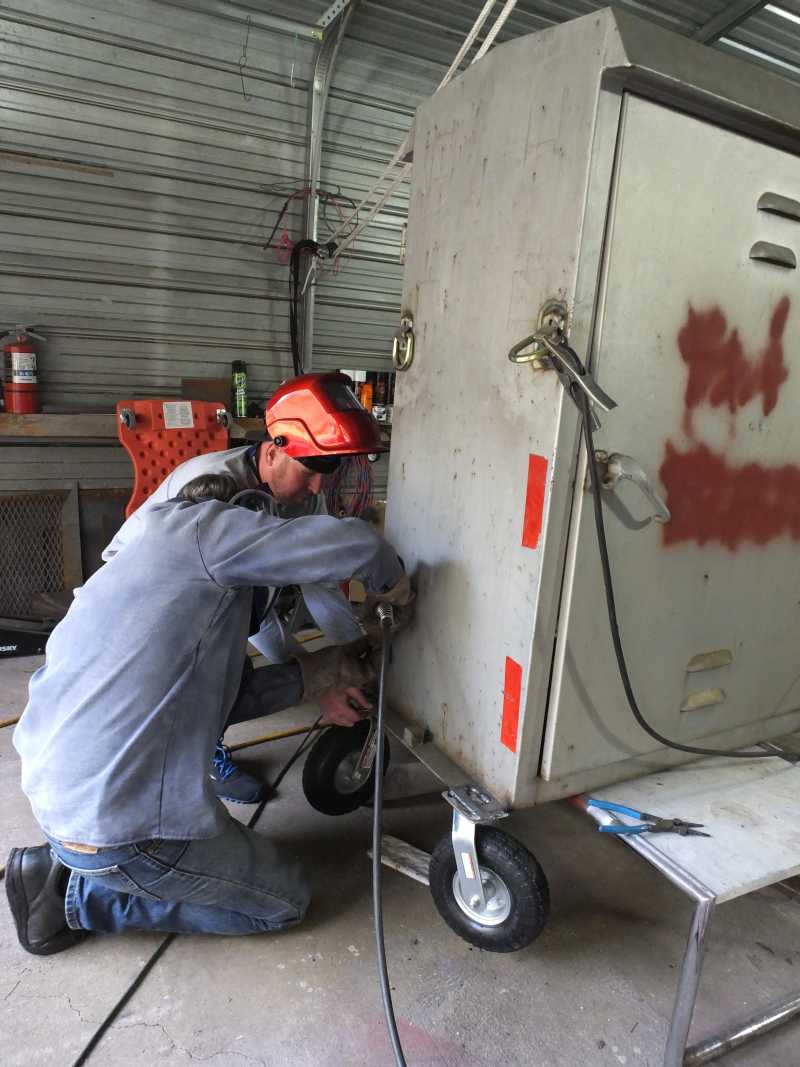
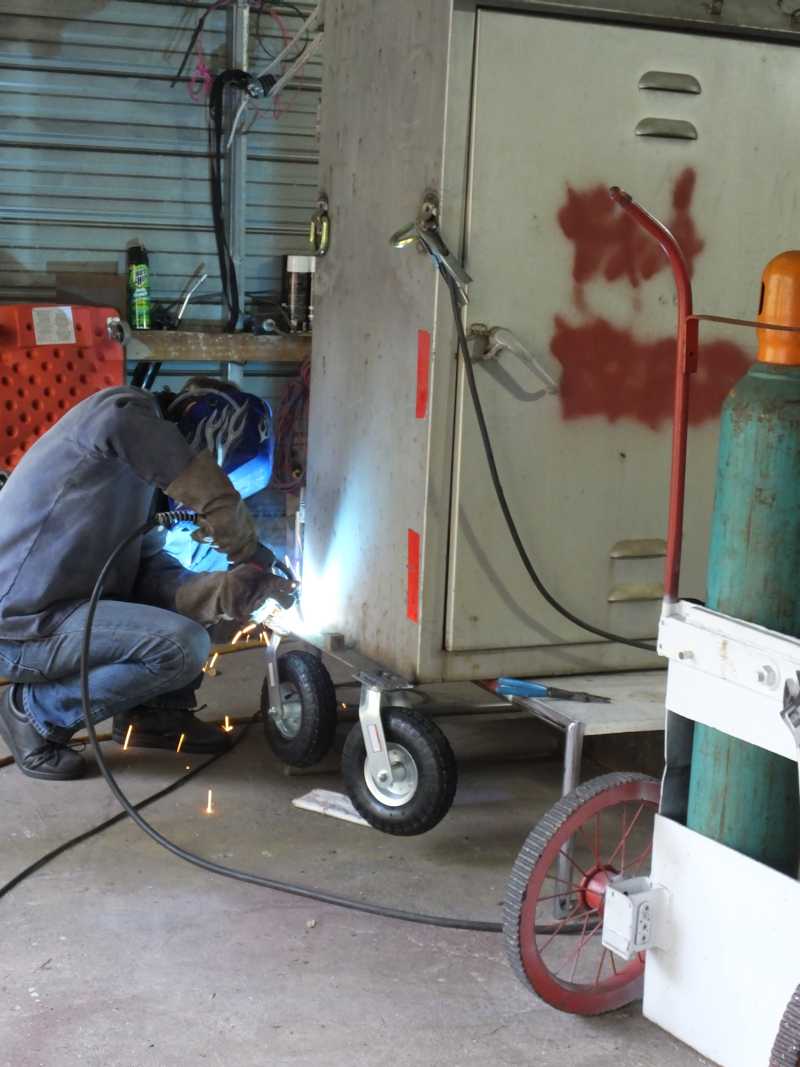
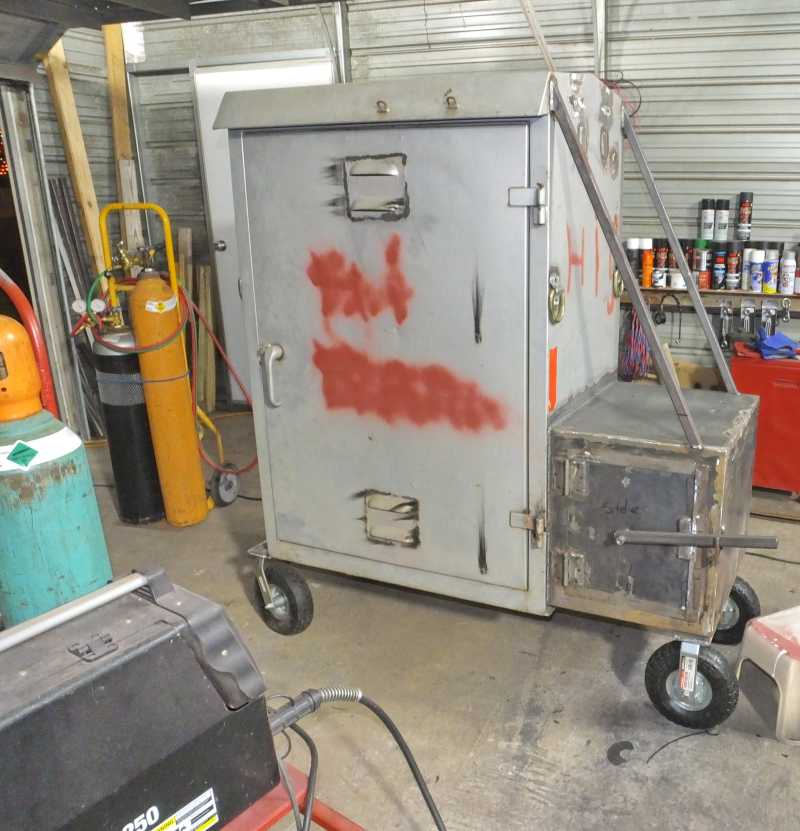
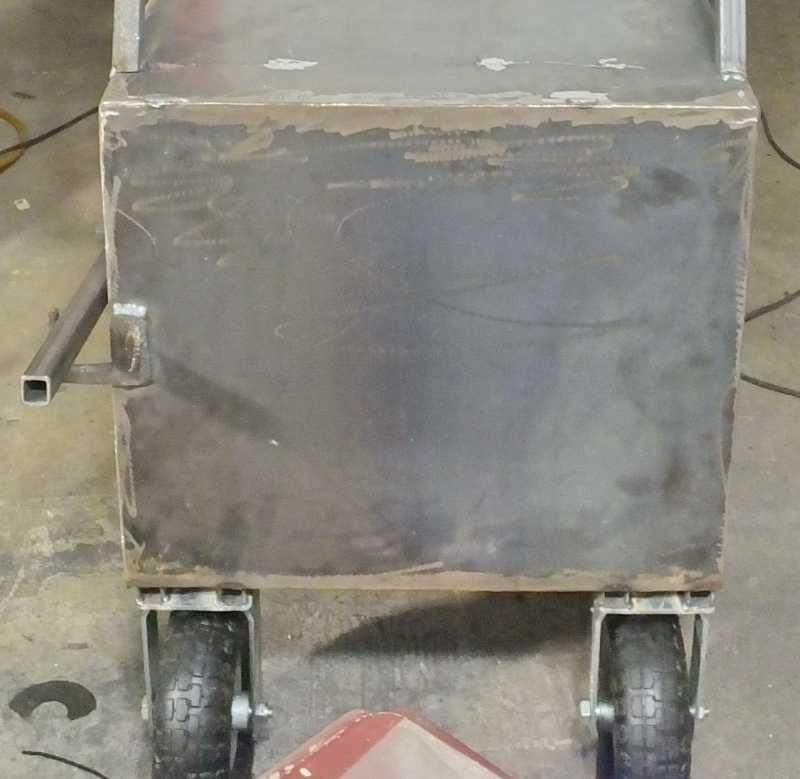
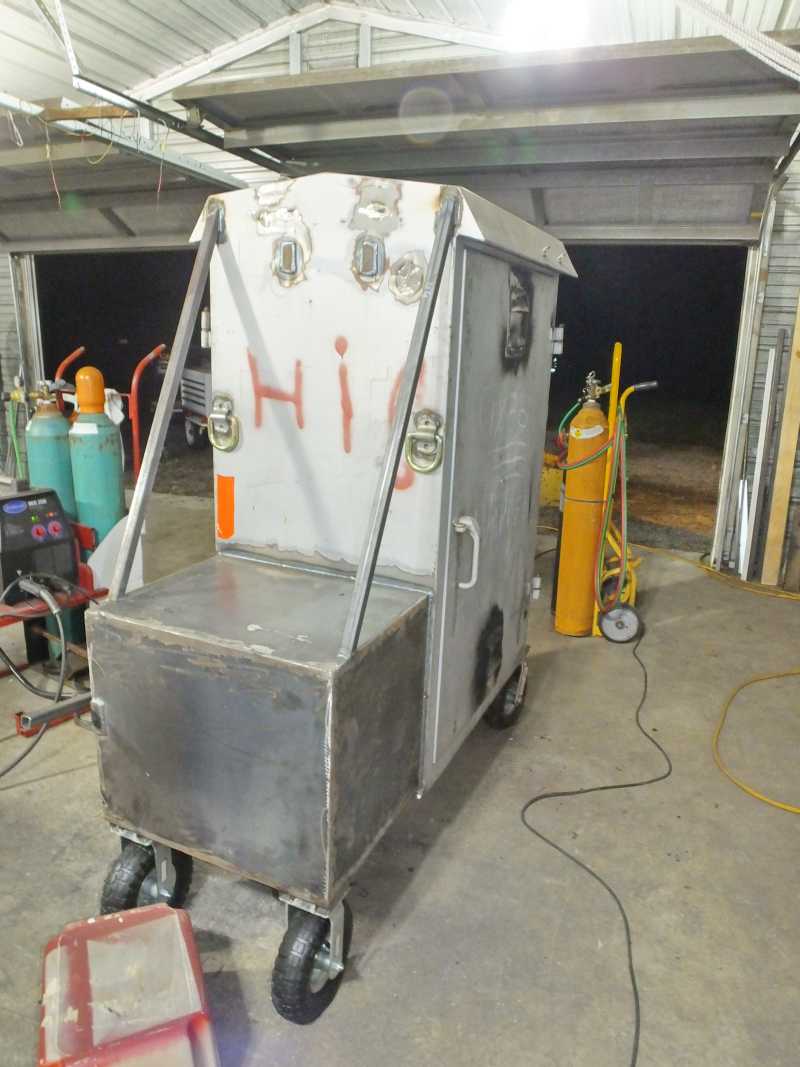
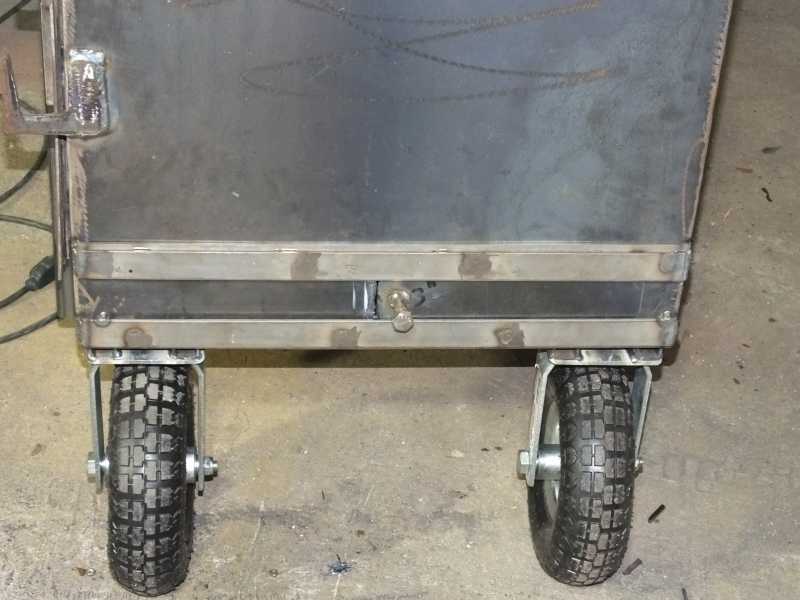
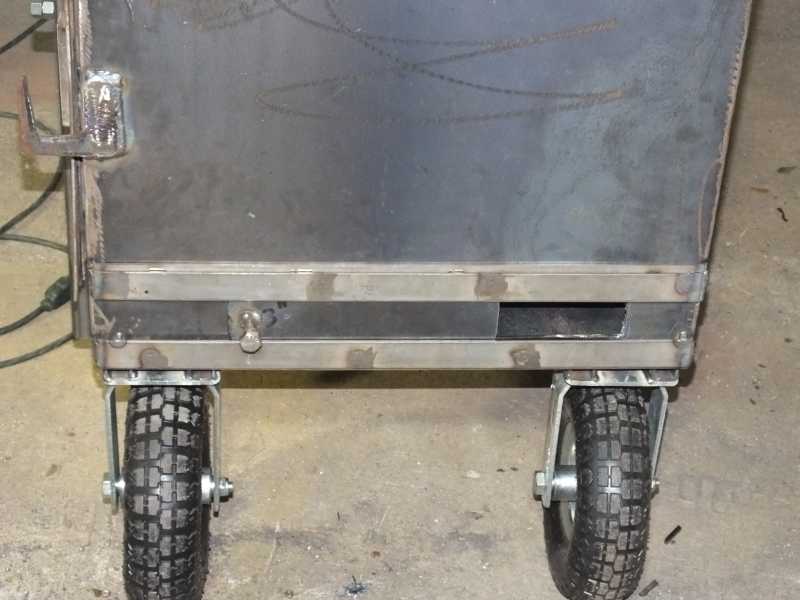
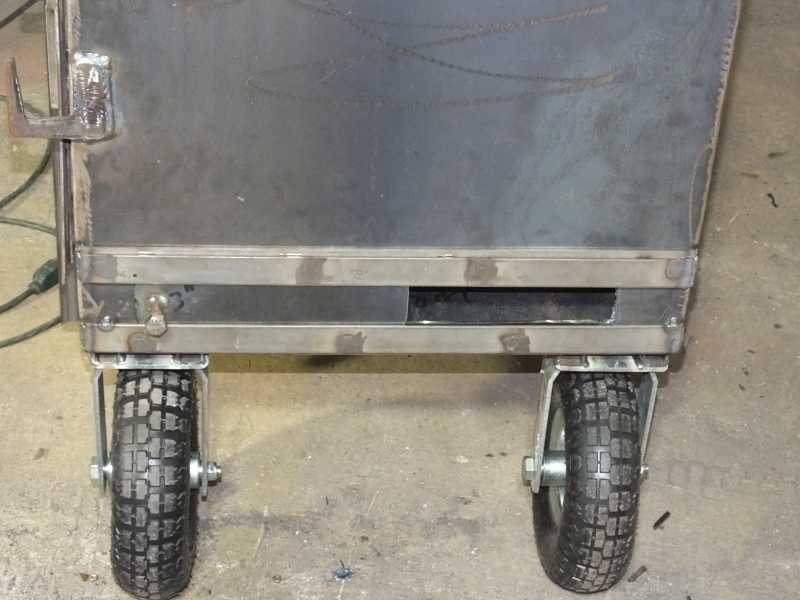
Time to add some tires to the smoker so it can roll around.

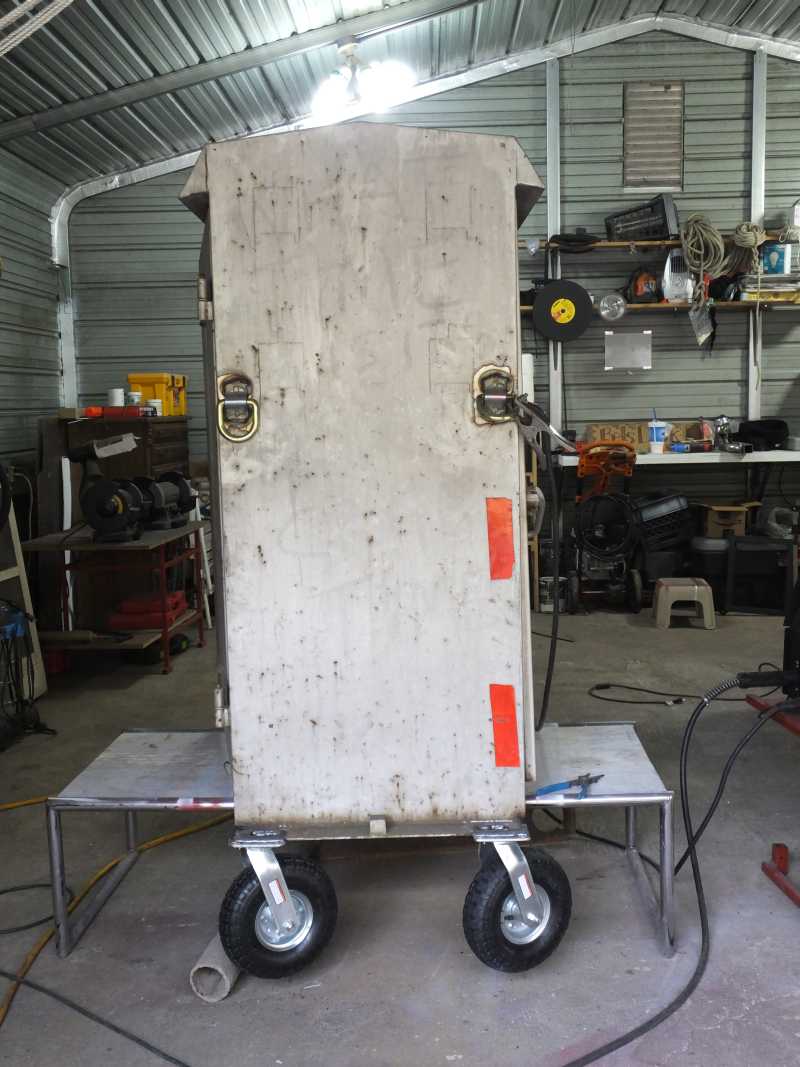
Its starting to shape up and look like a smoker finally. It certainly didn't begin this way.
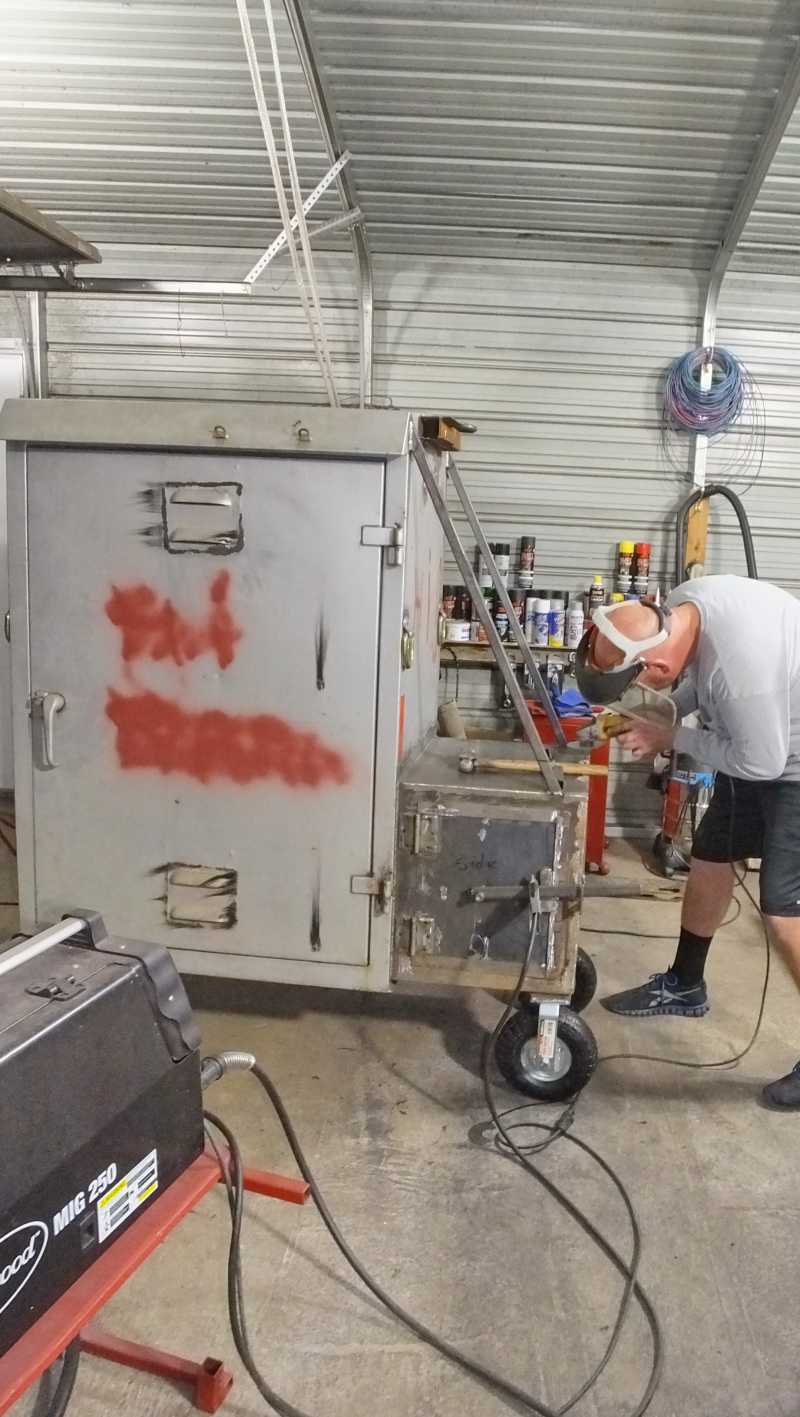
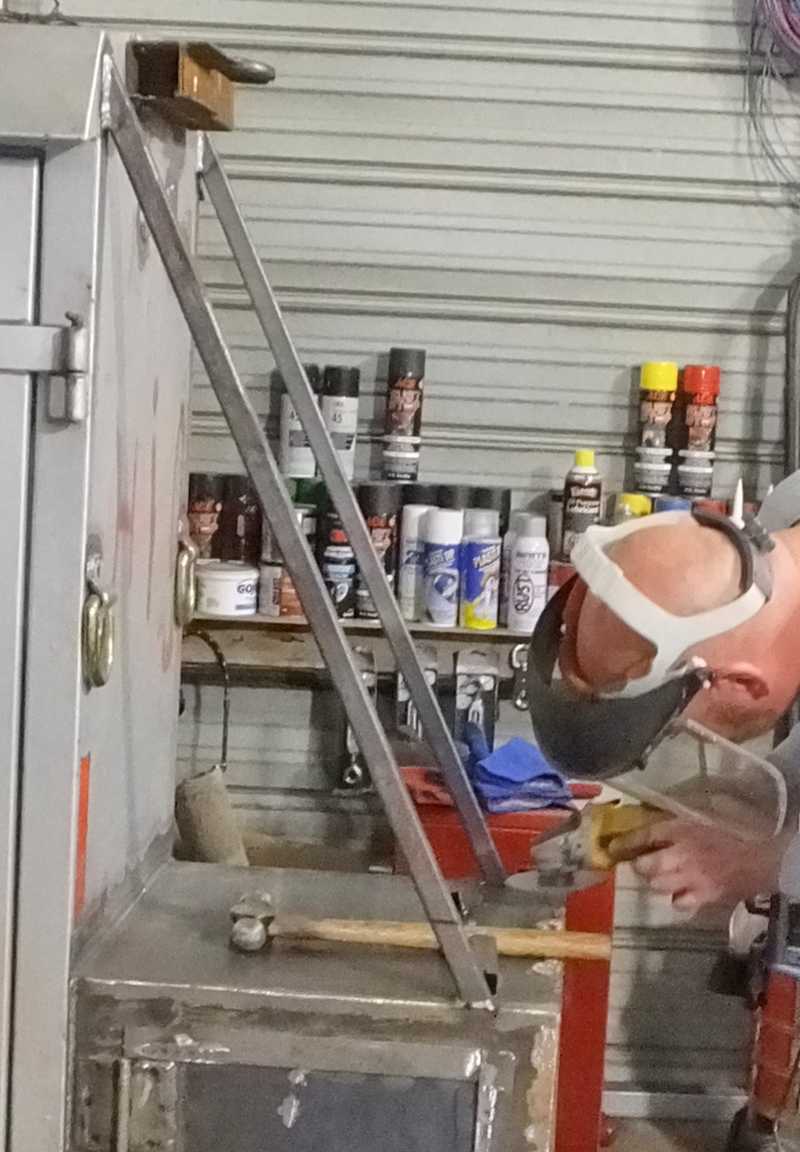
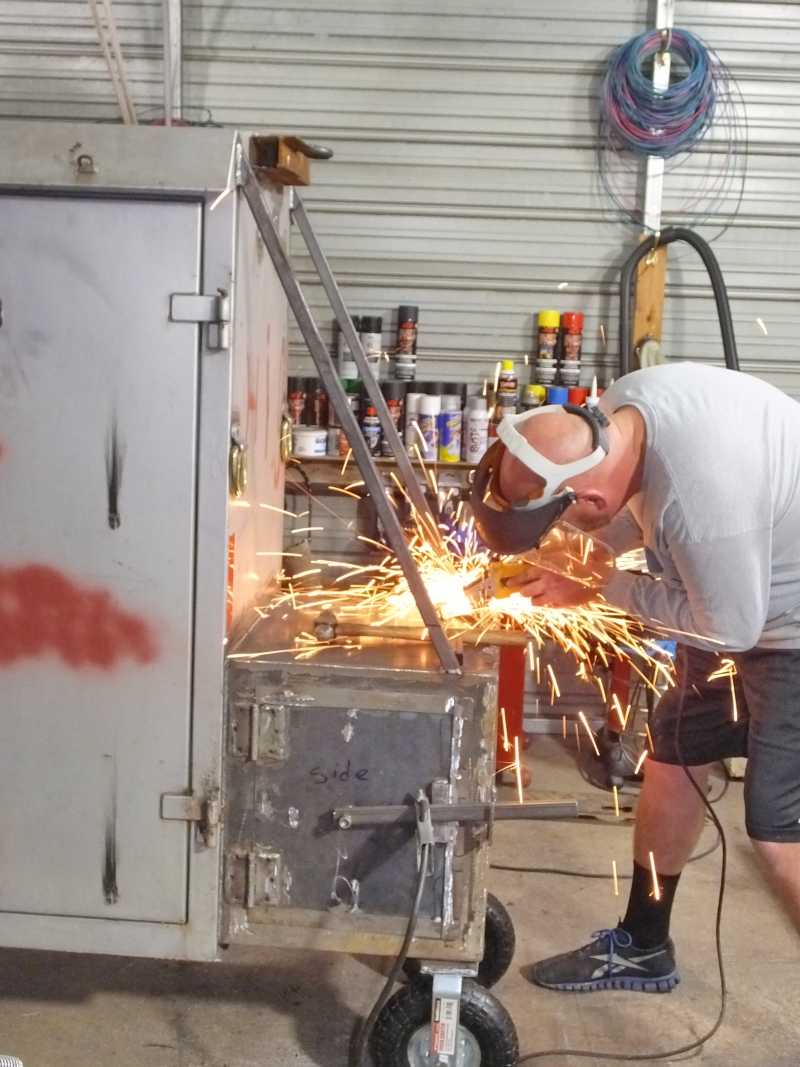
We decided braces from the firebox to the top of the smoker would maintain a good alignment and allow the doors to open and close easier. So we decided to make that distance span permanent with braces.
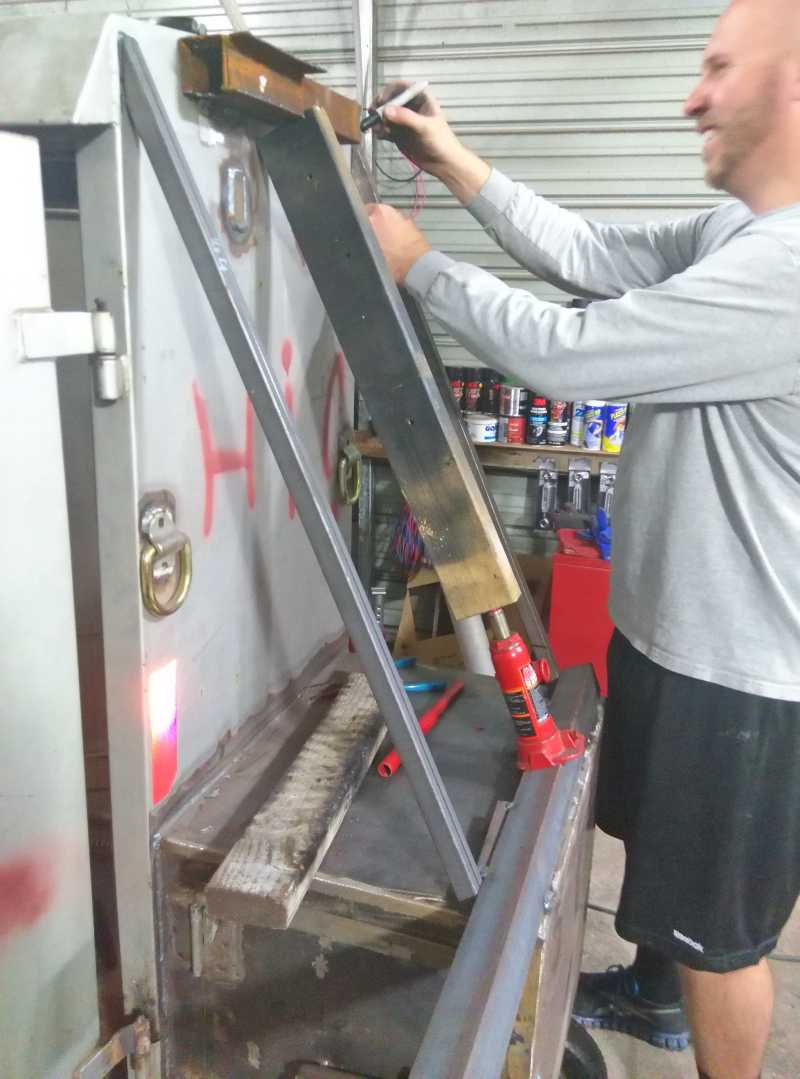
To get the span we needed, we added a little hydraulic muscle.
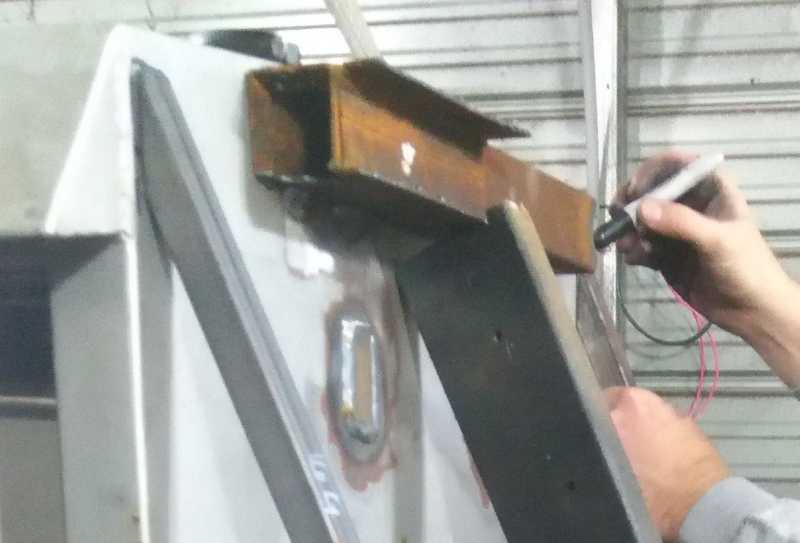
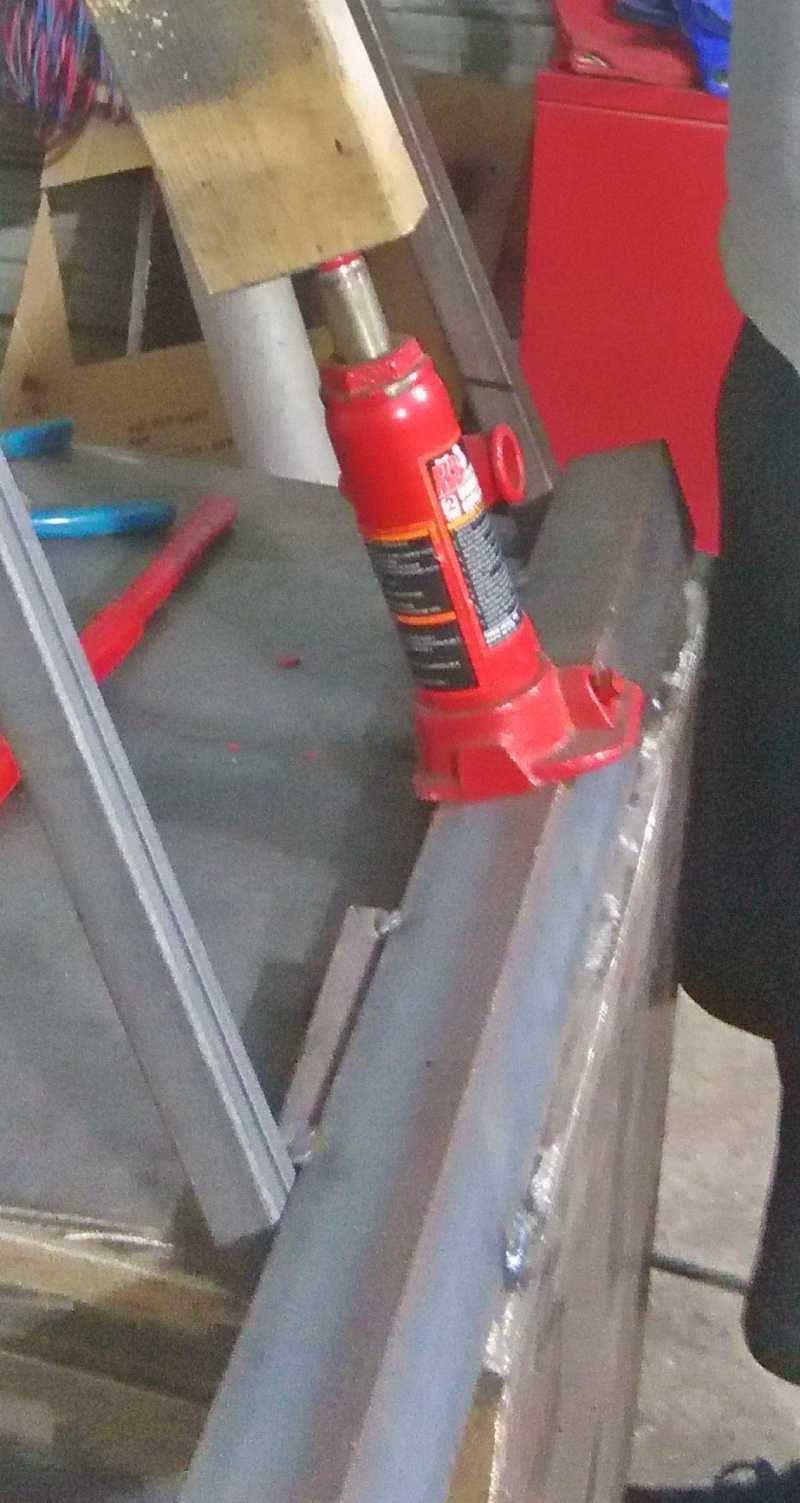
You see, all the heat of welding the firebox to the smoker, slightly warped the smoker and the doors no longer opened and closed easily. But by adding these braces we could permanently get our alignment back.
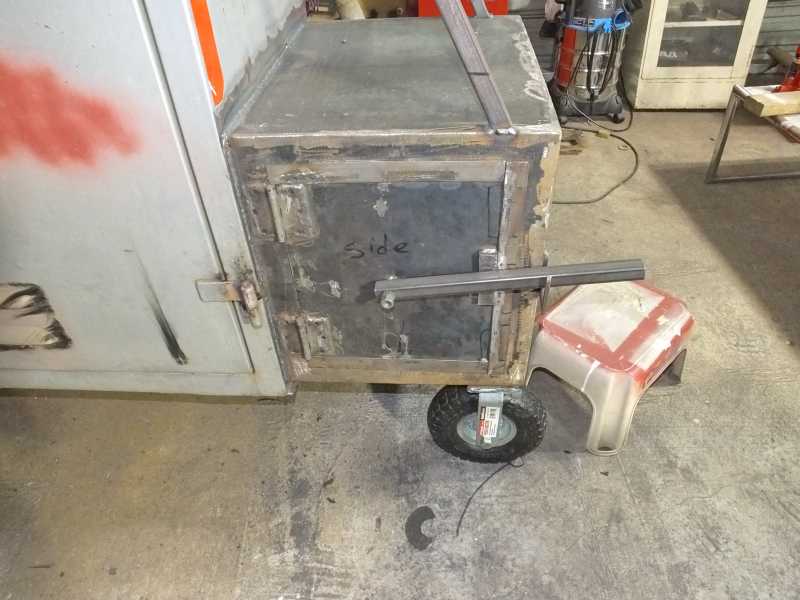
The firebox door came out amazingly well. It was airtight and locked closed with ease.

The top of the firebox will be used to keep foods warmed such as baked beans, or maybe grill hamburgers or such. Its a great grill.
Notice. Right now this side of the firebox has no air inlet vents installed yet. They are on their way shortly.
Look. Now we have installed air inlet vents and a slider open/close flow control.
After completion and testing we verified the size of the air inlet was perfect and the control was great as we could raise or lower the internal smoking cooking temperature on demand and hold it steady by controlling the air flow.
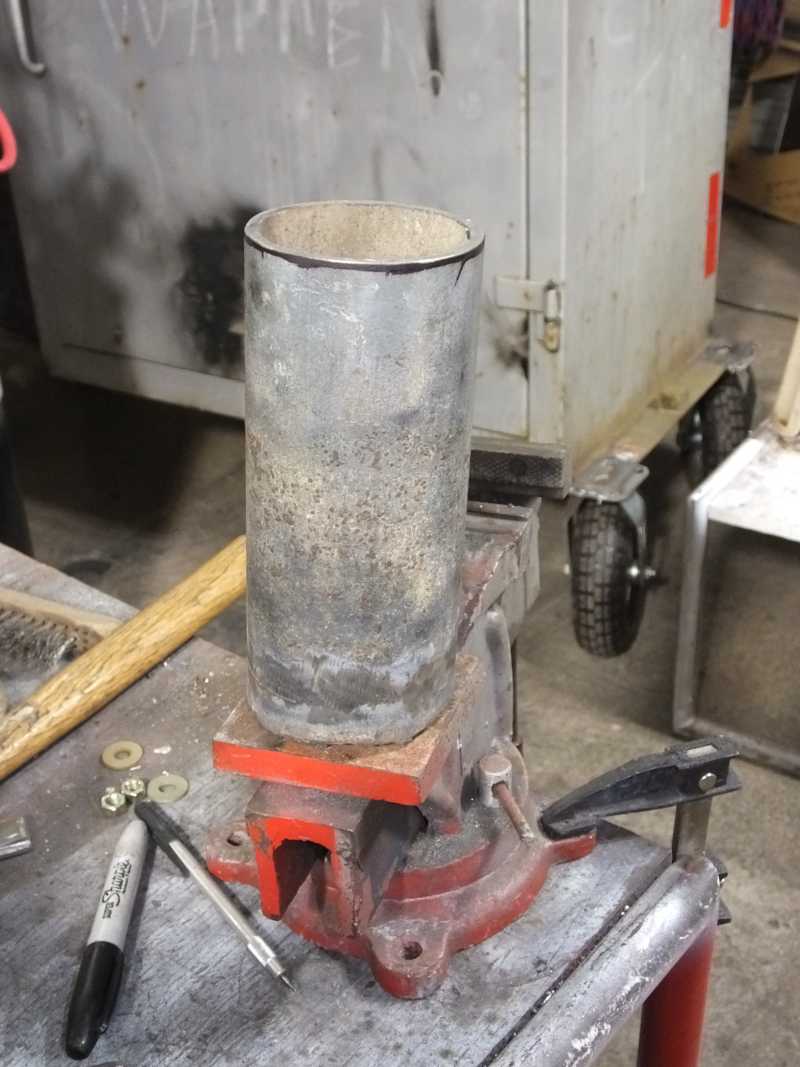
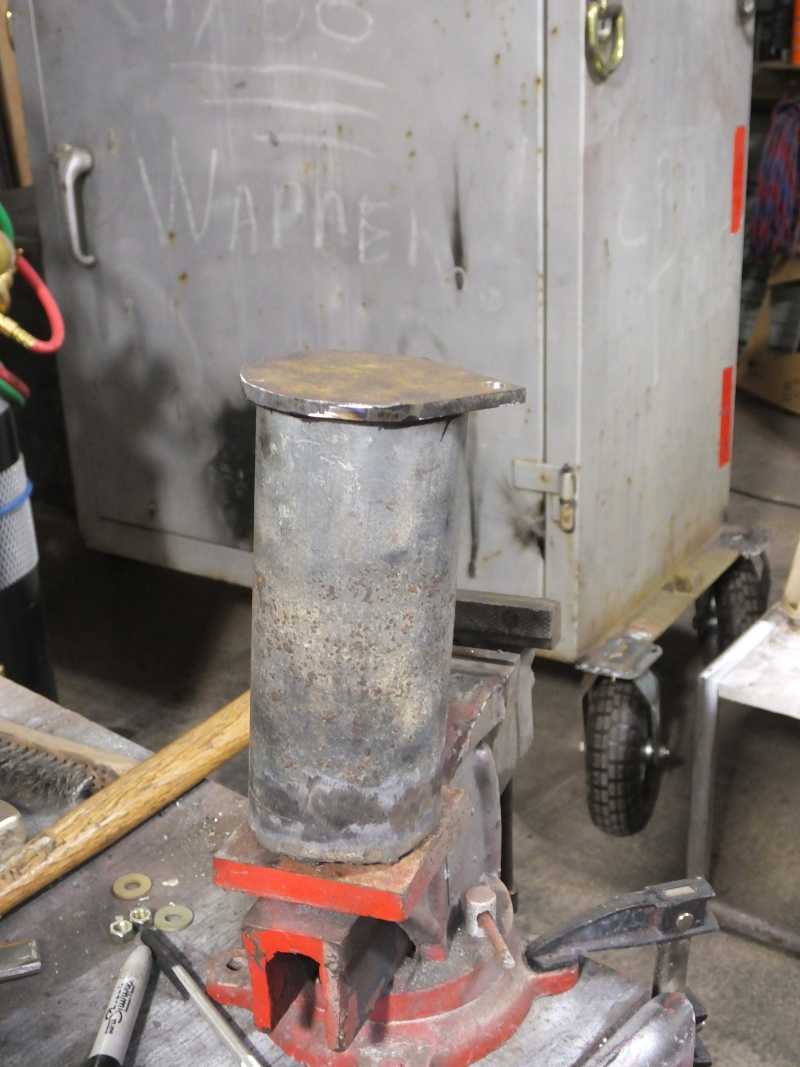
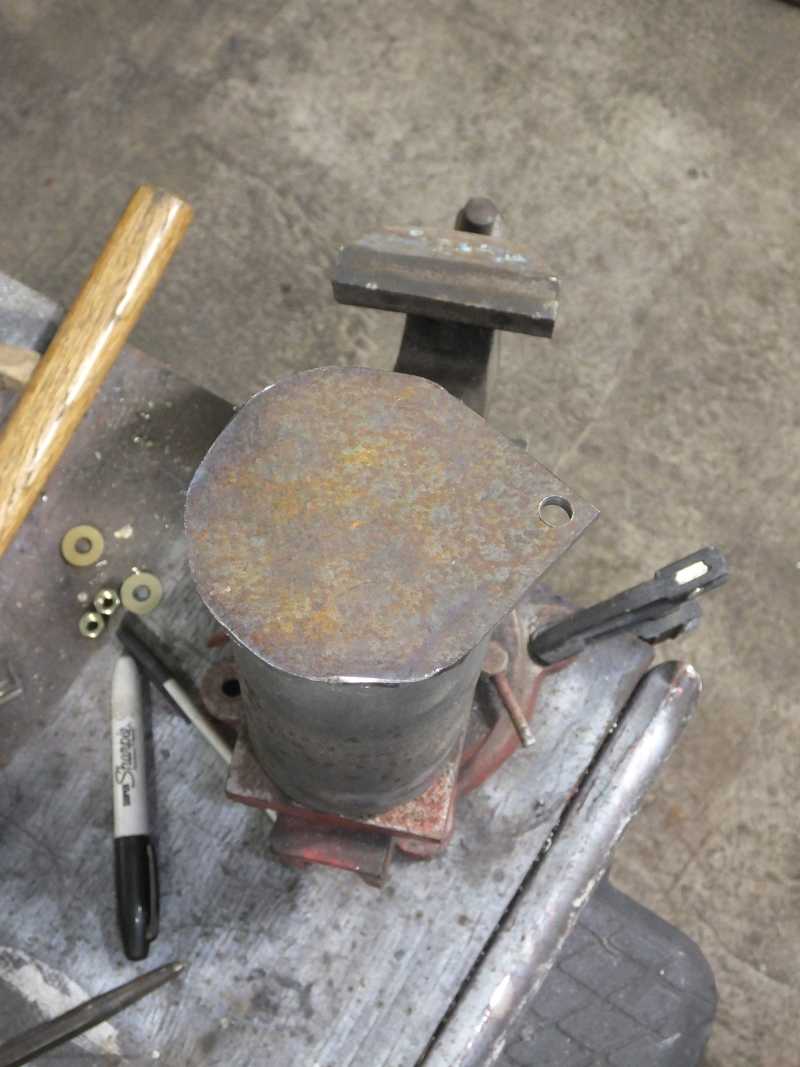
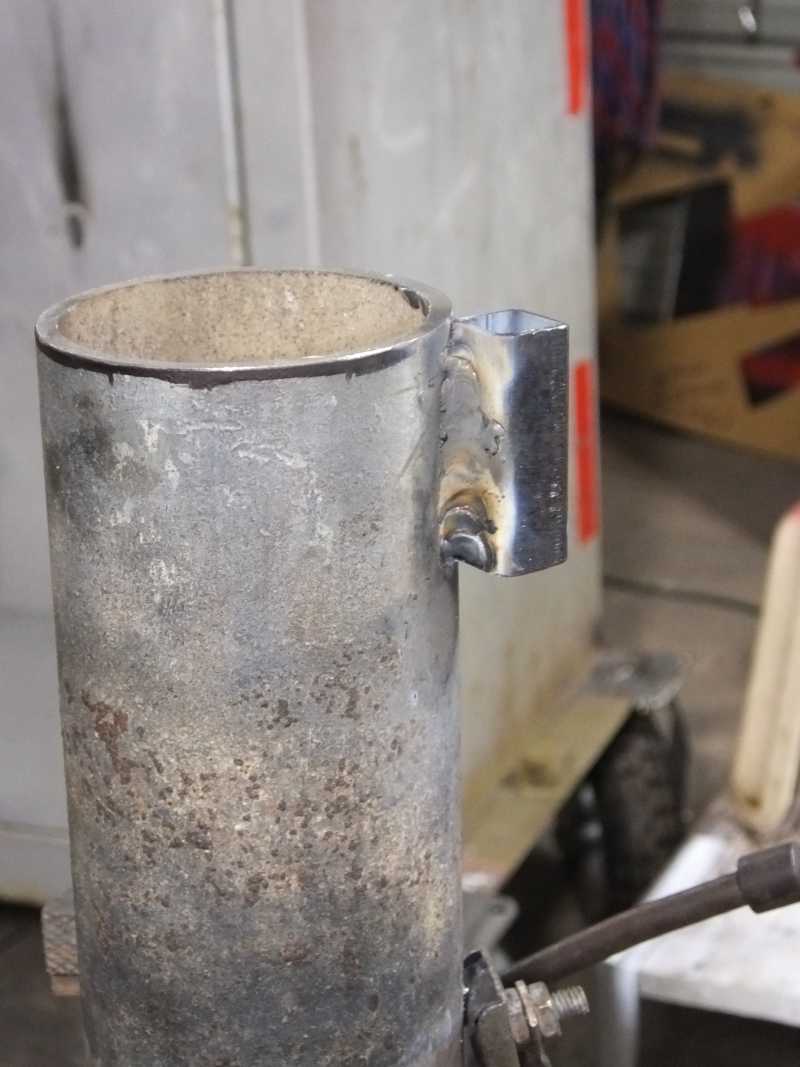
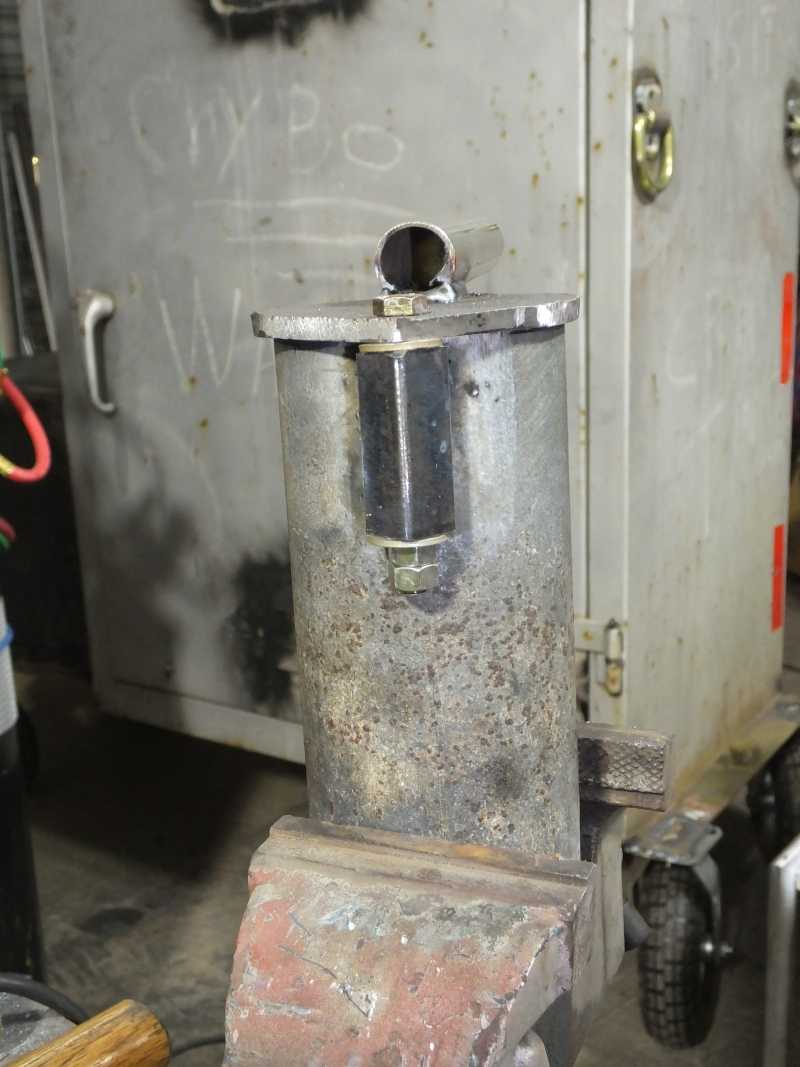
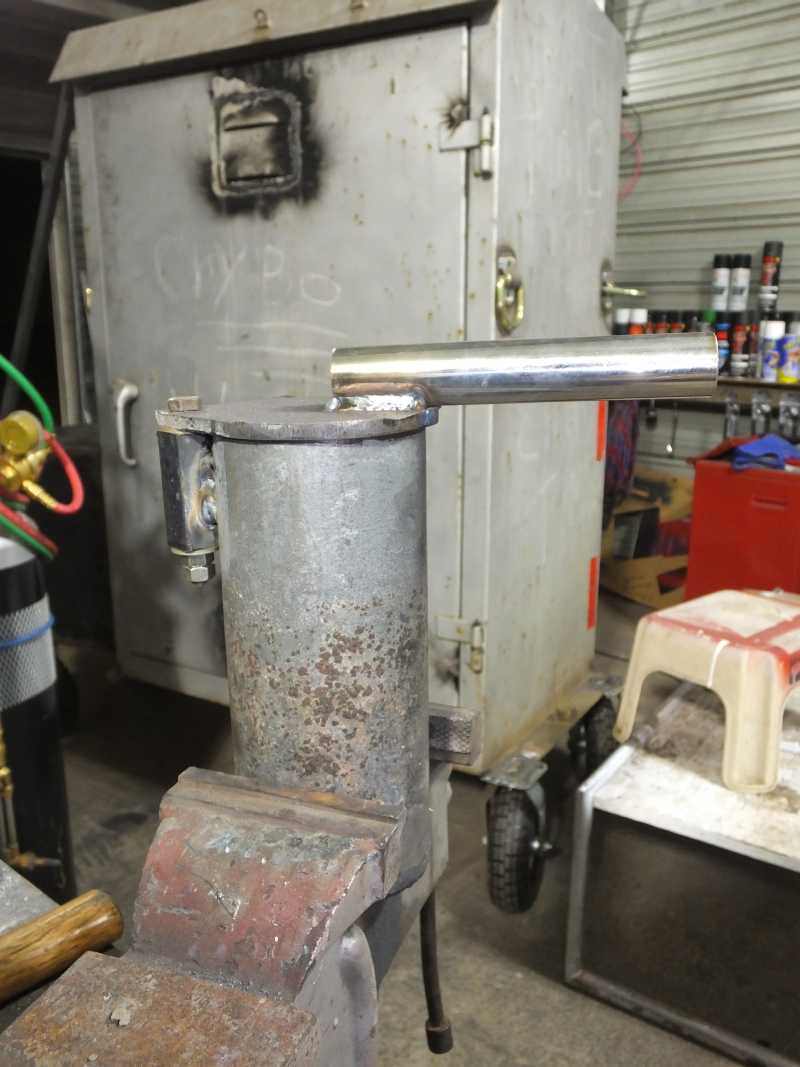
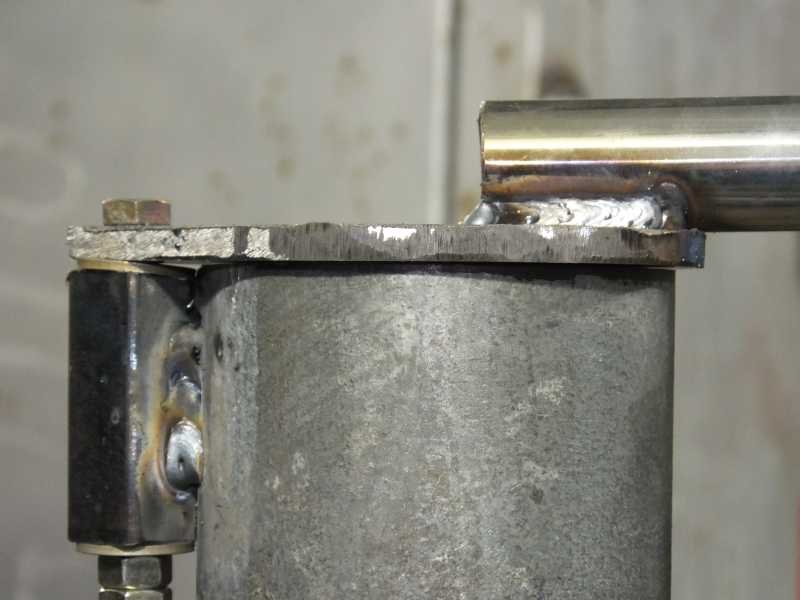
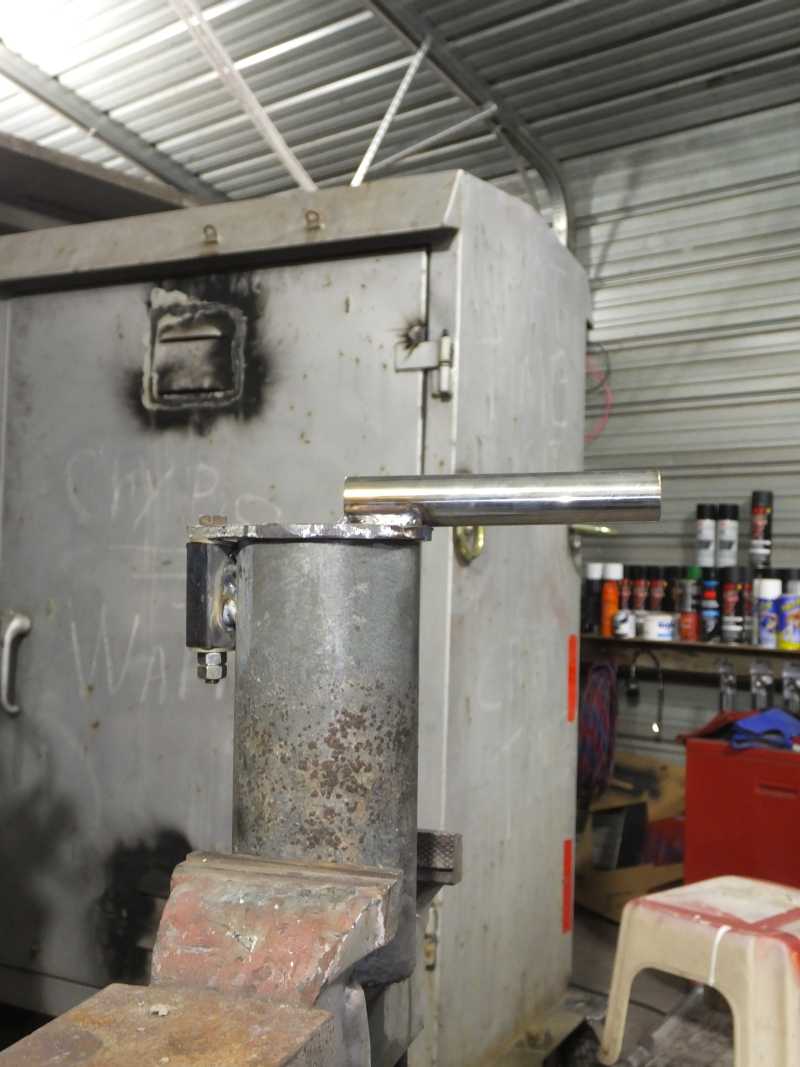
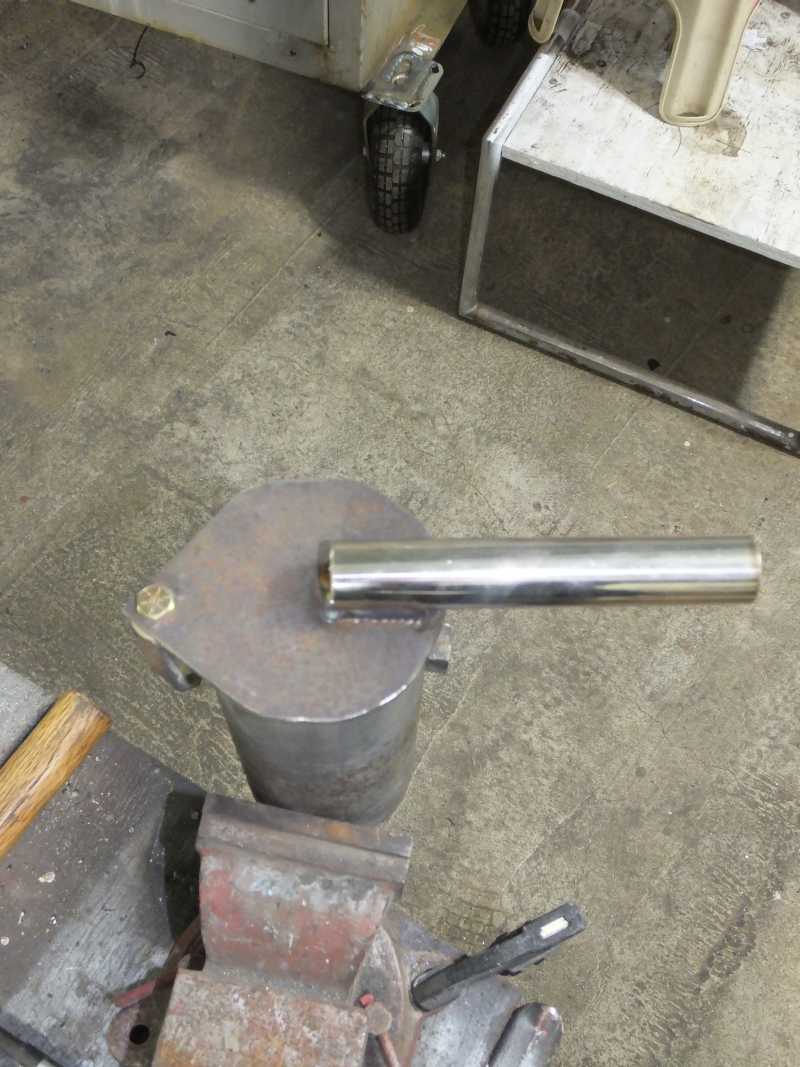
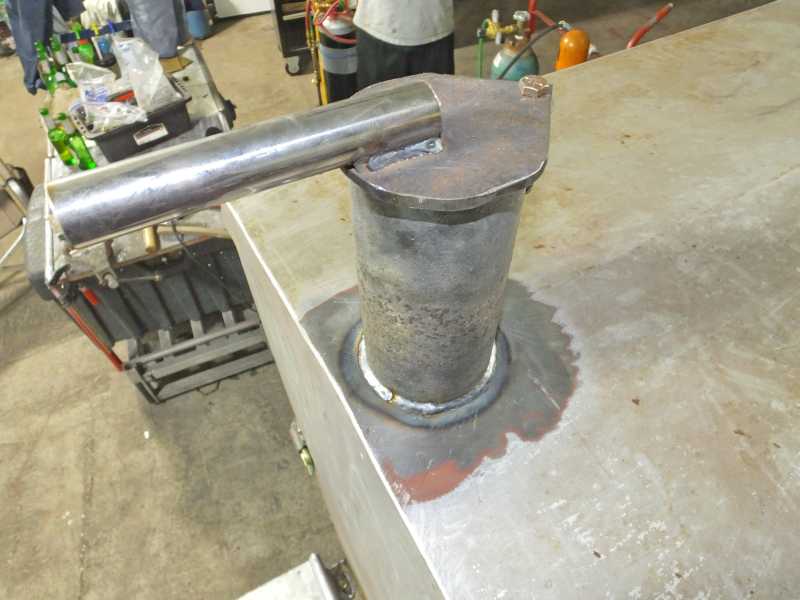
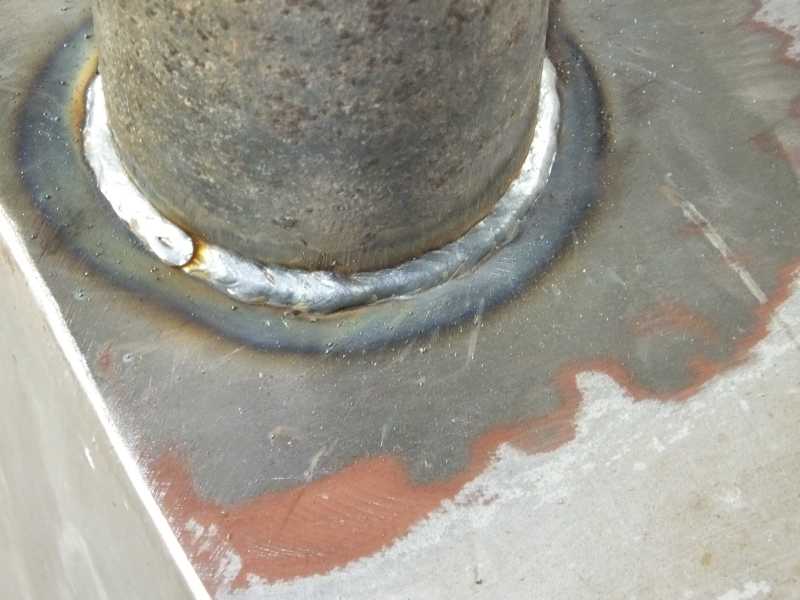
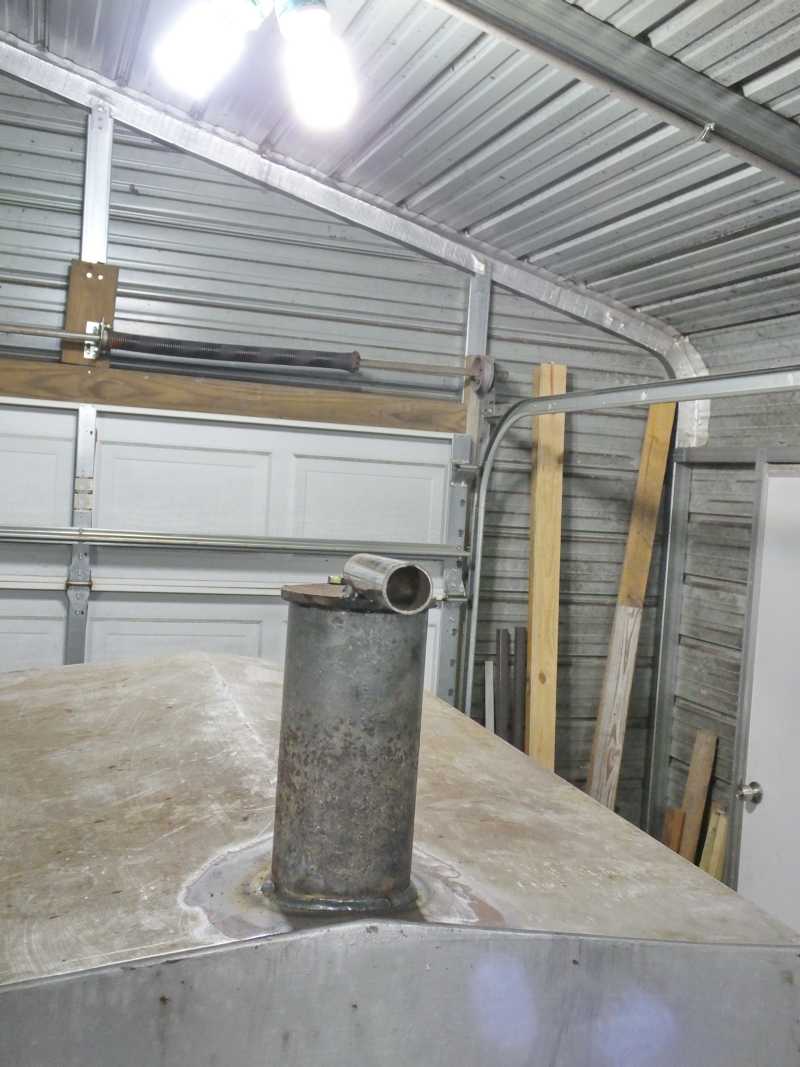
Below is the pipe that will sit atop the smoker acting as smoke exhaust exit. Smoke stack or chimney as you might call it.
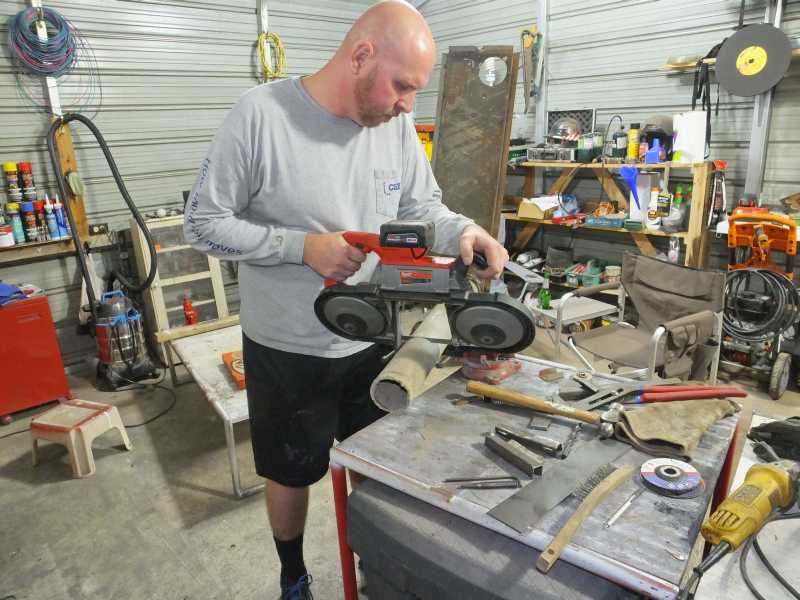
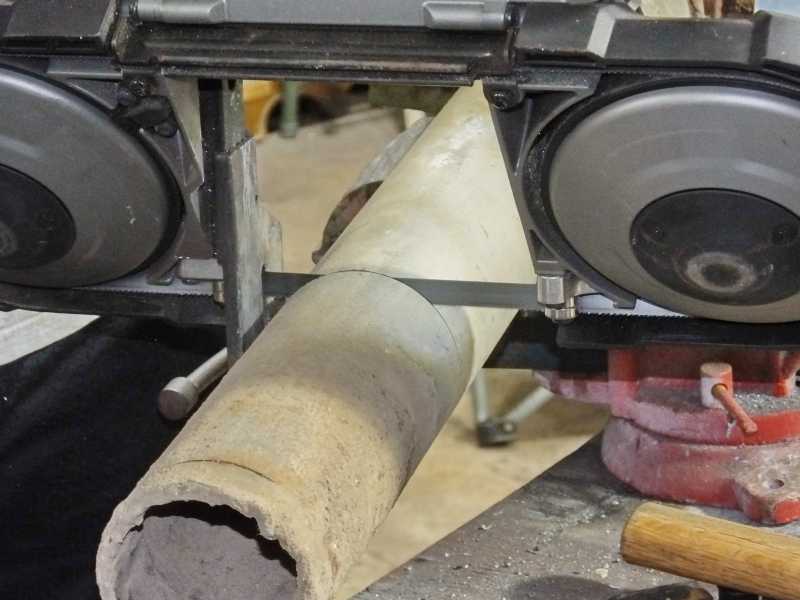

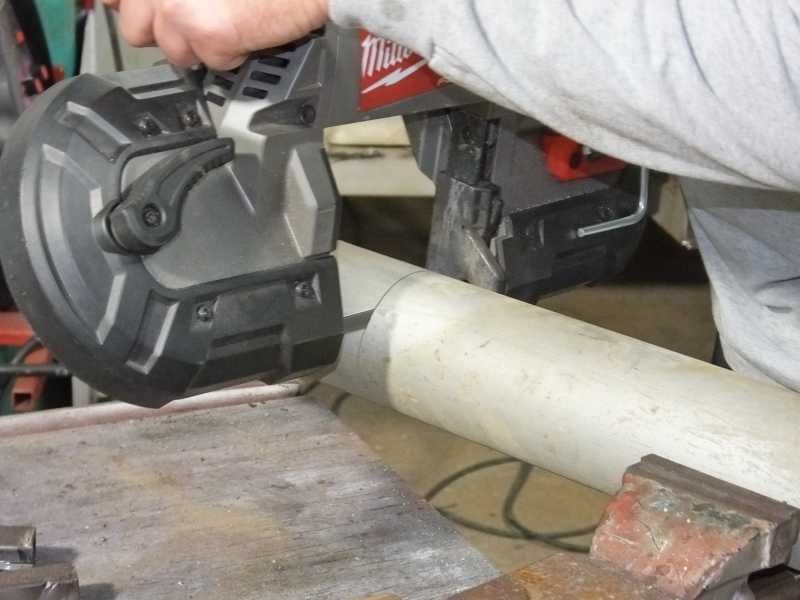
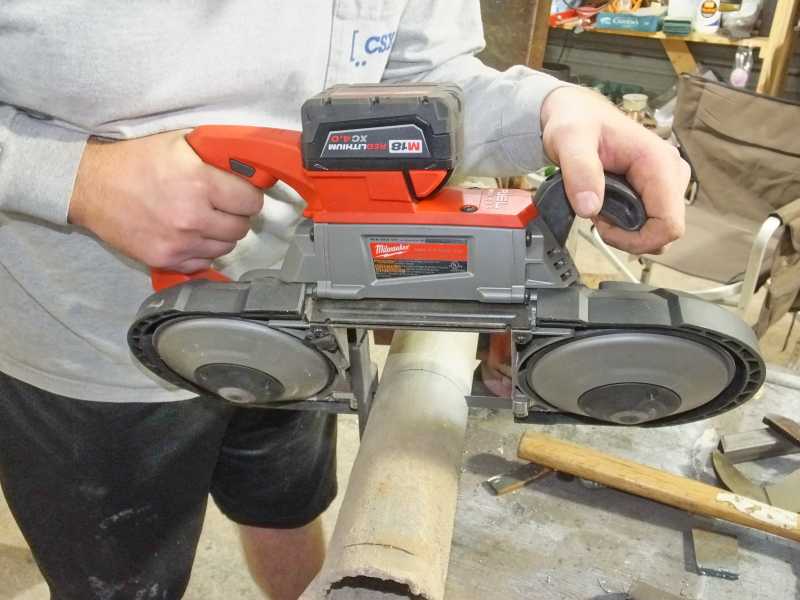
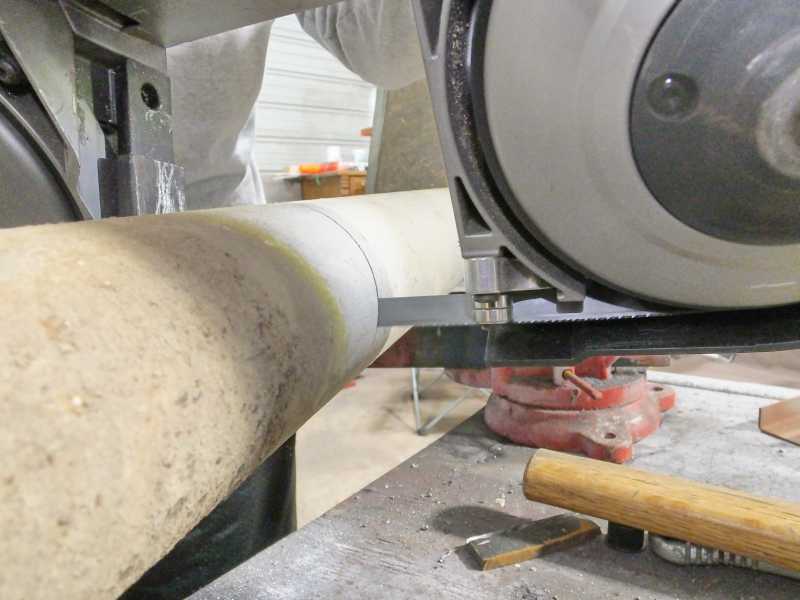
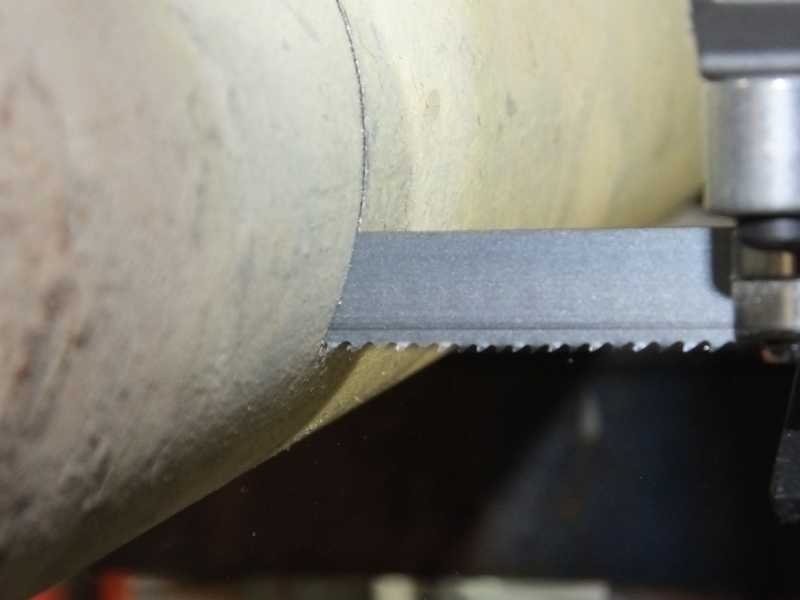
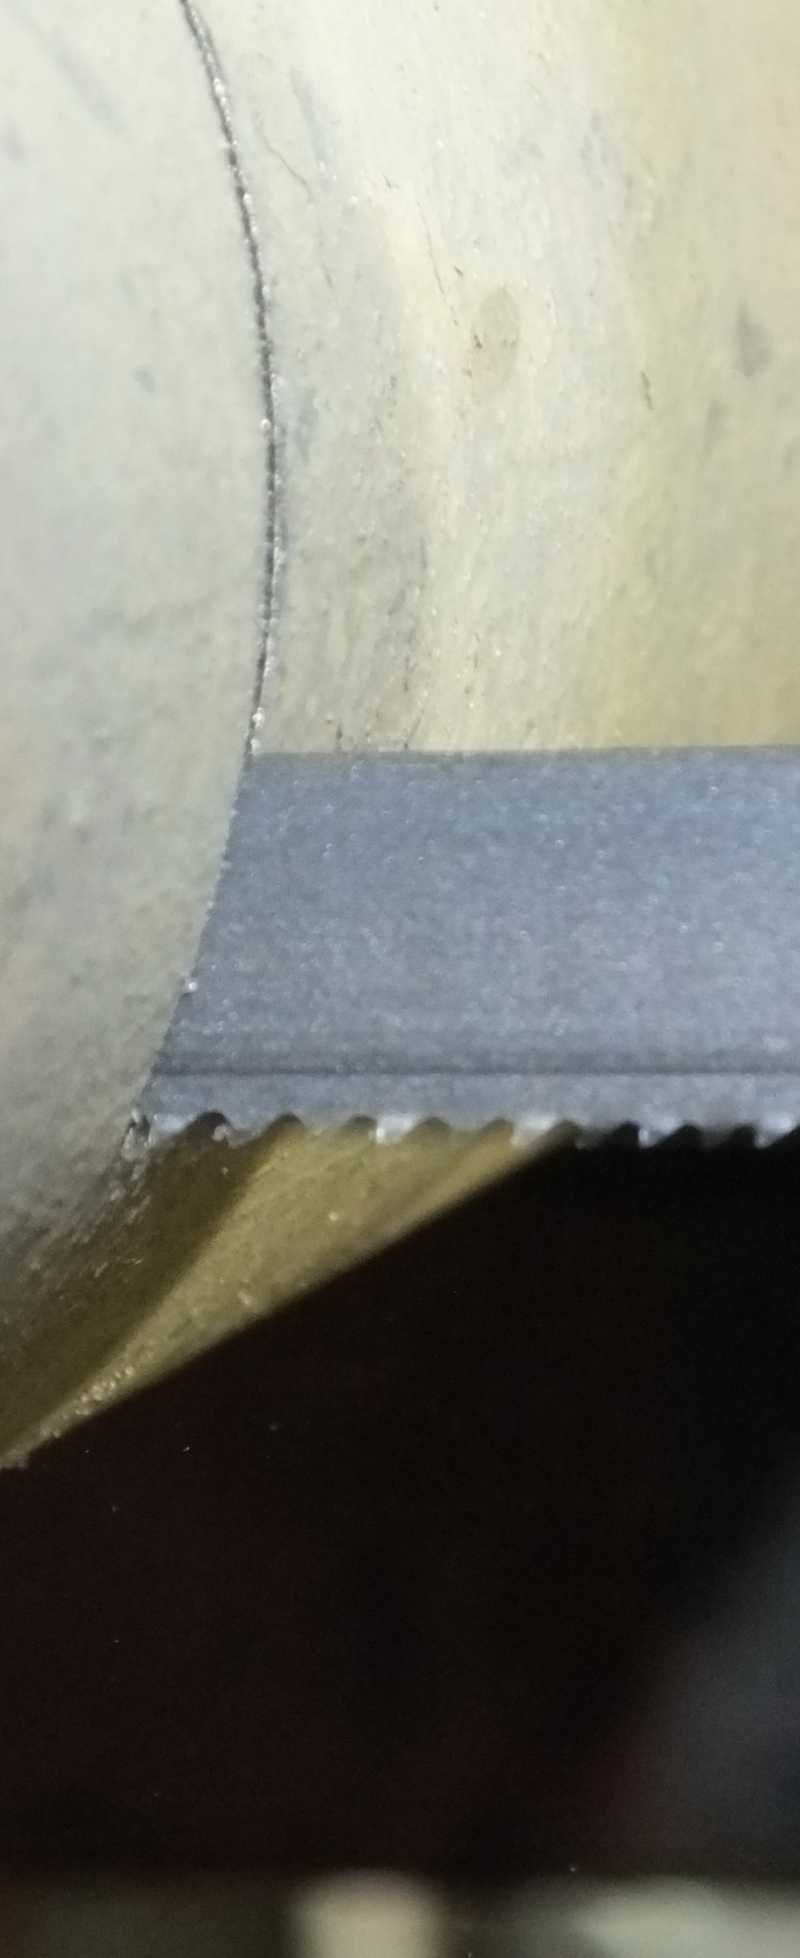
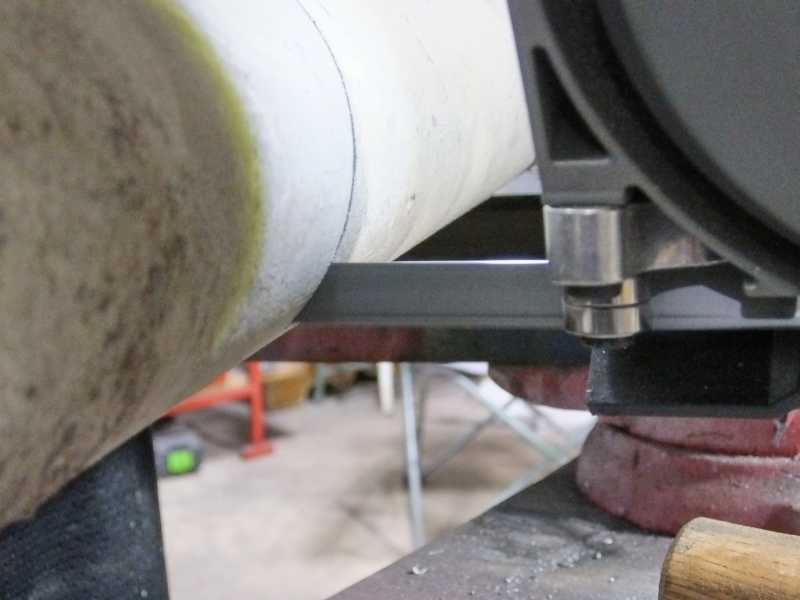
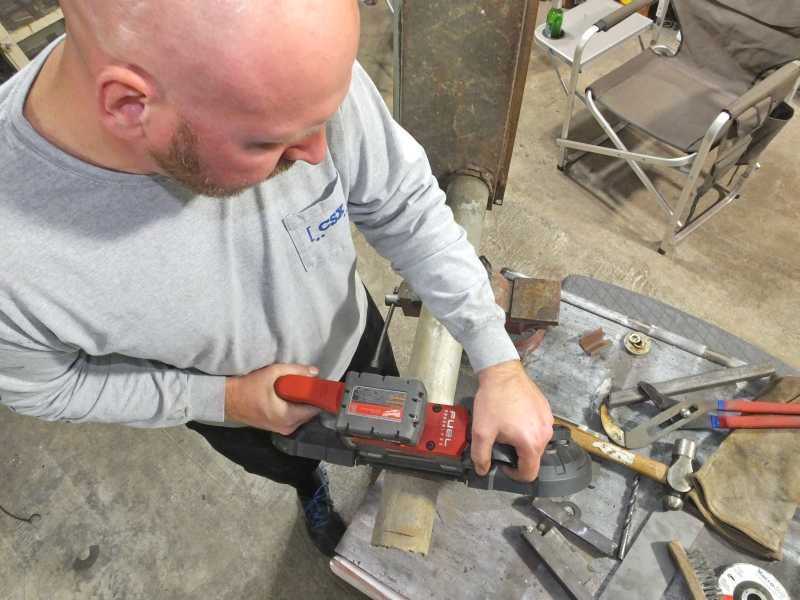
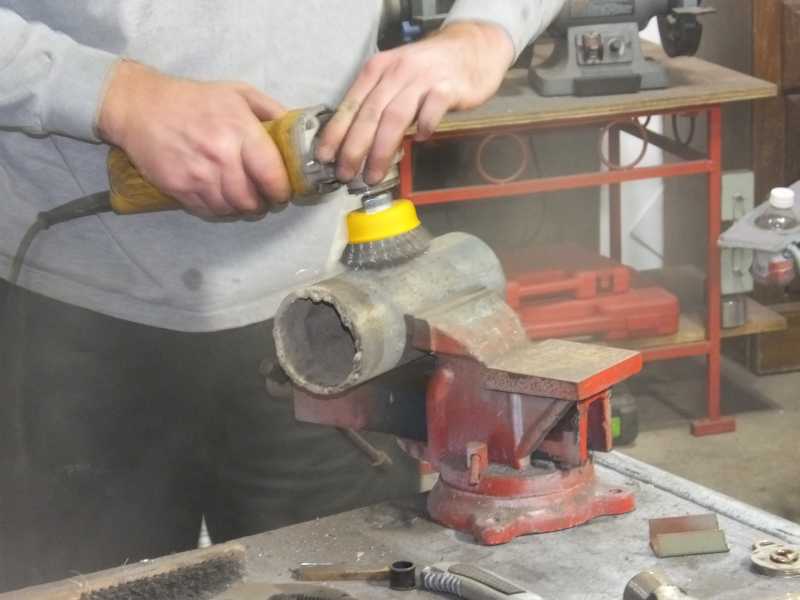

Ok, smoke stack cut to length.
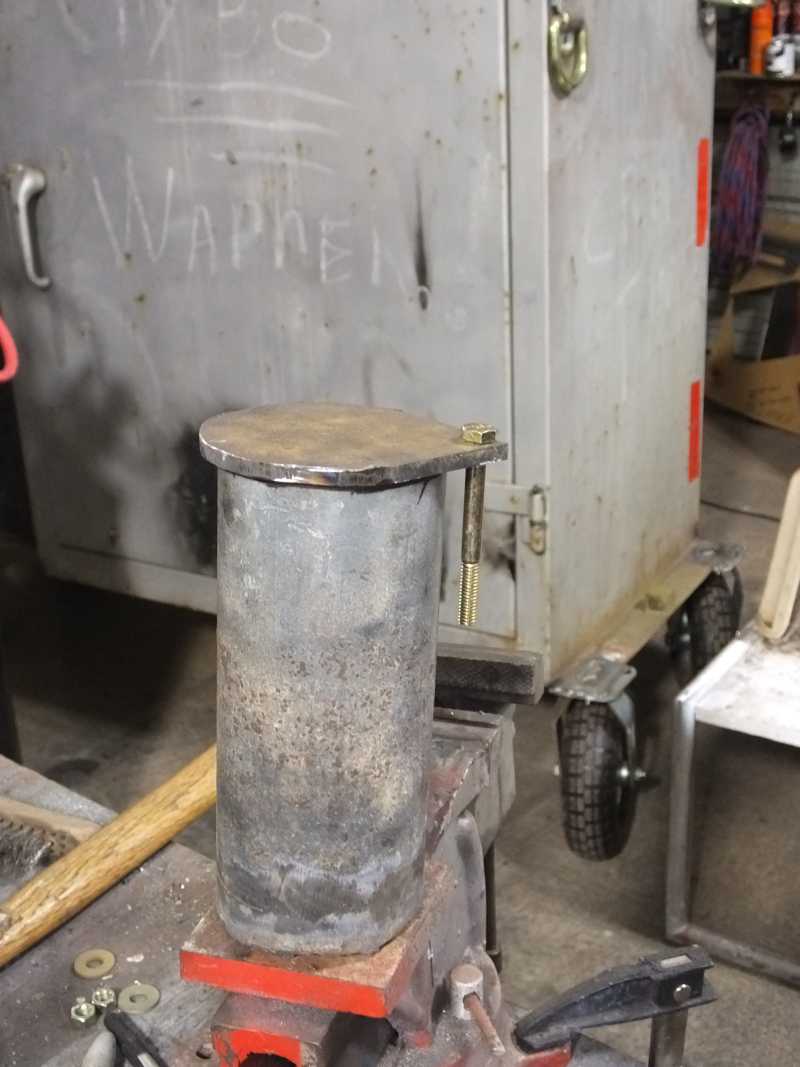
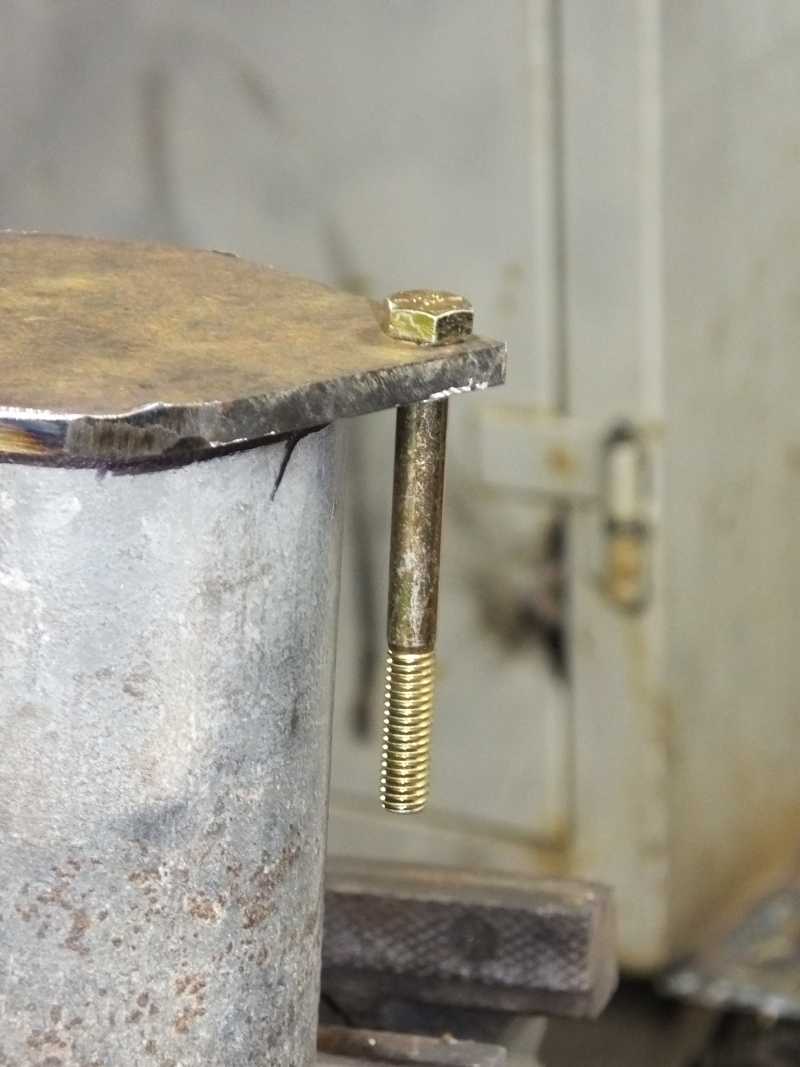
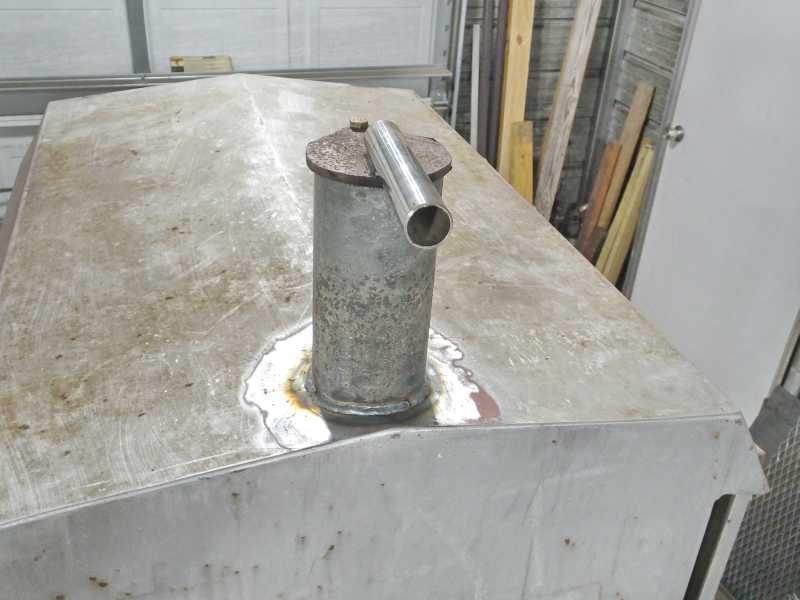
But we need some sort of gate control so we can control the escaping air flow so we can control the rate of wood burn and cooking temperature. So here comes gate valve control.
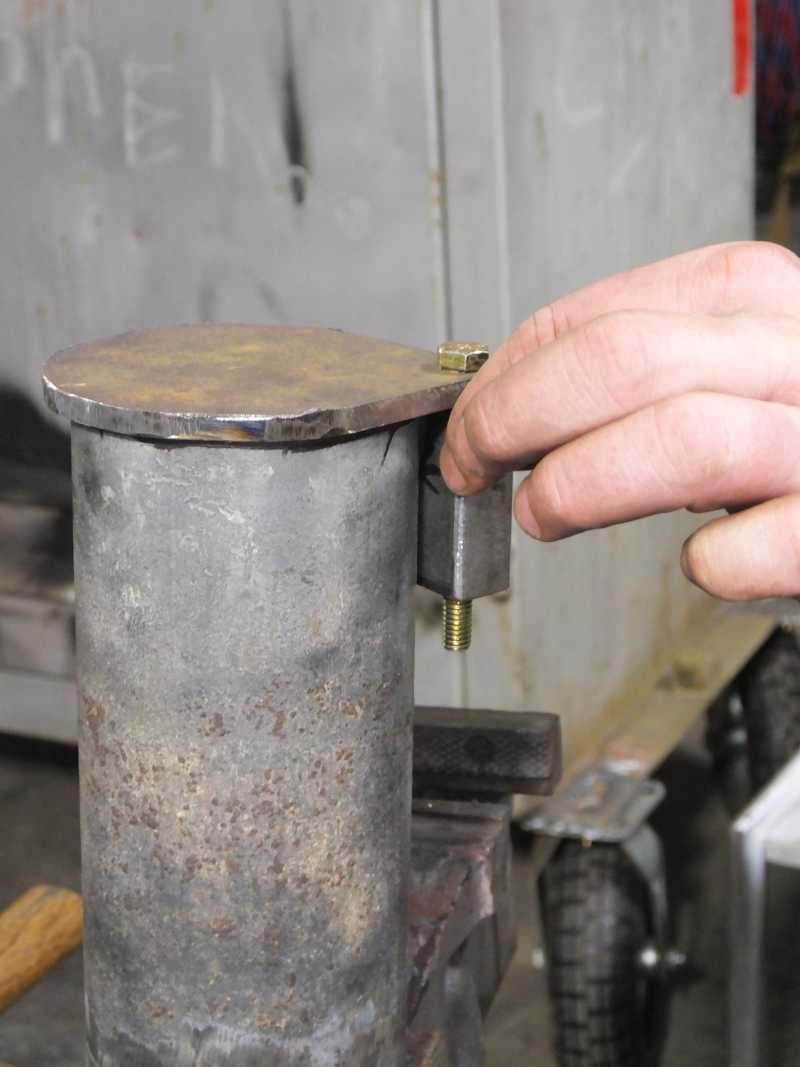
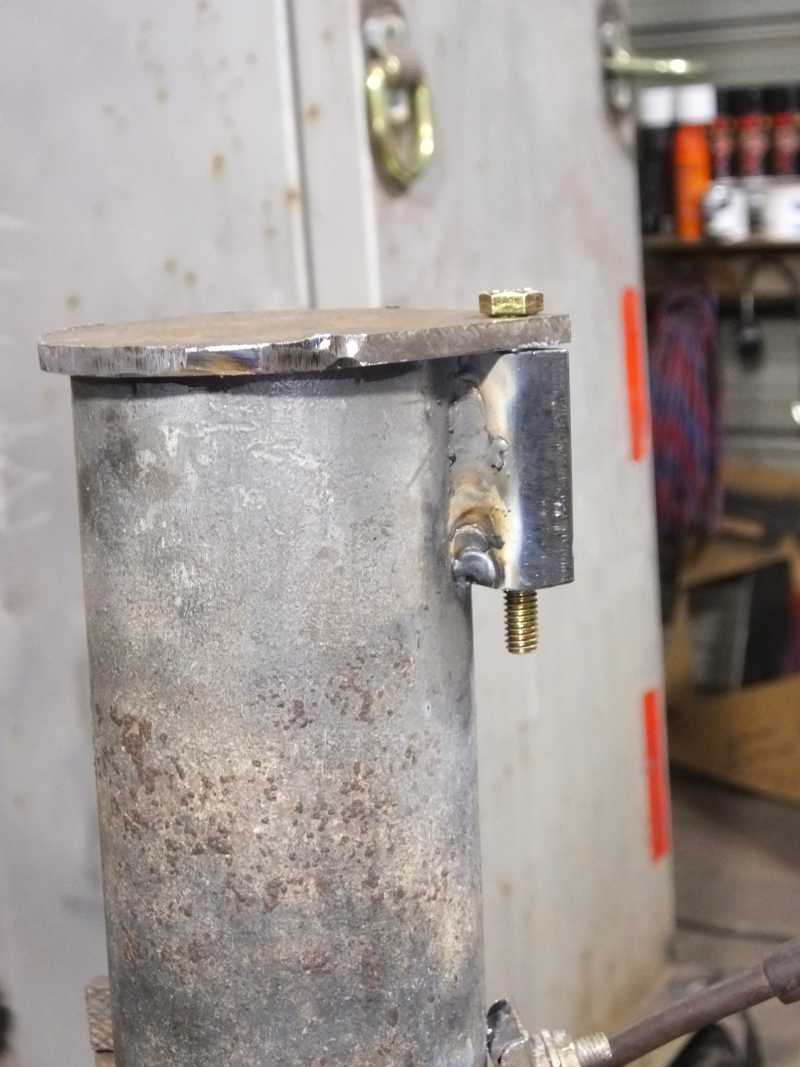
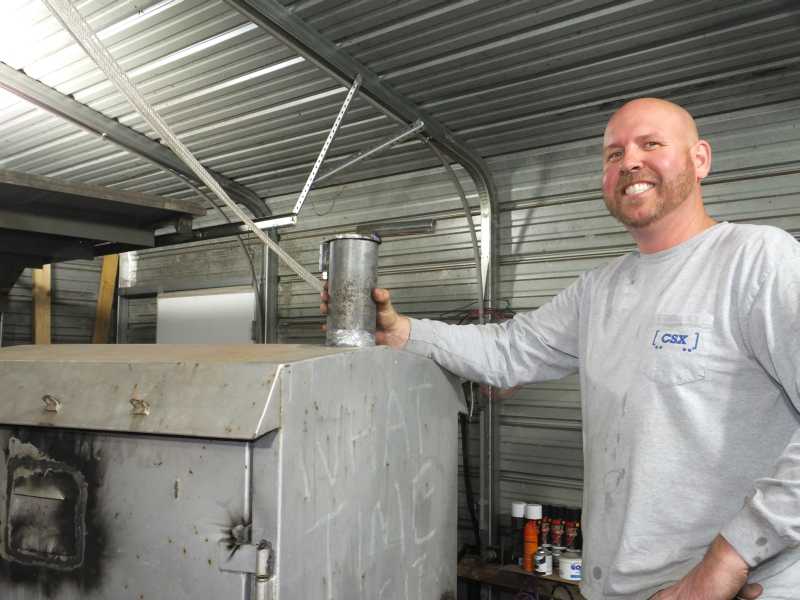
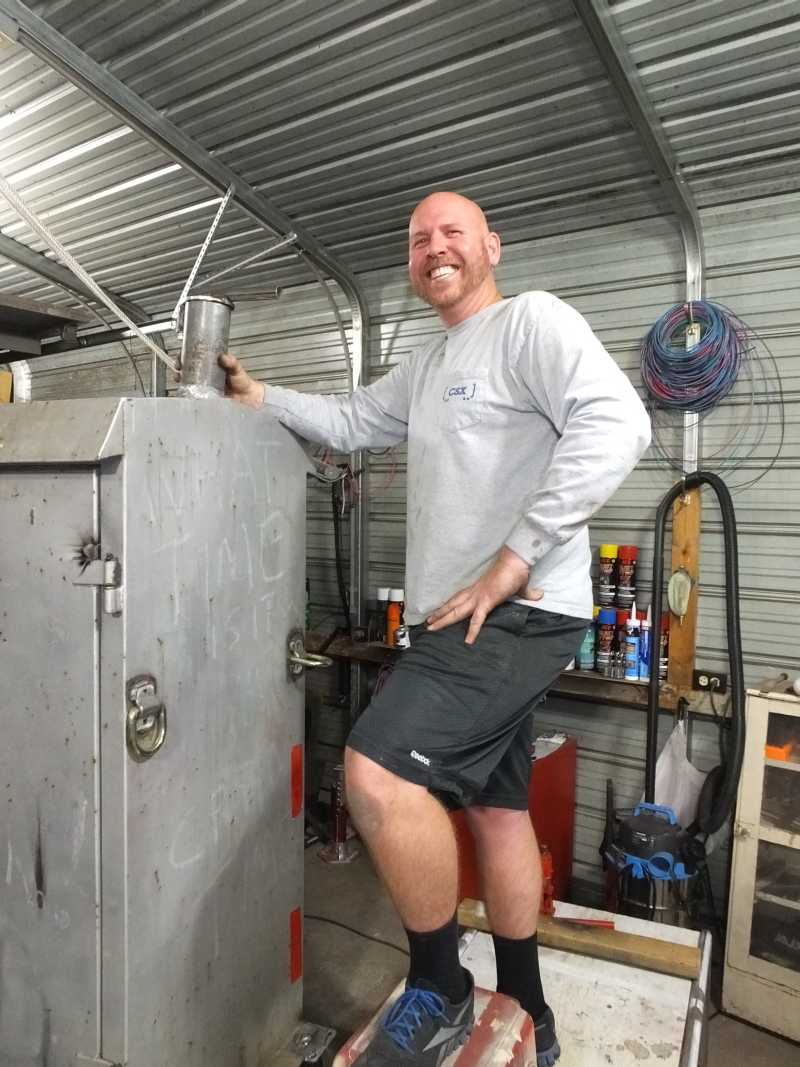
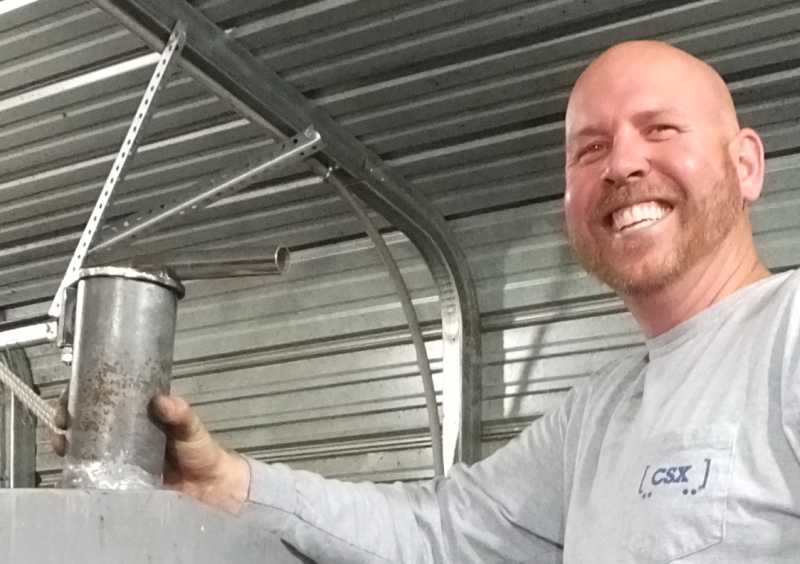
A hole cut in the roof for the new smoke stack that is quickly on its way.

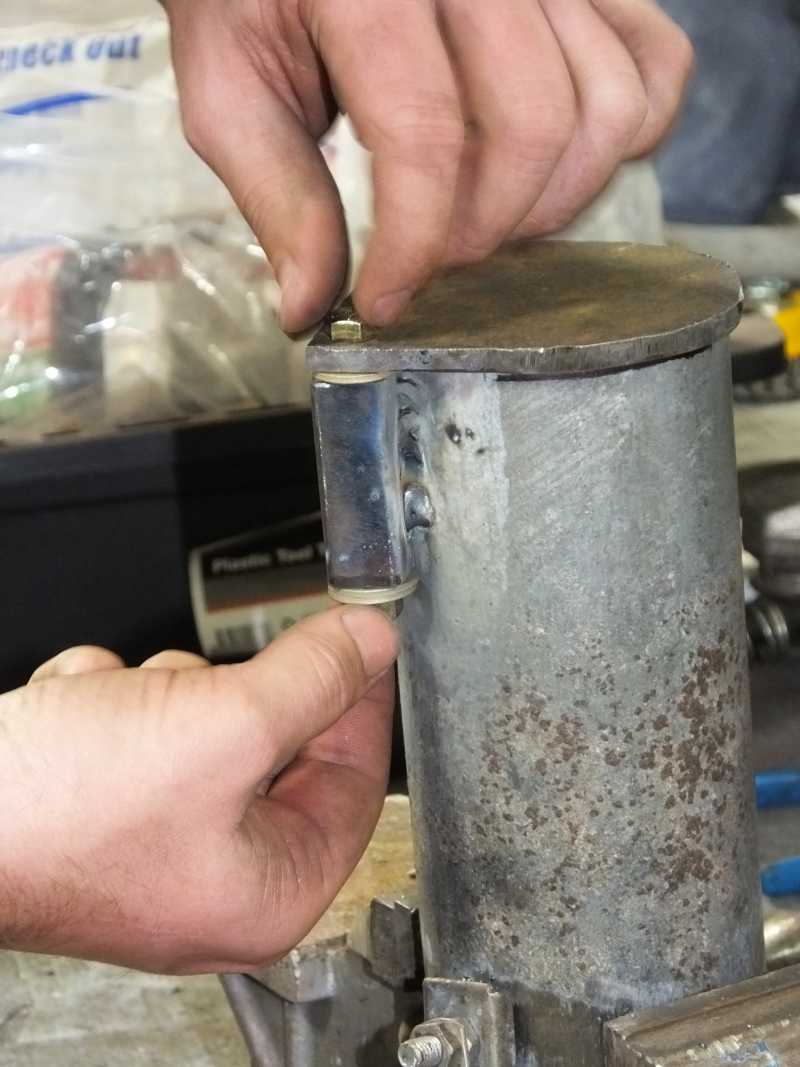
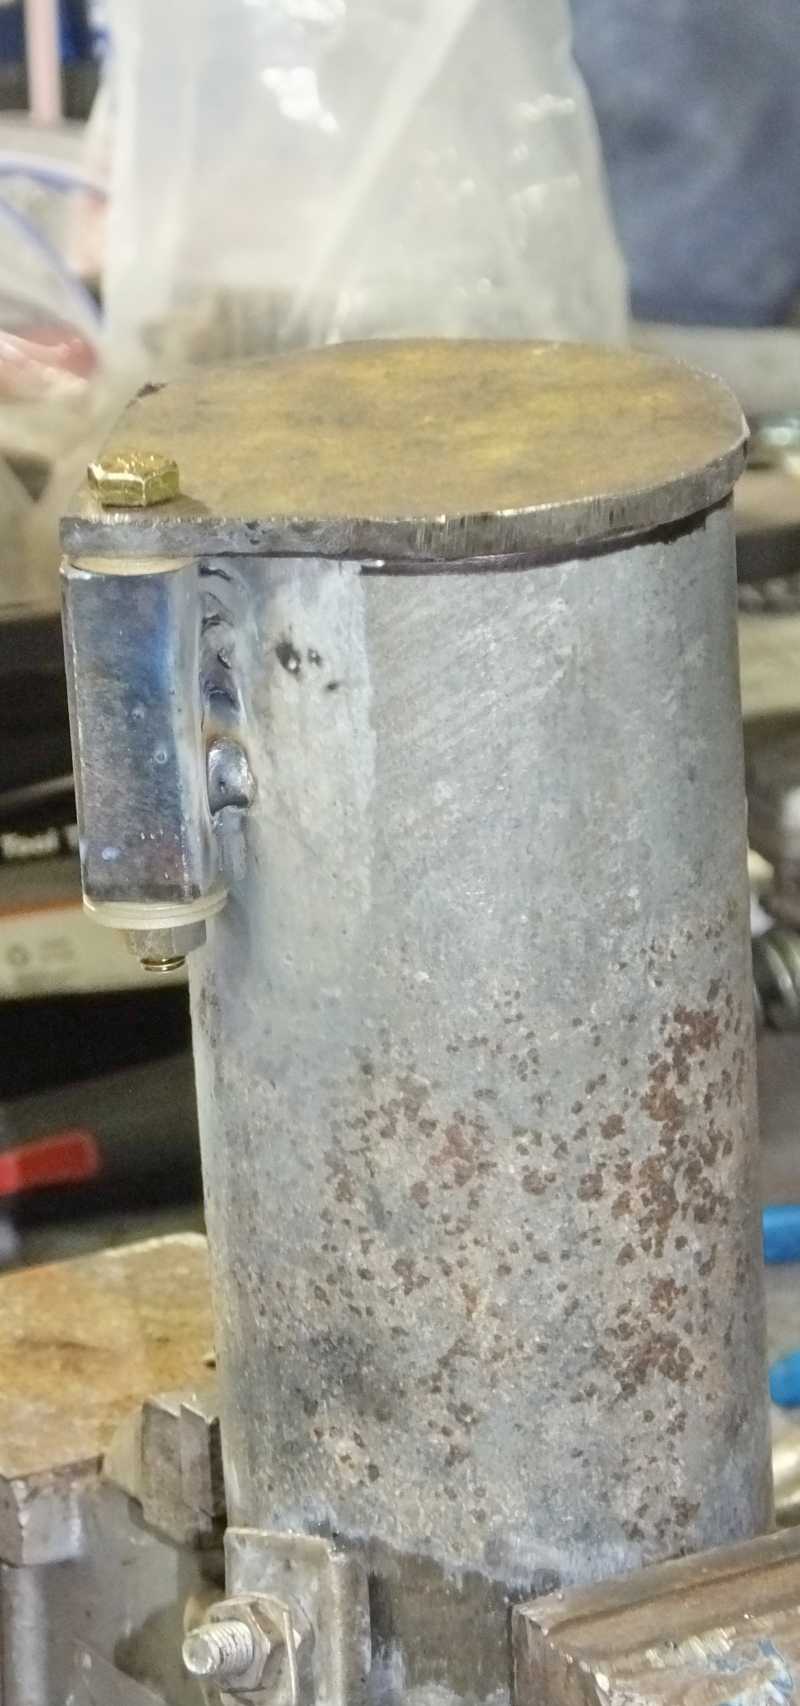
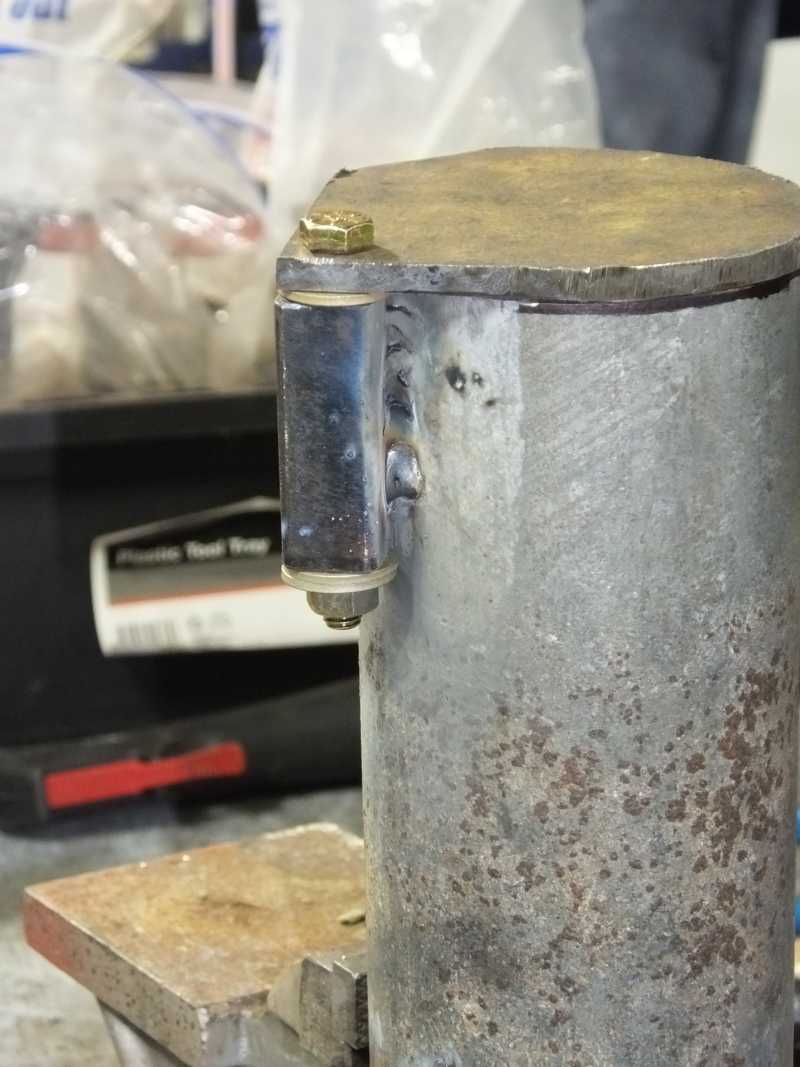
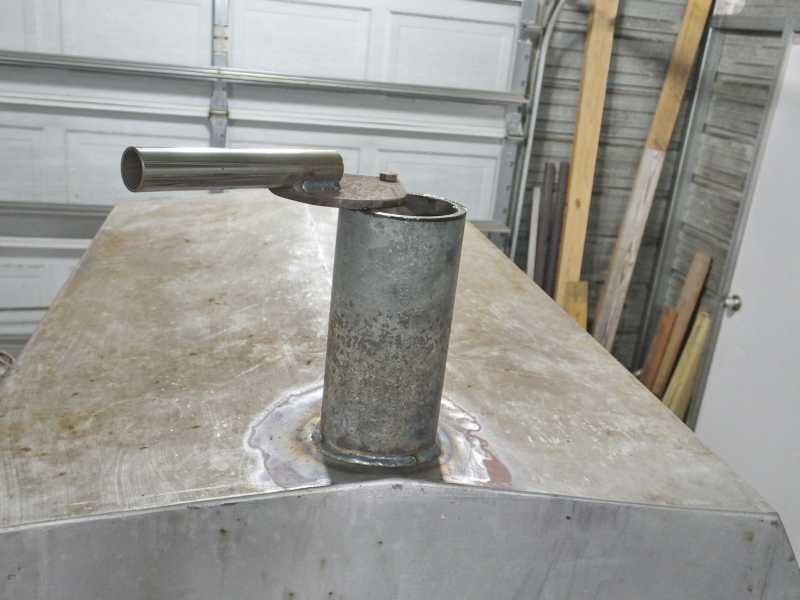
Now a handle is welded to the swinging gate door.
It takes about 8 lbs of pressure on the handle to open or close the gate. Not a lot, but enough you know you have a snug airtight fit your dealing with.
We can close the air flows down totally and put the fire out and save the remainder of the wood upon demand after cooking is done.
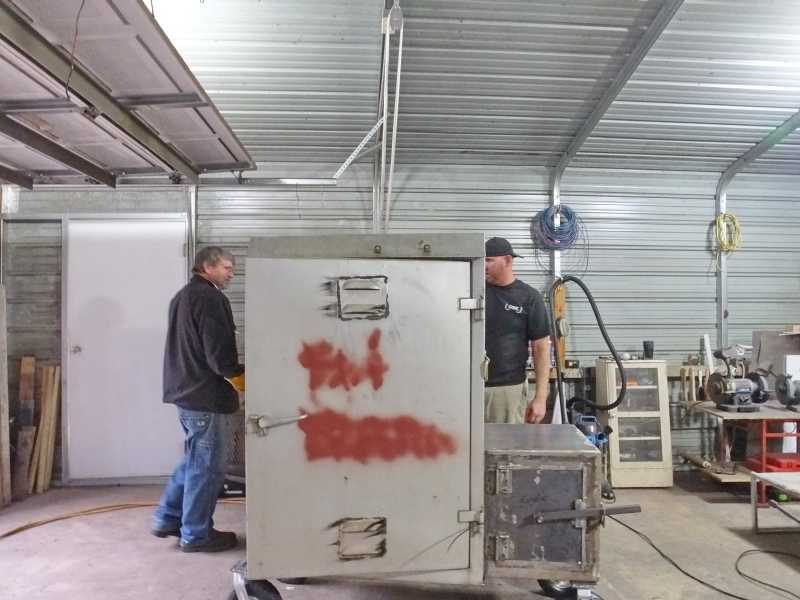
Look at Jamie. He is so proud. The owner half builder of this great smoker. He helped me build it every step of the way.
We had so much fun on this project. It was not a job. It was an adventure.


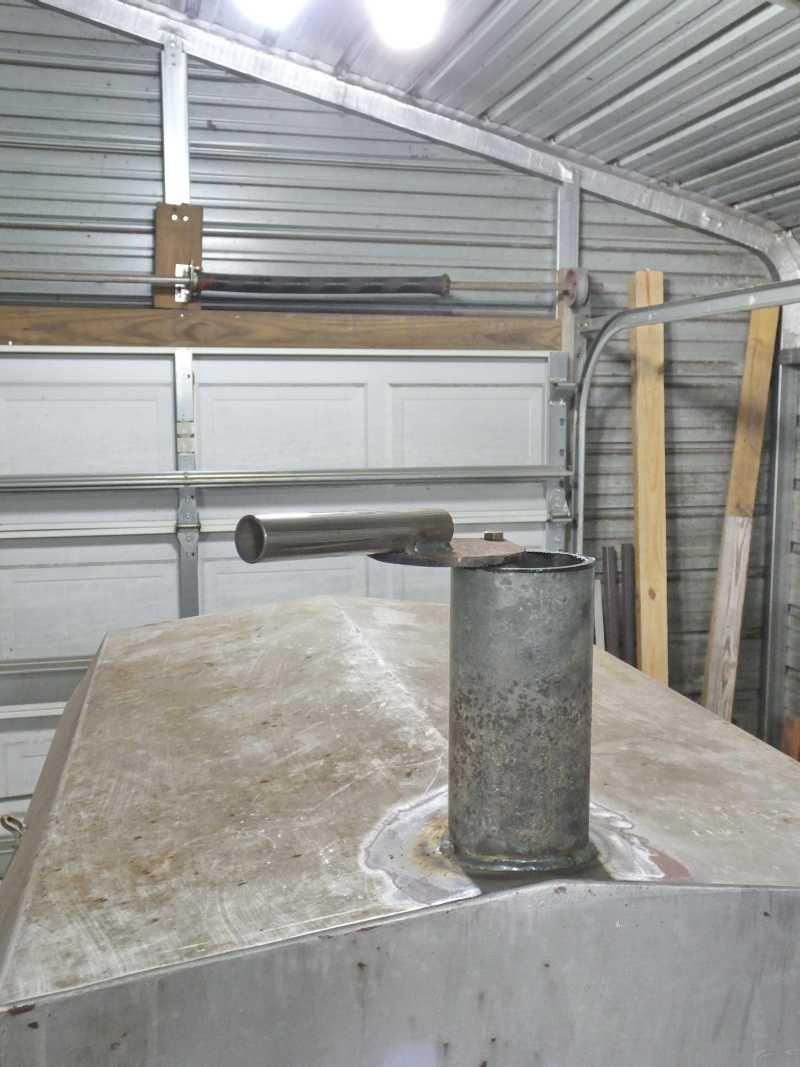
Yes that handle is Stainless Steel.
Now go on to build page 3 to see the rest.
The finished painted page BBQ cooker smoker.
Build page 1 . BBQ offset smoker built in St Augustine.
THIS PAGE IS Build page 2. BBQ offset smoker built in St Augustine.
Build page 3 . BBQ offset smoker built in St Augustine.