


THIS PAGE IS Build page 1. BBQ offset smoker built in St Augustine.
Build page 2. BBQ offset smoker built in St Augustine.
Build page 3. BBQ offset smoker built in St Augustine.
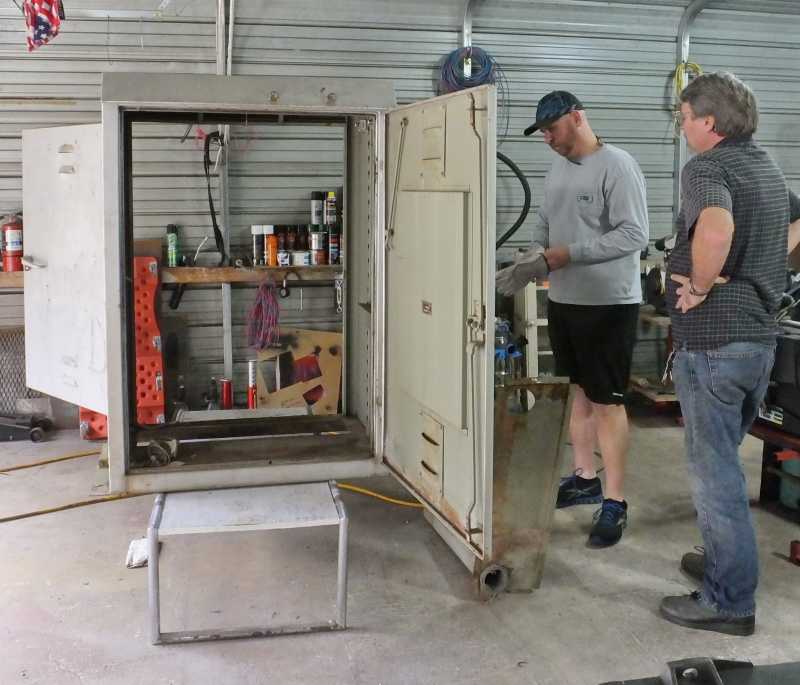
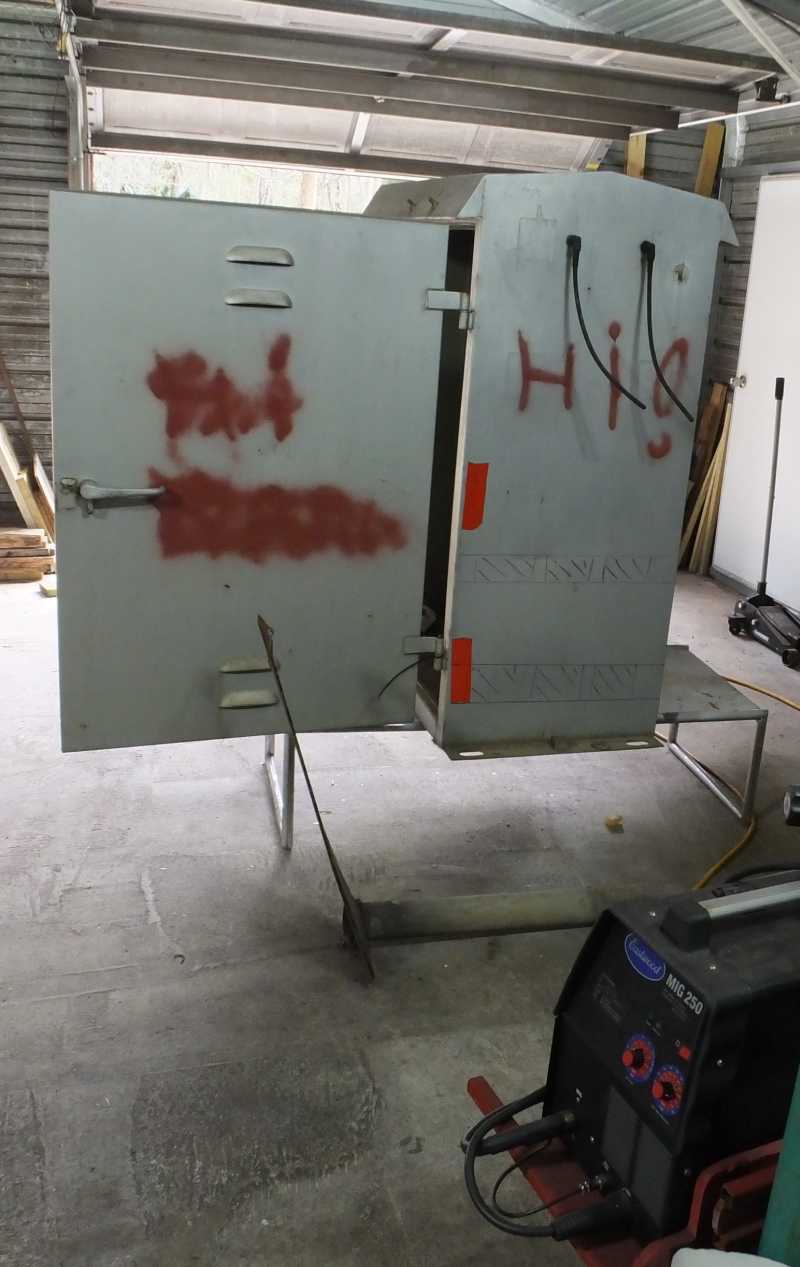
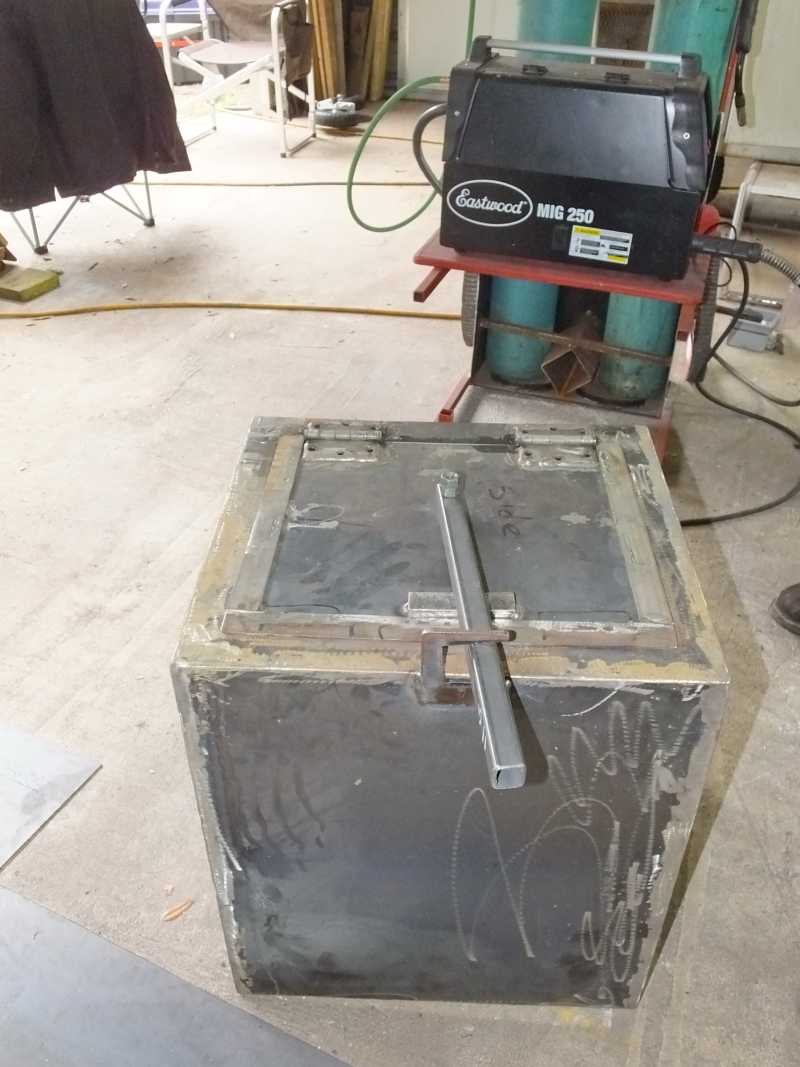
My customer Jamie brings me a large metal box with two doors he got from the railroad. He says he wants a meat smoker made out of it. He asks can it be done?
So I stare at it and the wheels start turning in my head and ideas start bouncing around and multiplying.
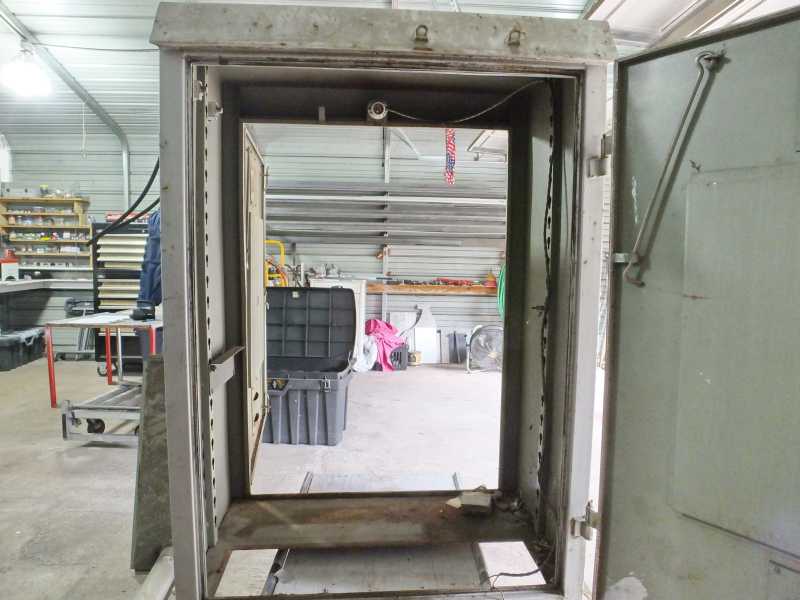
It was an amazingly well built box that already lasted 20-30 years of outdoor service for the railroad before they decided to upgrade to higher tech electronic housings.
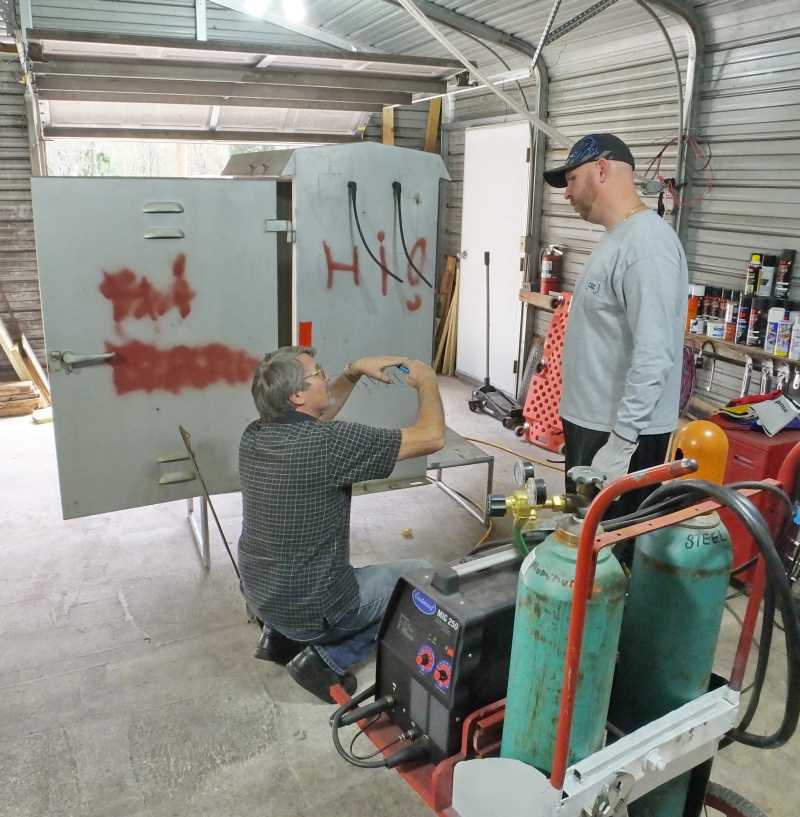
He's explaining what he wants in features and I'm explaining how and what I can do to deliver his wishes. Ideas are bouncing around a mile a minute.
We solidified a plan and intangible design in our heads, and go ahead and buy material to make his dream come true.
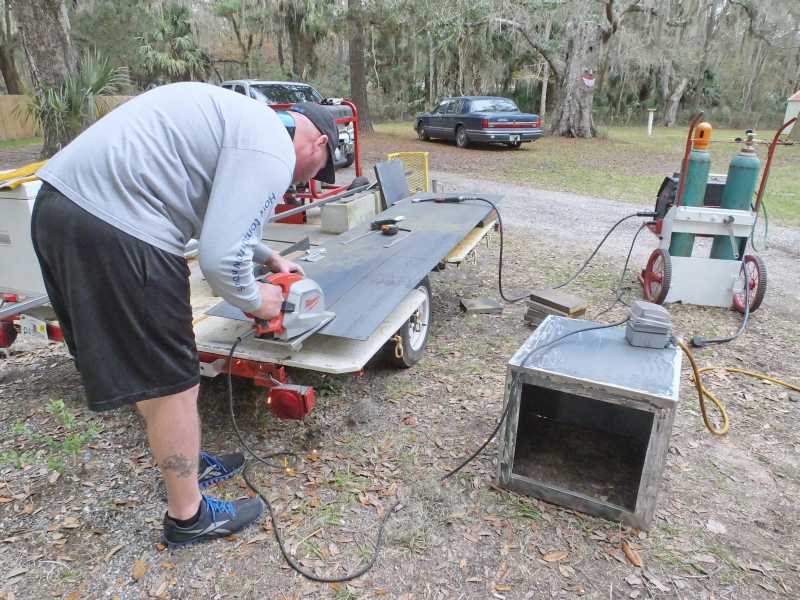
Brand new 1/8" steel plate full sized. Now we have to accurately cut it down to assembly size pieces so we can put them back together the way we want them to fit.
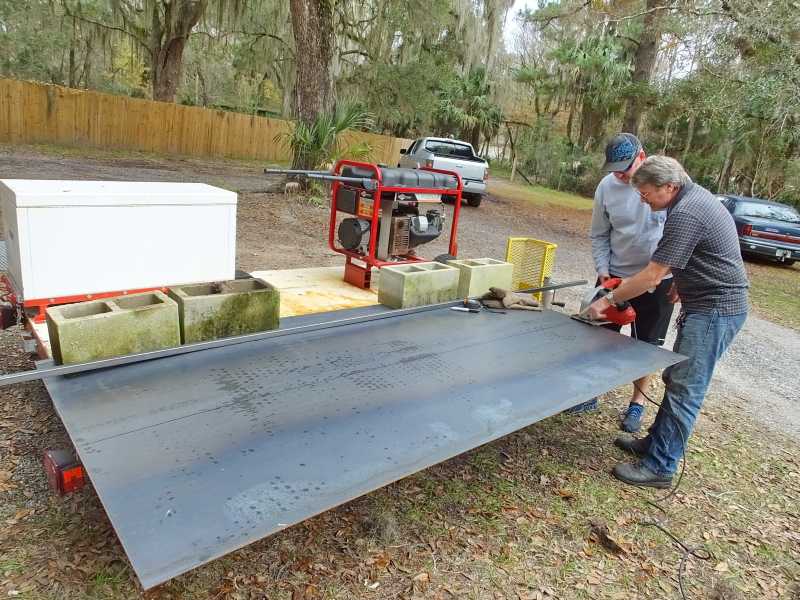
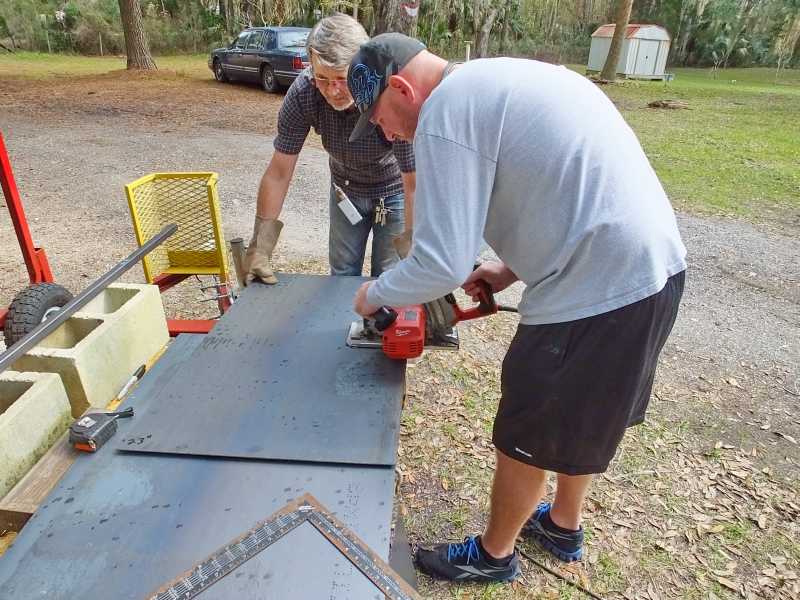
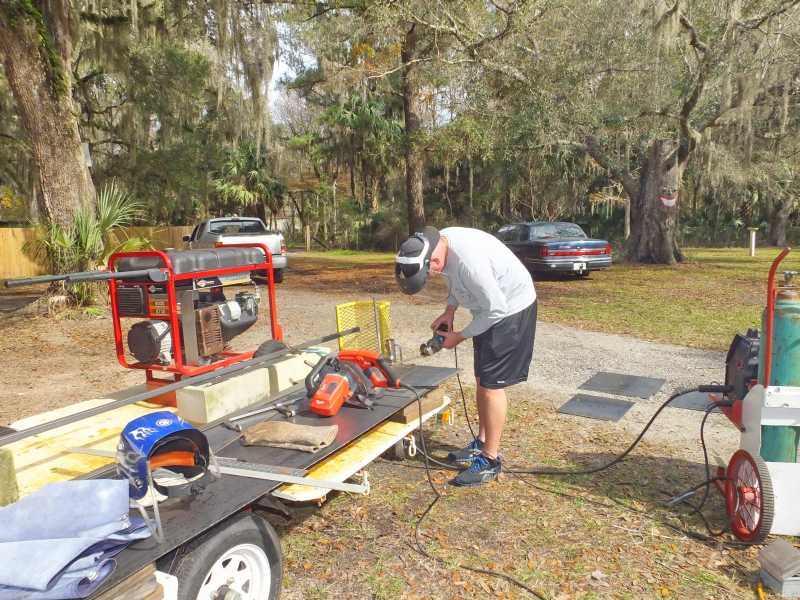
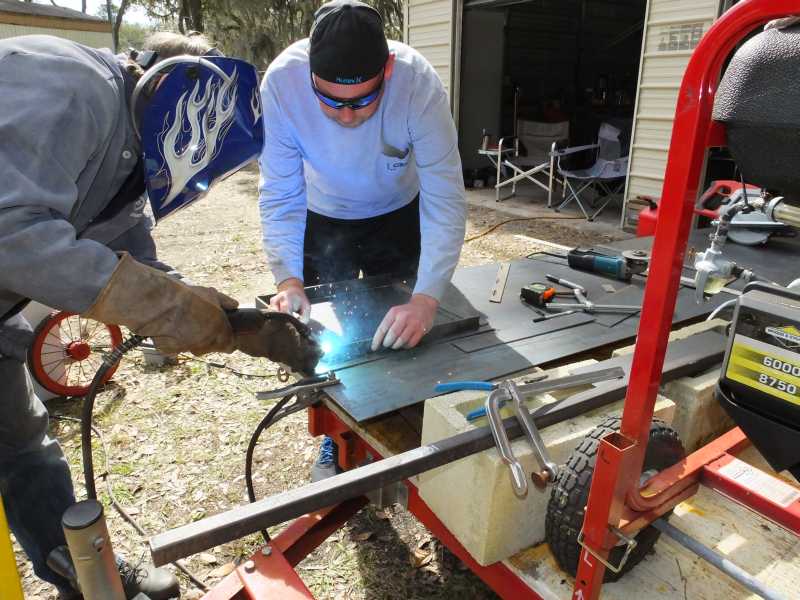
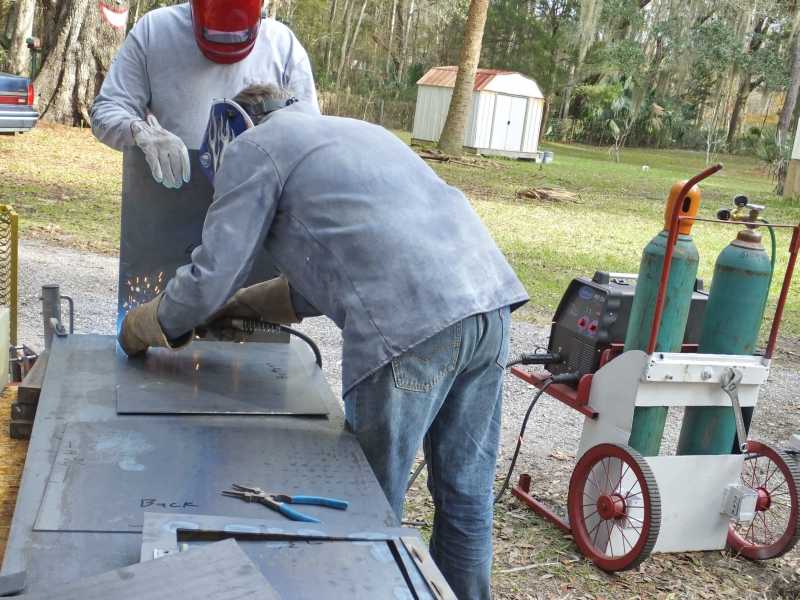
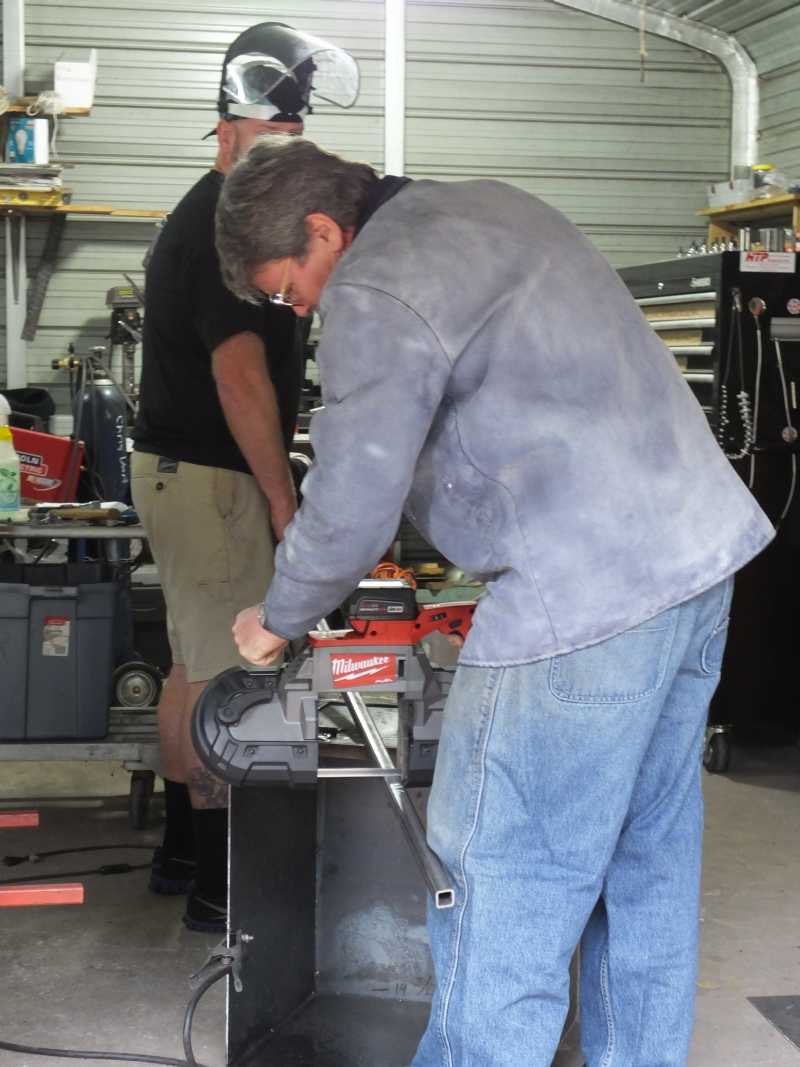
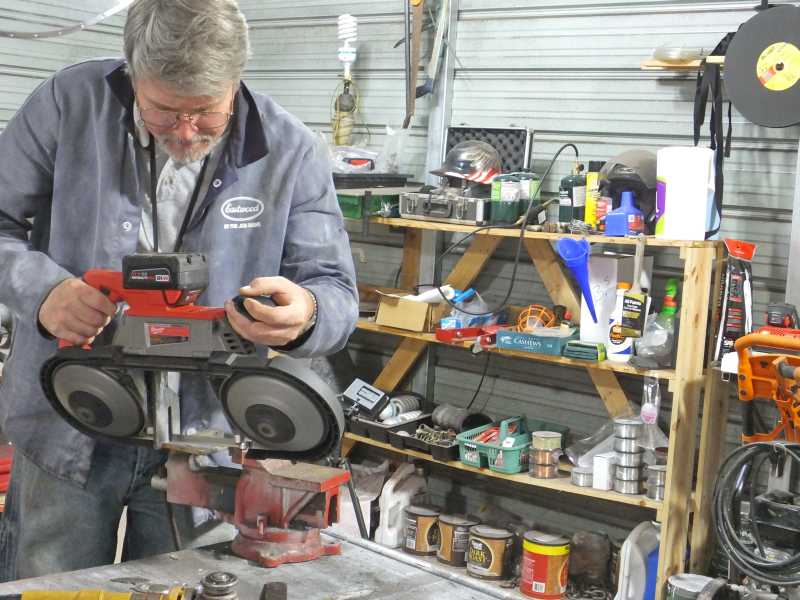
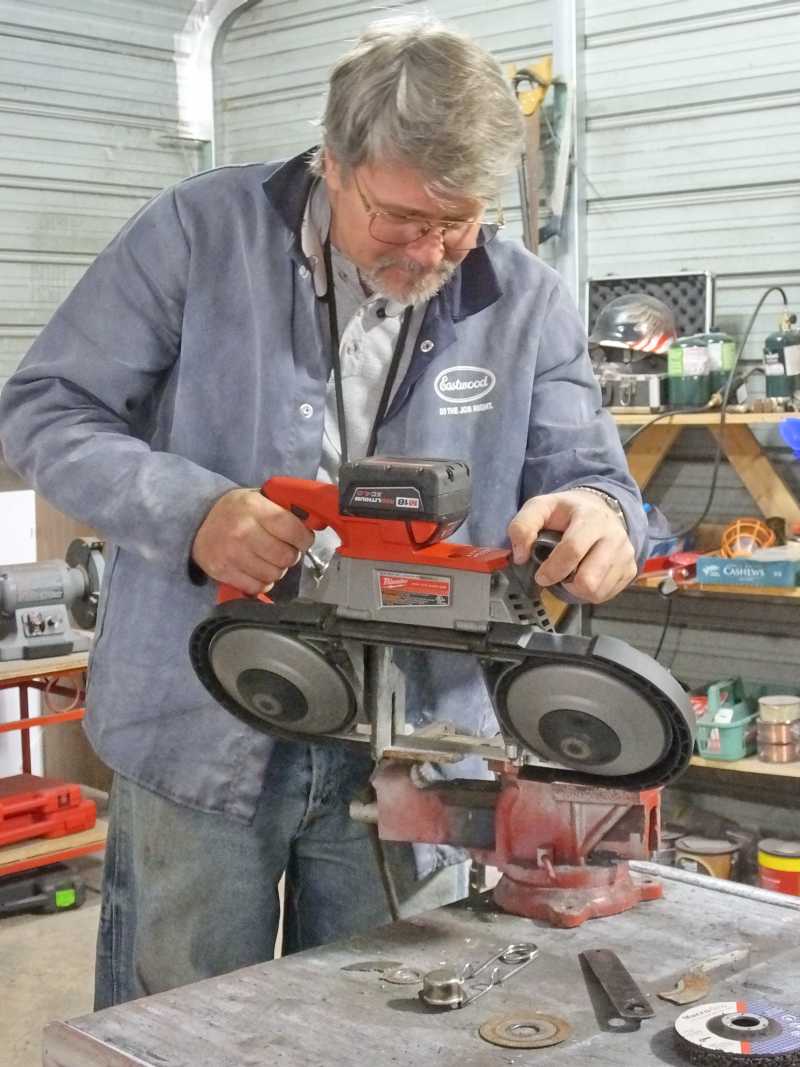
For those customers of mine that want to be involved, I allow them. Jamie is also saving some build money by being my labor for me. I teach him how to accurately cut plate steel and off he goes.
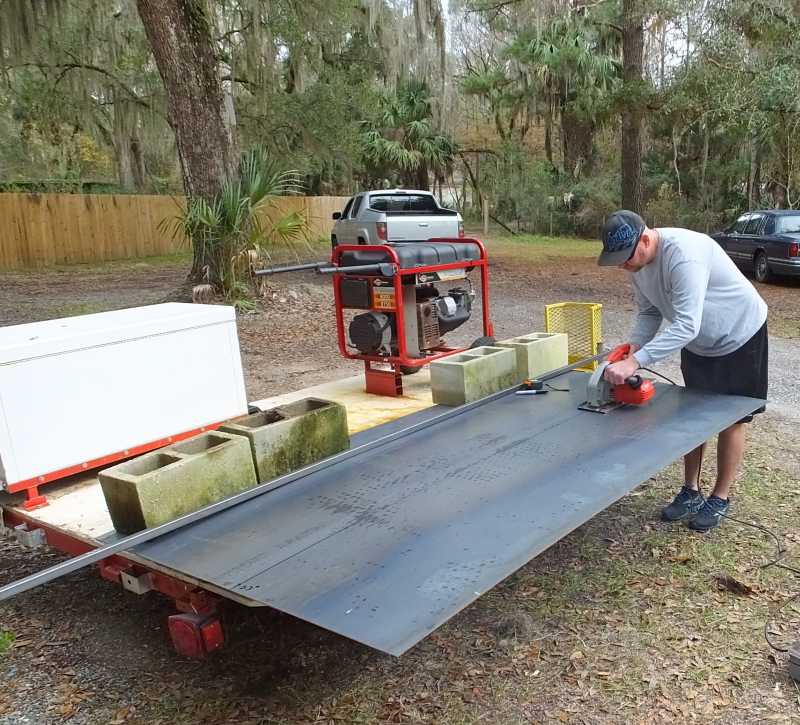

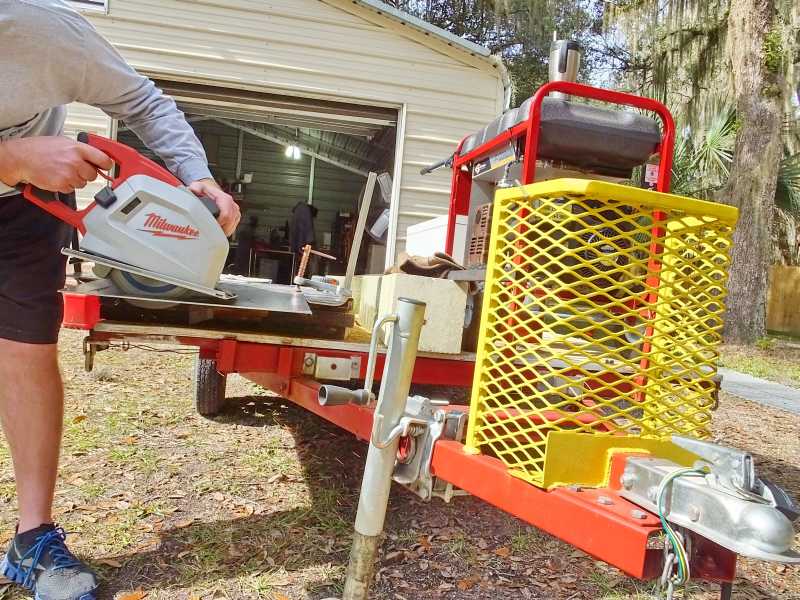
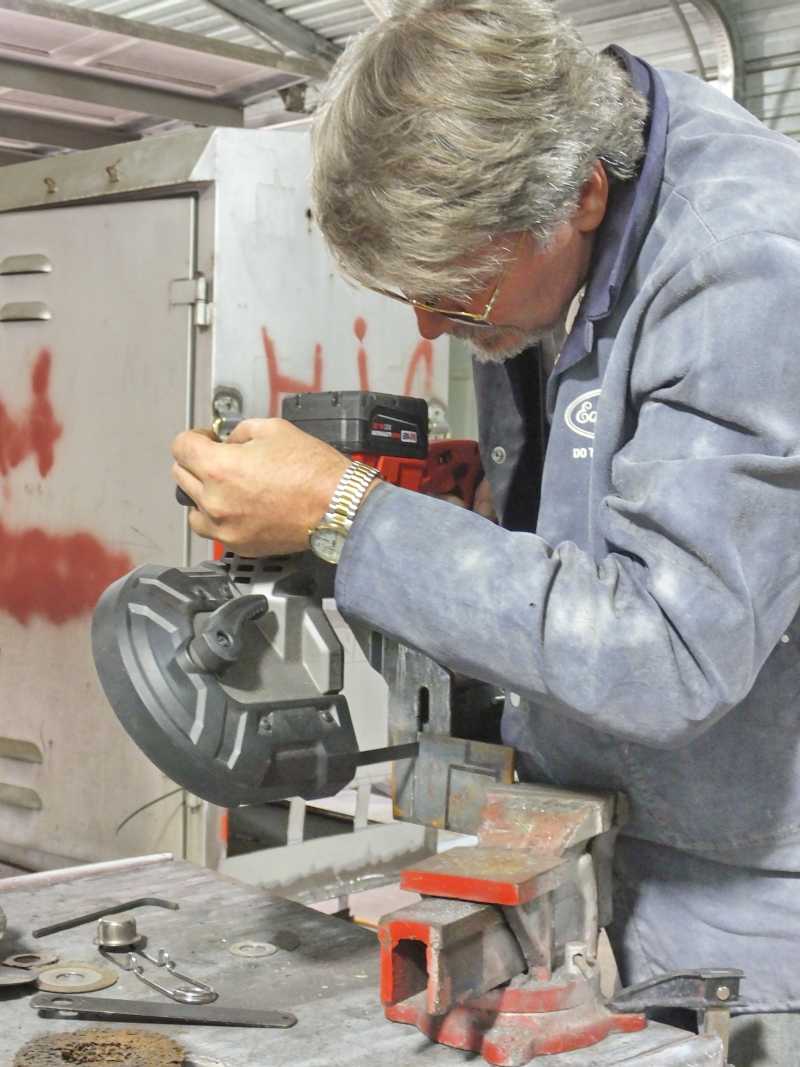
He couldn't believe my toys. He didn't know a circular saw existed that cuts plate steel like others cut plywood. He was having fun with my high tech toys.
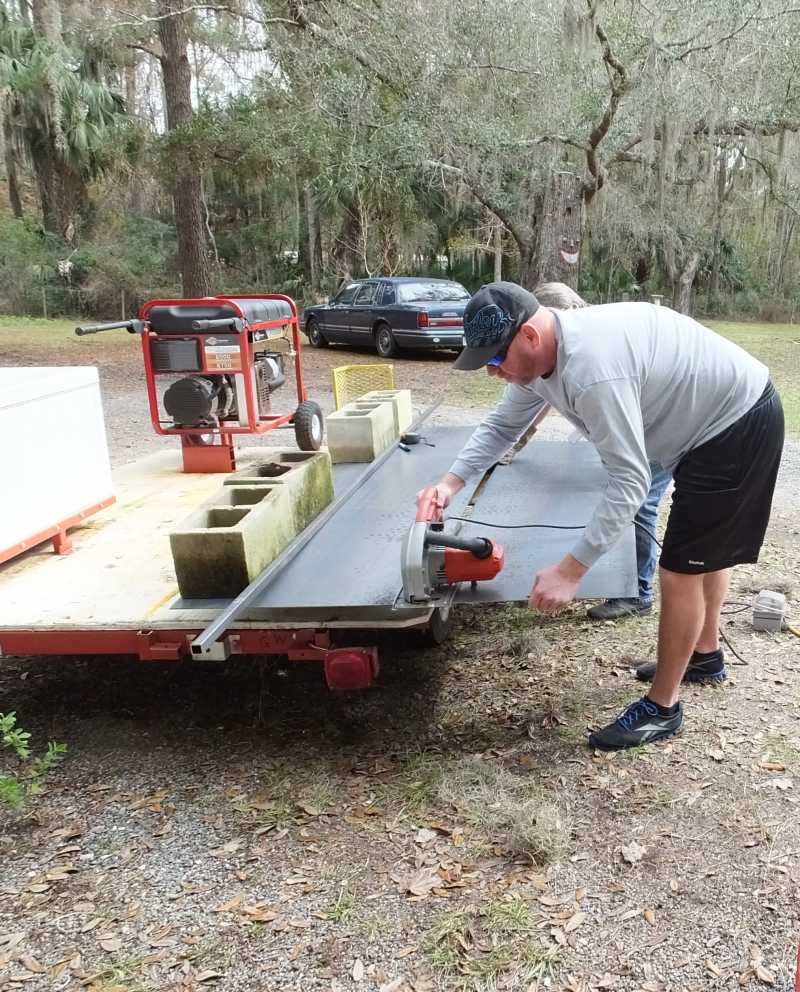
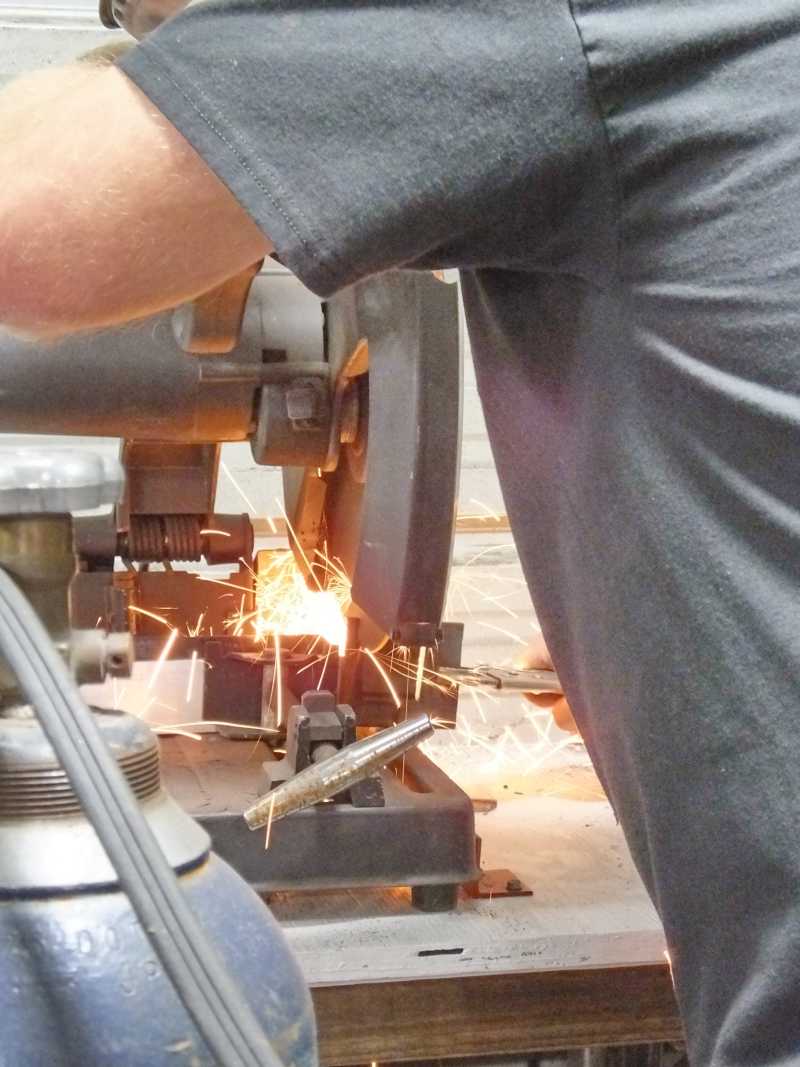
The cut is perfectly straight and amazingly smooth. So much better than a torch cut as he expected. Out build accuracy typically is within 1/64th of an inch on average.
Jamie was stunned how fast my saw cuts plate steel. 20 second cuts left him with his mouth hanging open in amazement.


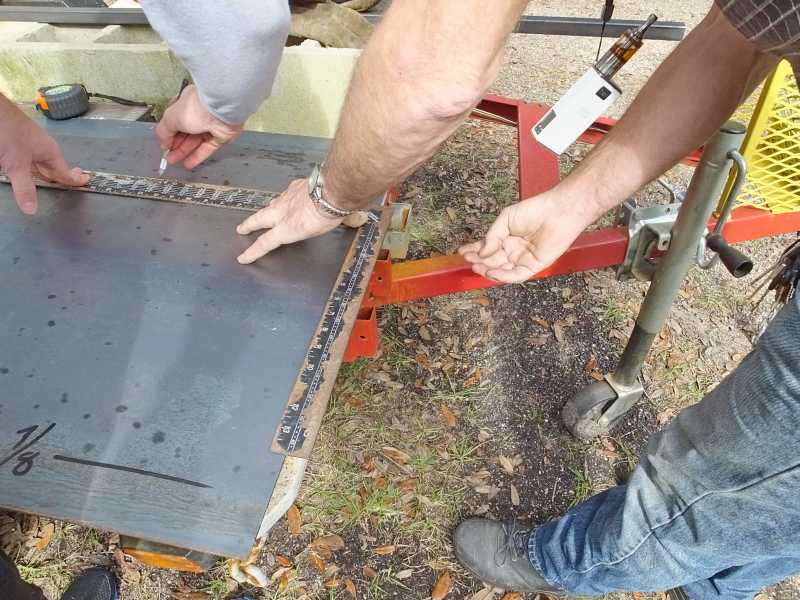
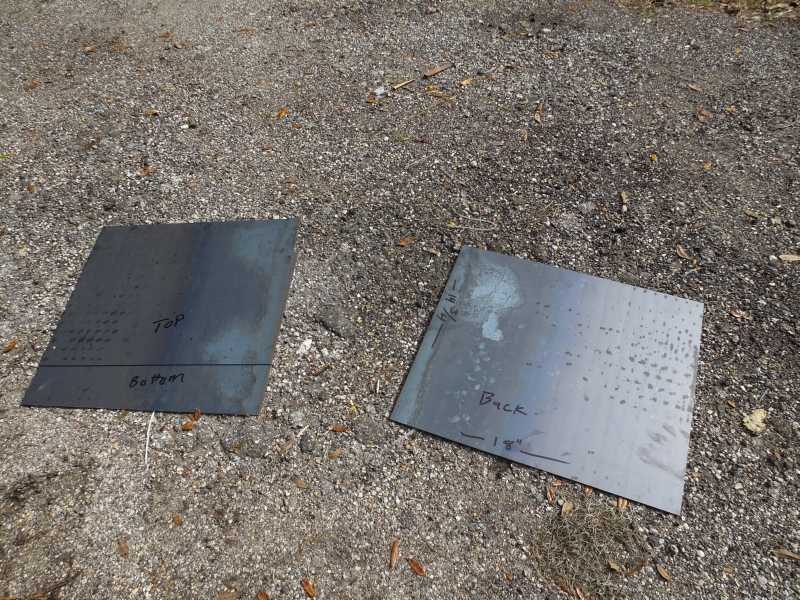
Precise sized pieces begin accumulating.
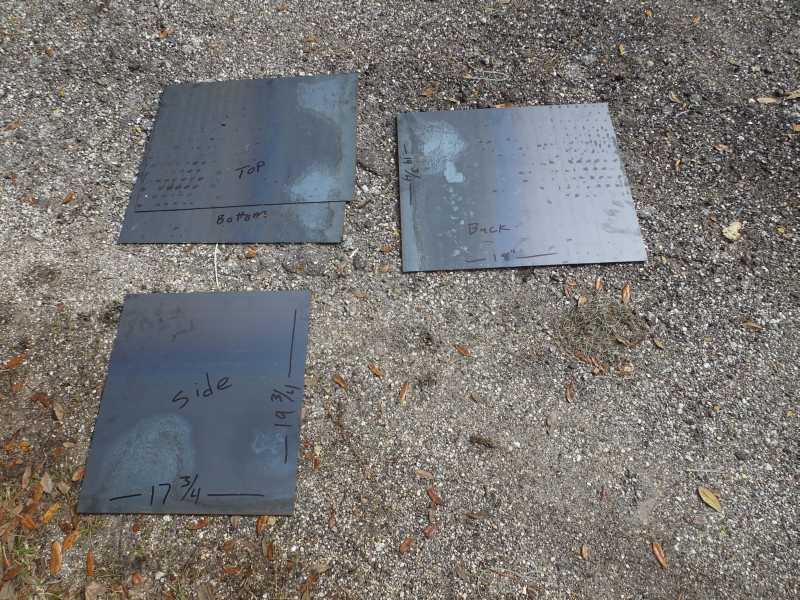
Now Jamie really falls in love with the accuracy. The pieces fit together perfectly exactly like we wanted them to.

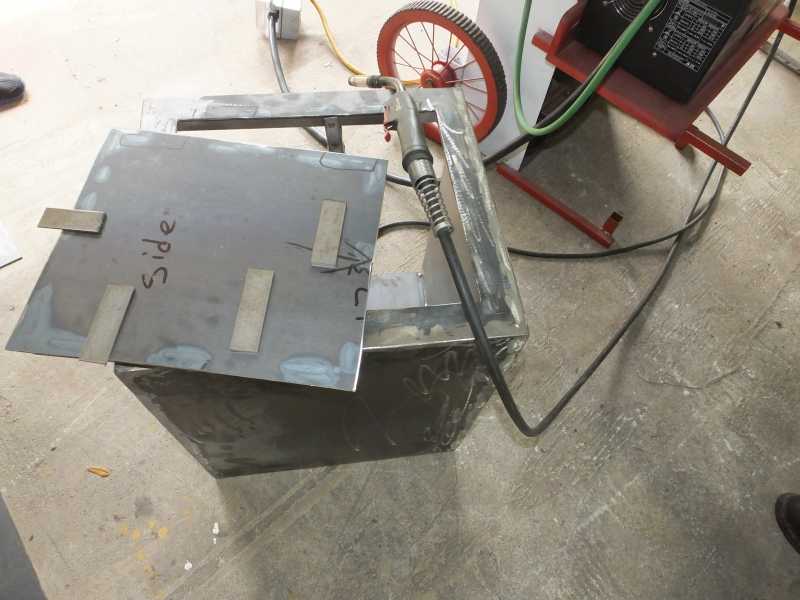
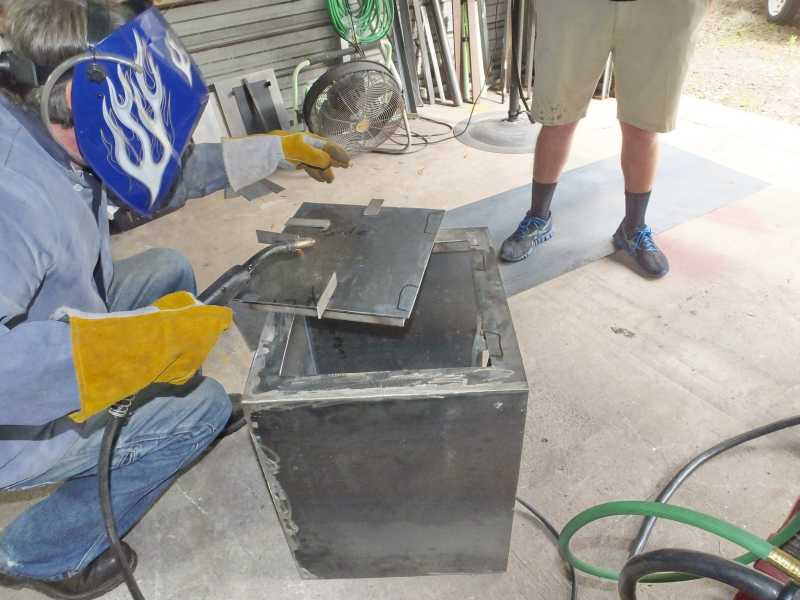
On the firebox there will be doors to load the firewood into. We are building reinforcements on the door and door opening so the hot metal cant warp and flex.
We want air tight sealed doors without having to use gaskets as the sloppy fabricators, welders have to.

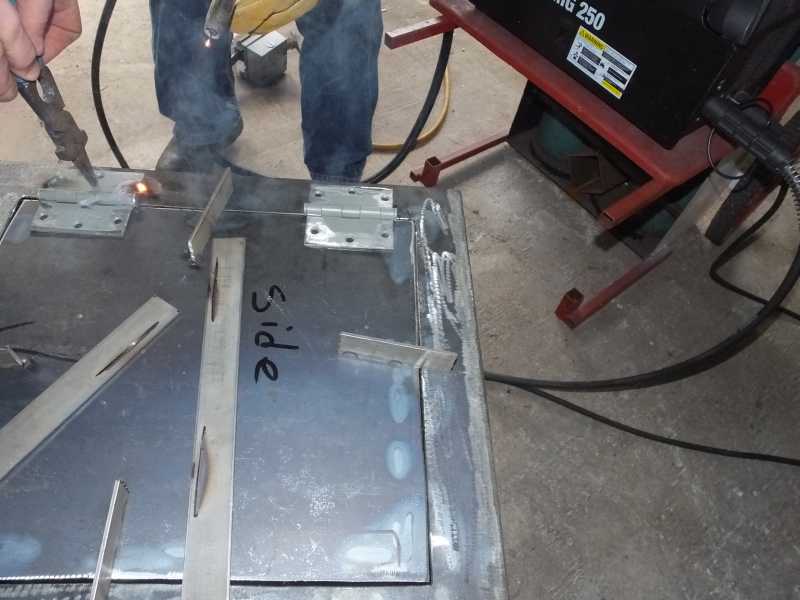
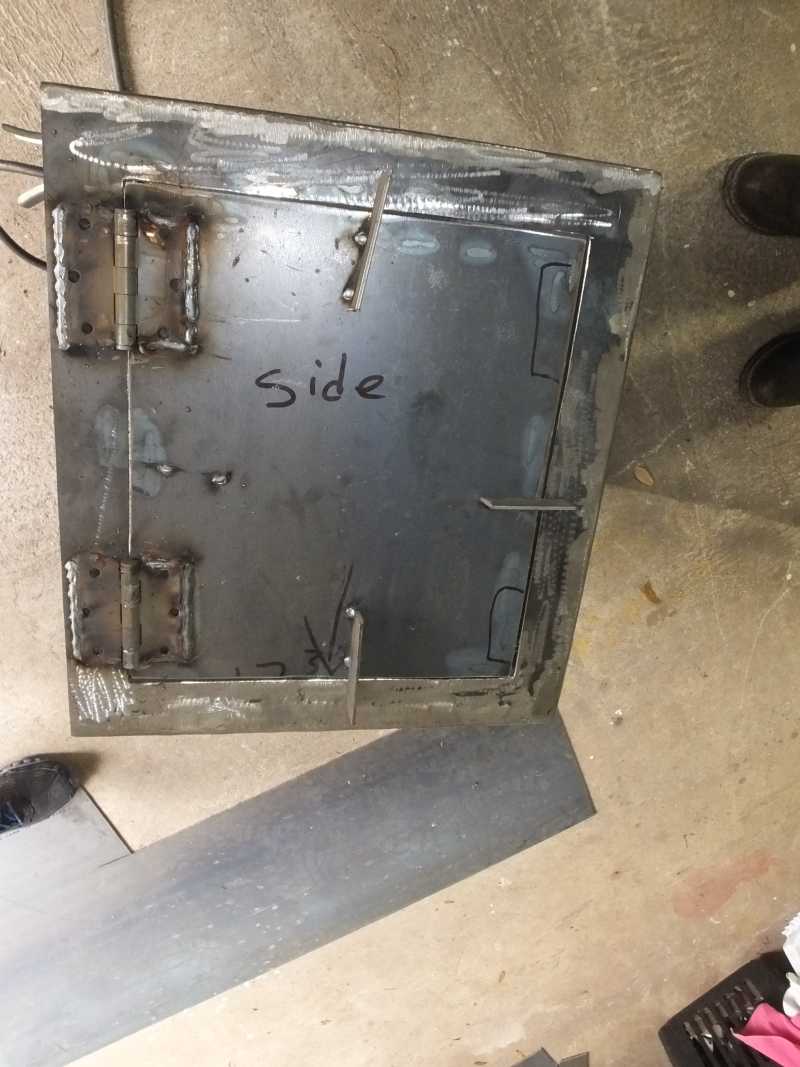
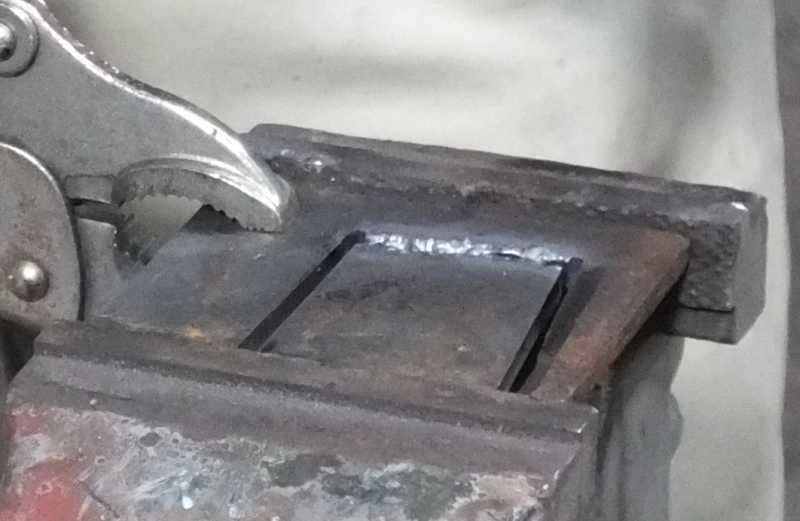
The bottom one is the wall of the firebox that has an opening that fits the door into . The top one is the door. They both get reinforcement to stop heat warping.
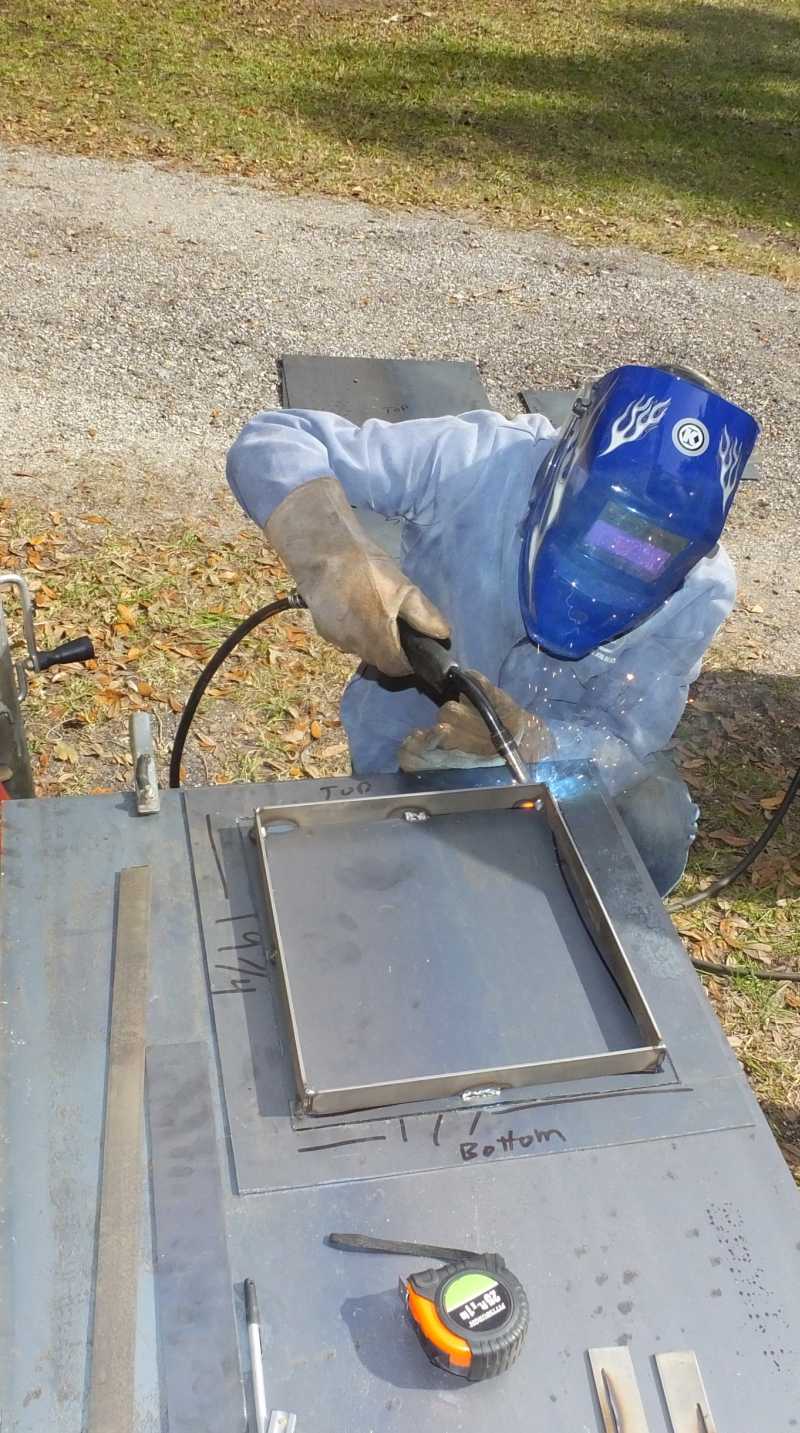
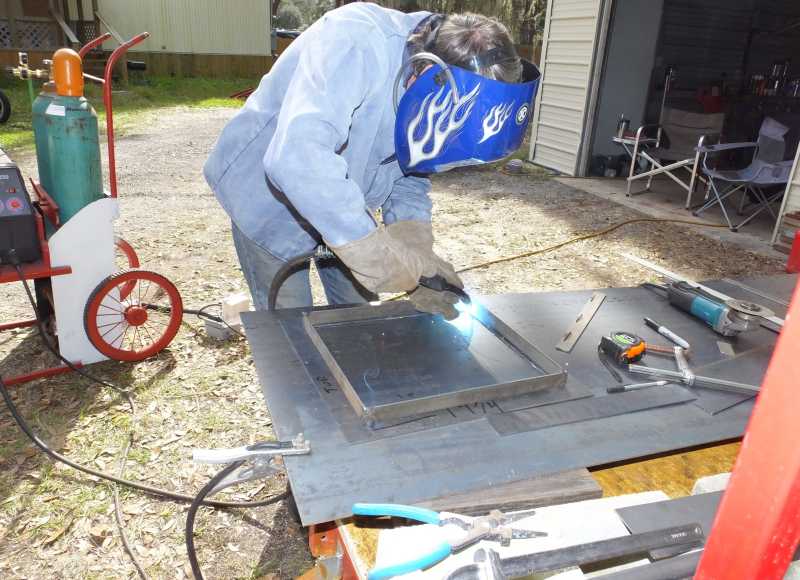
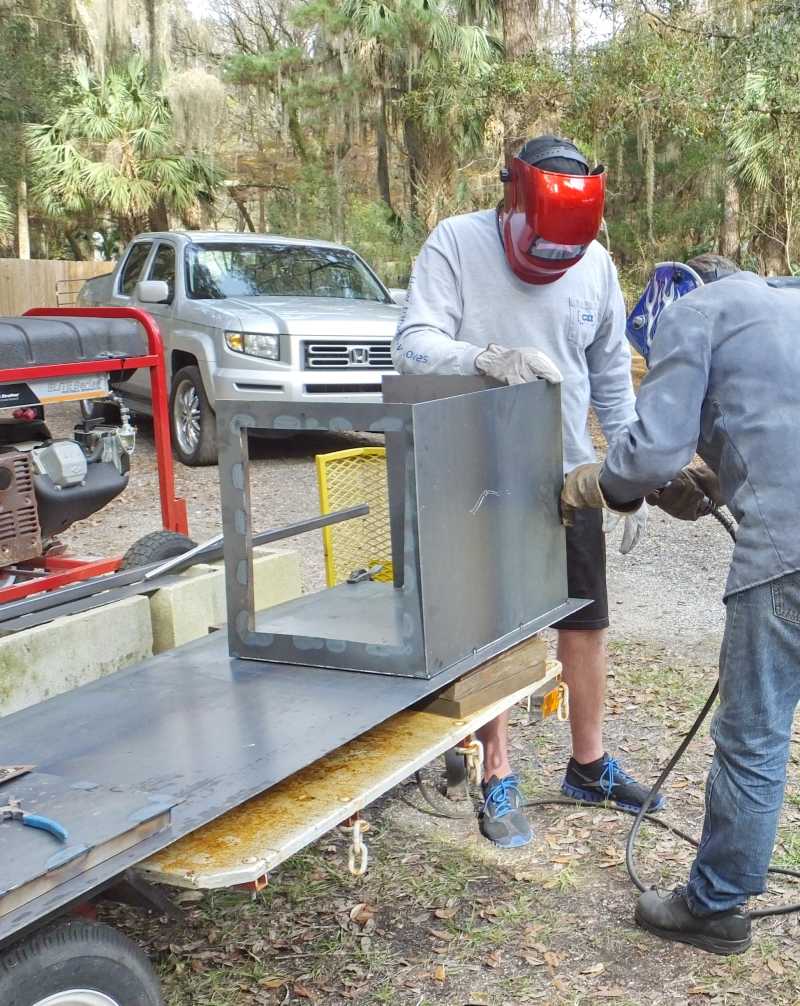
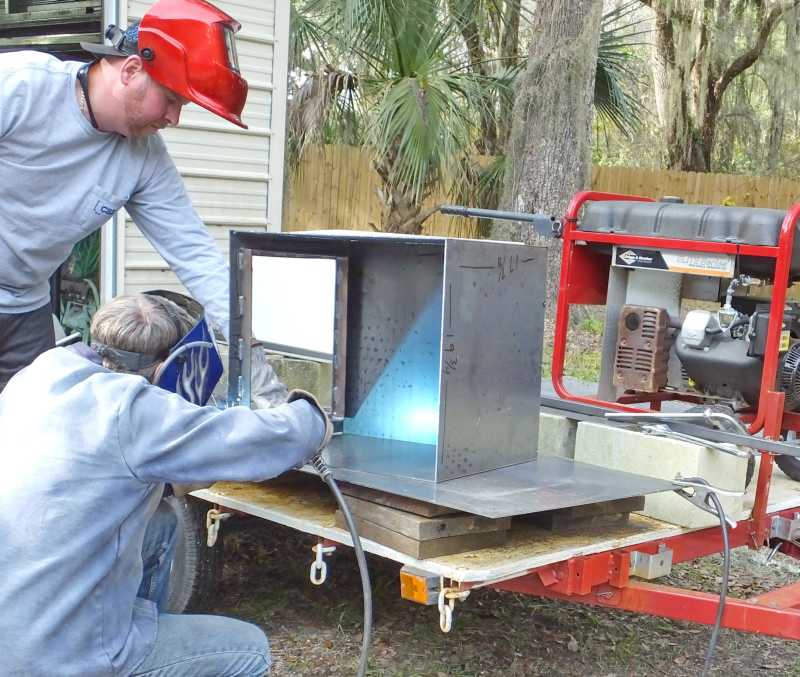
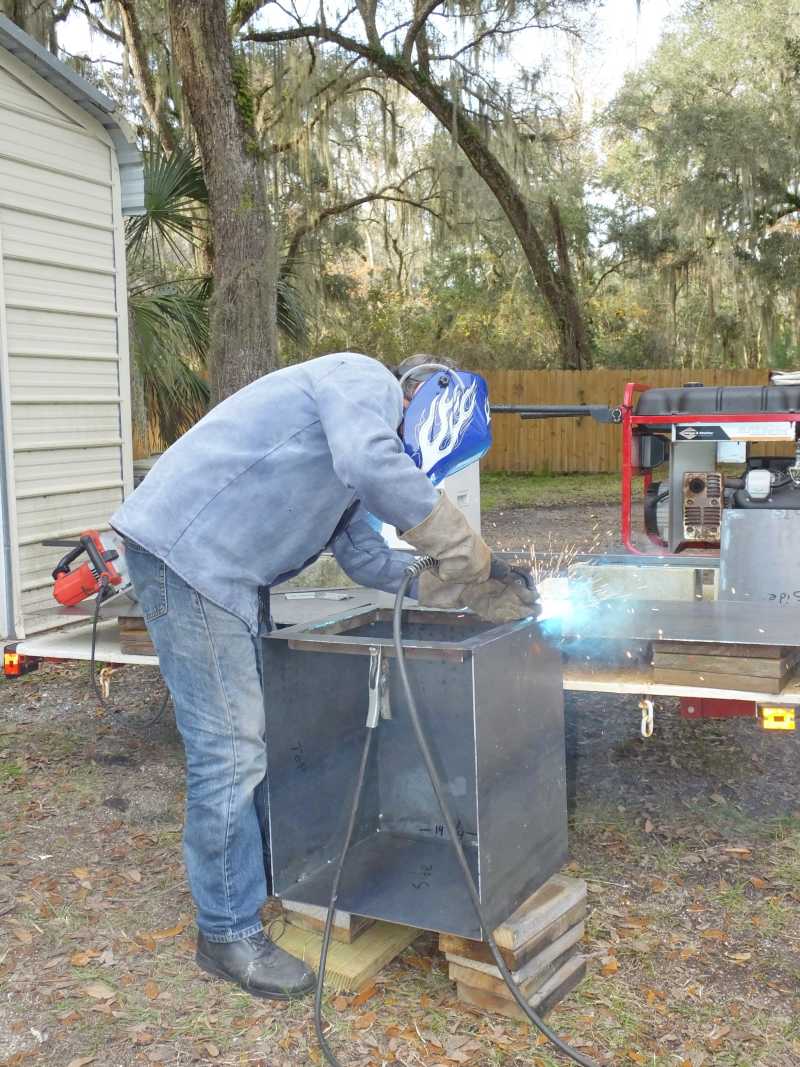
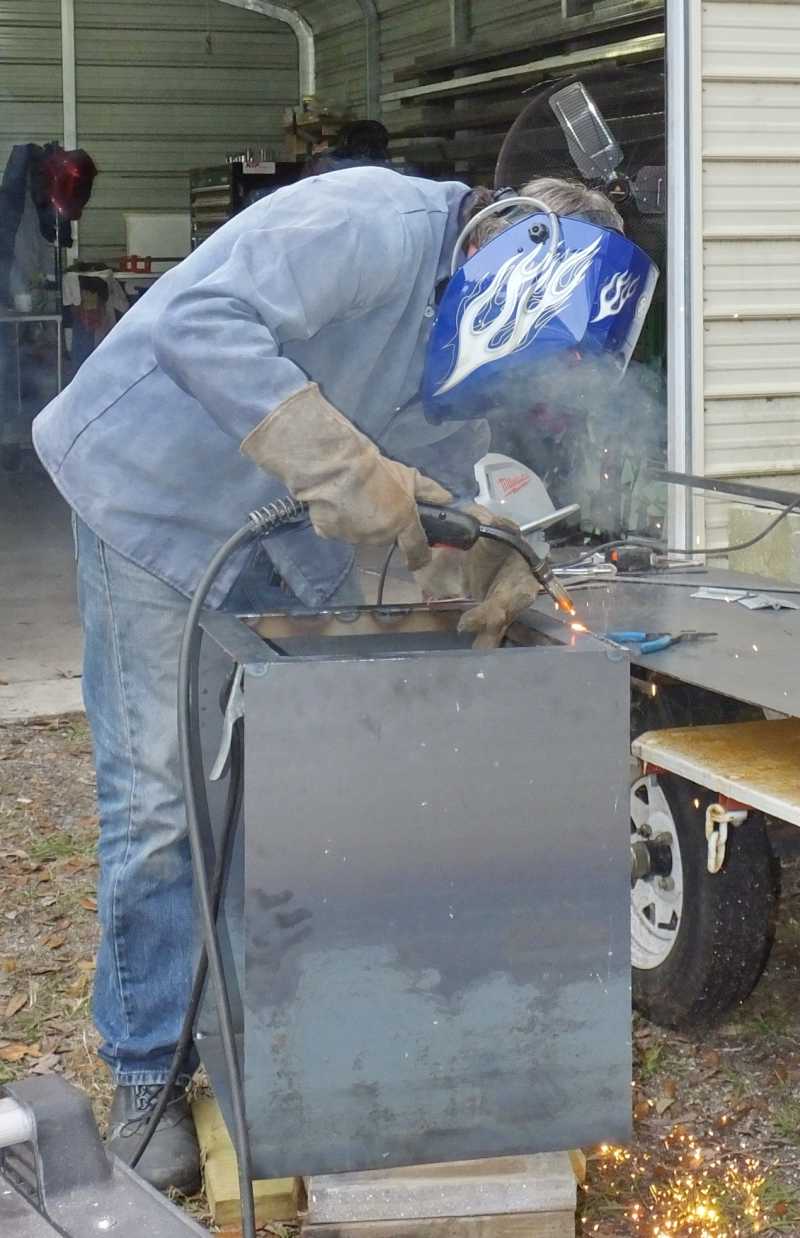
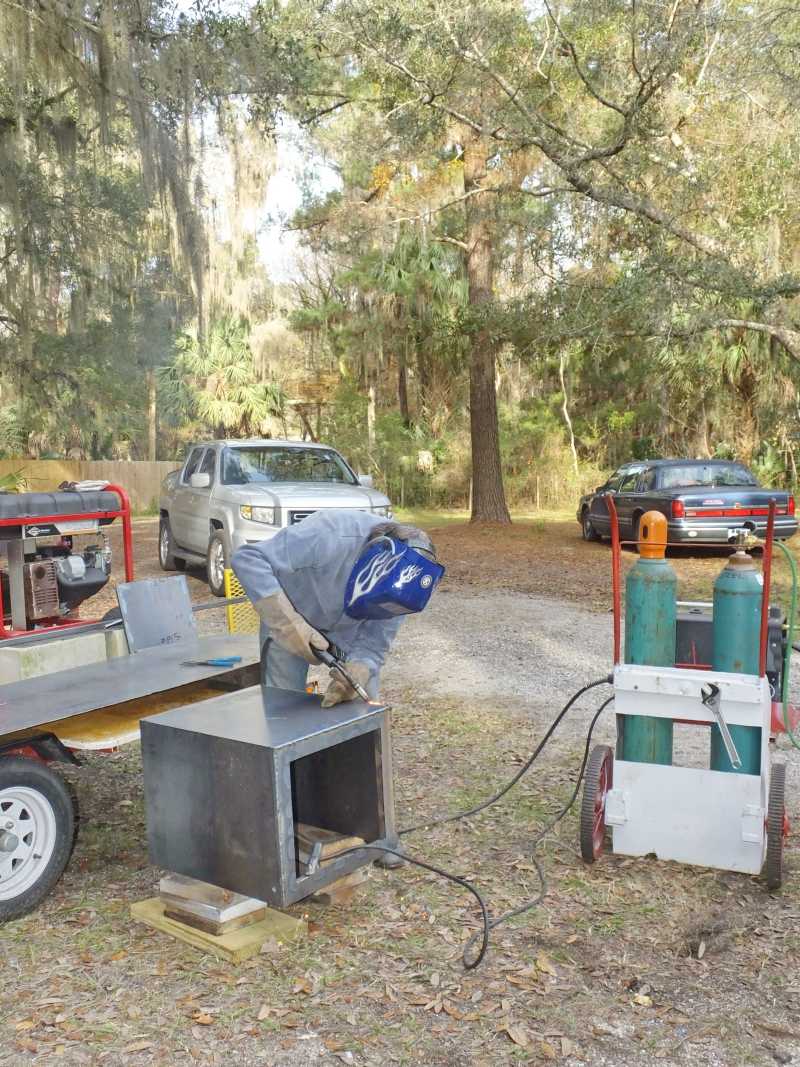
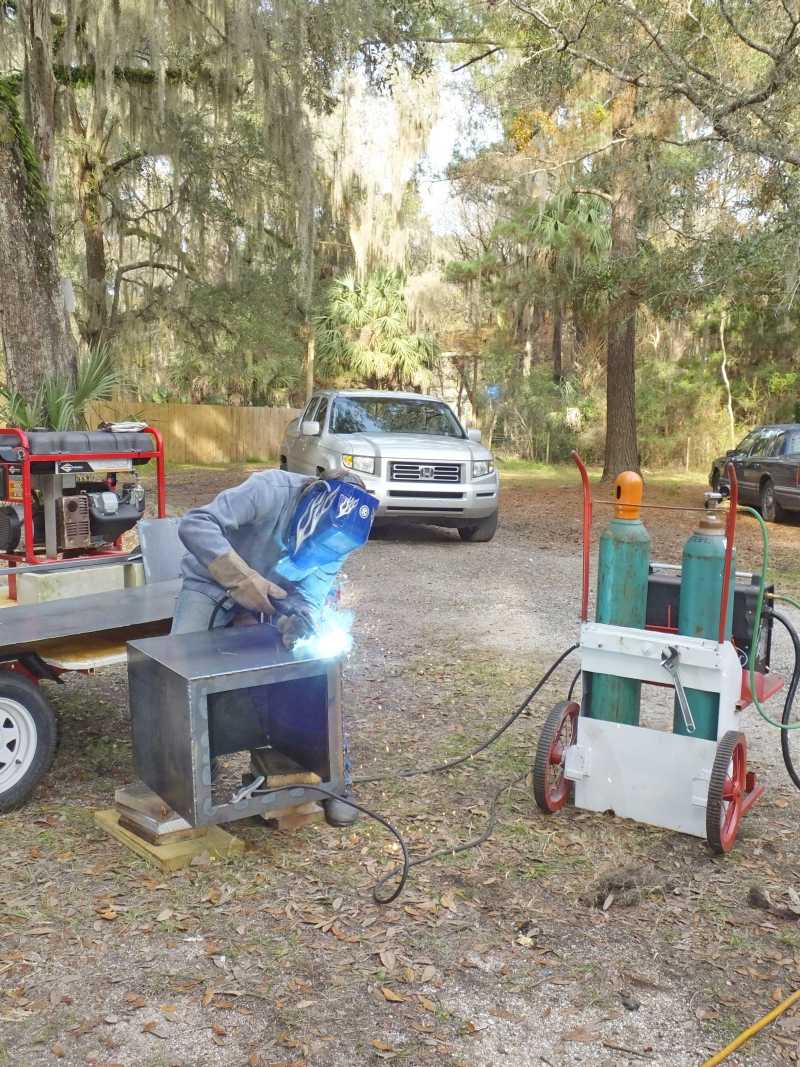
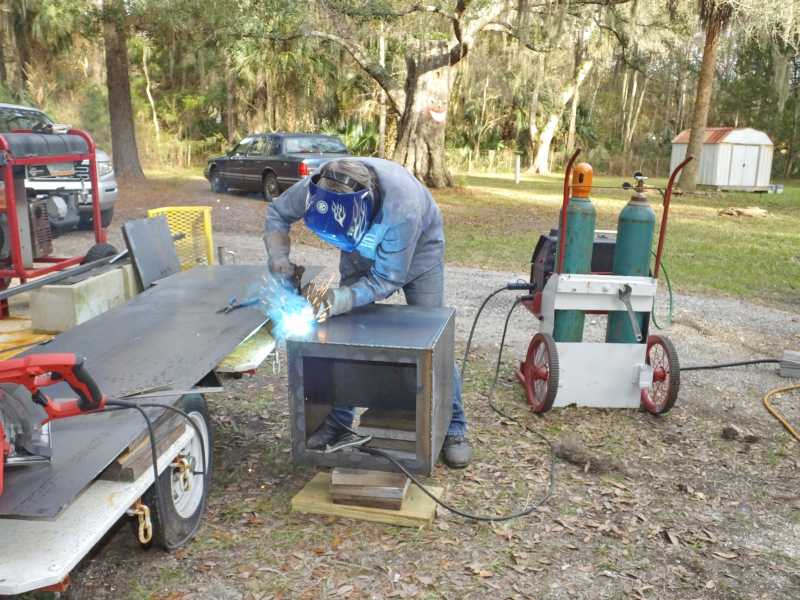
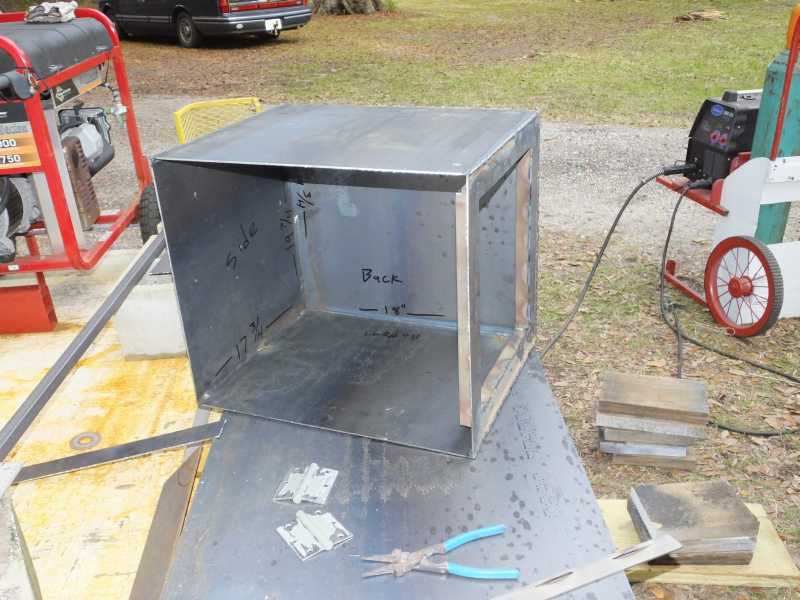
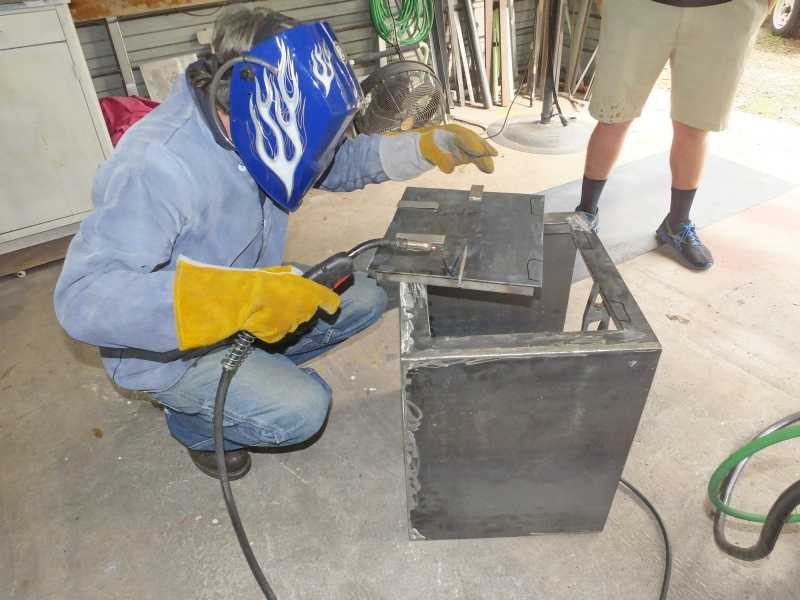
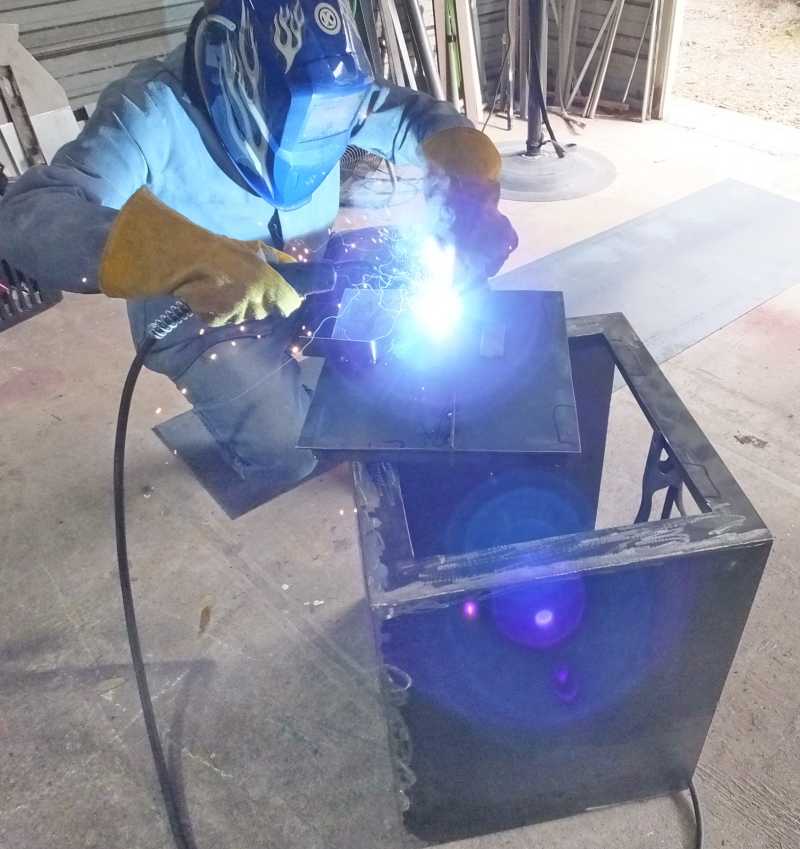
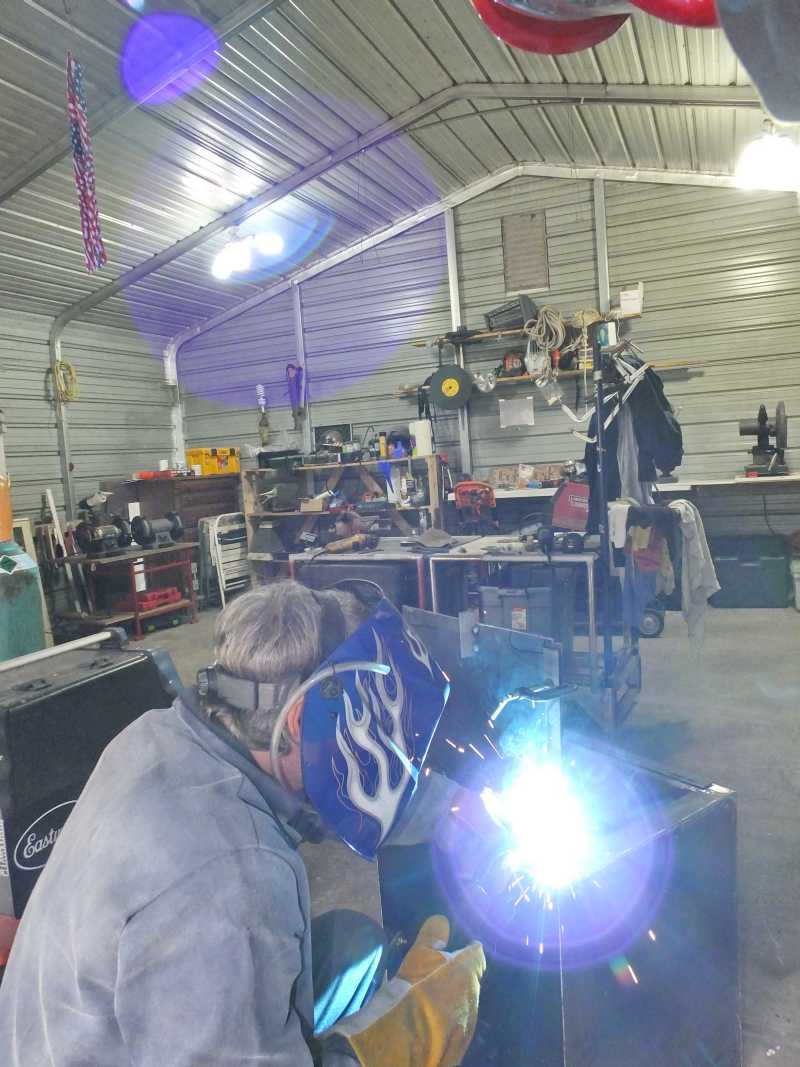
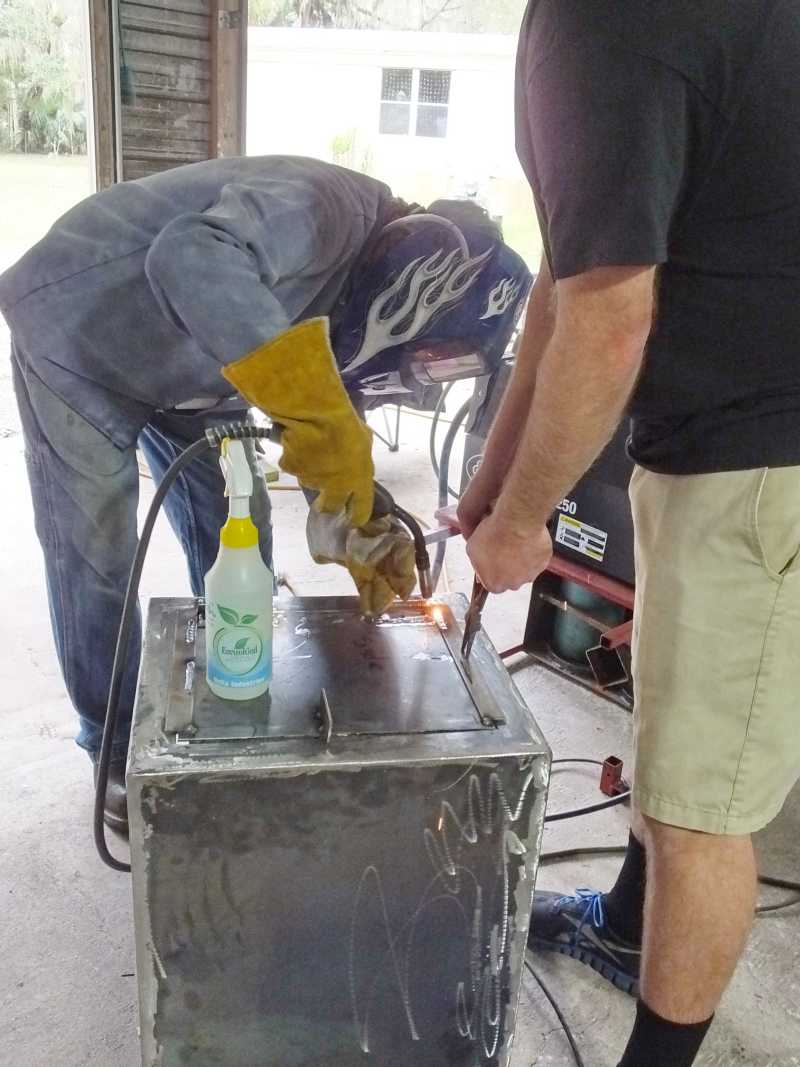
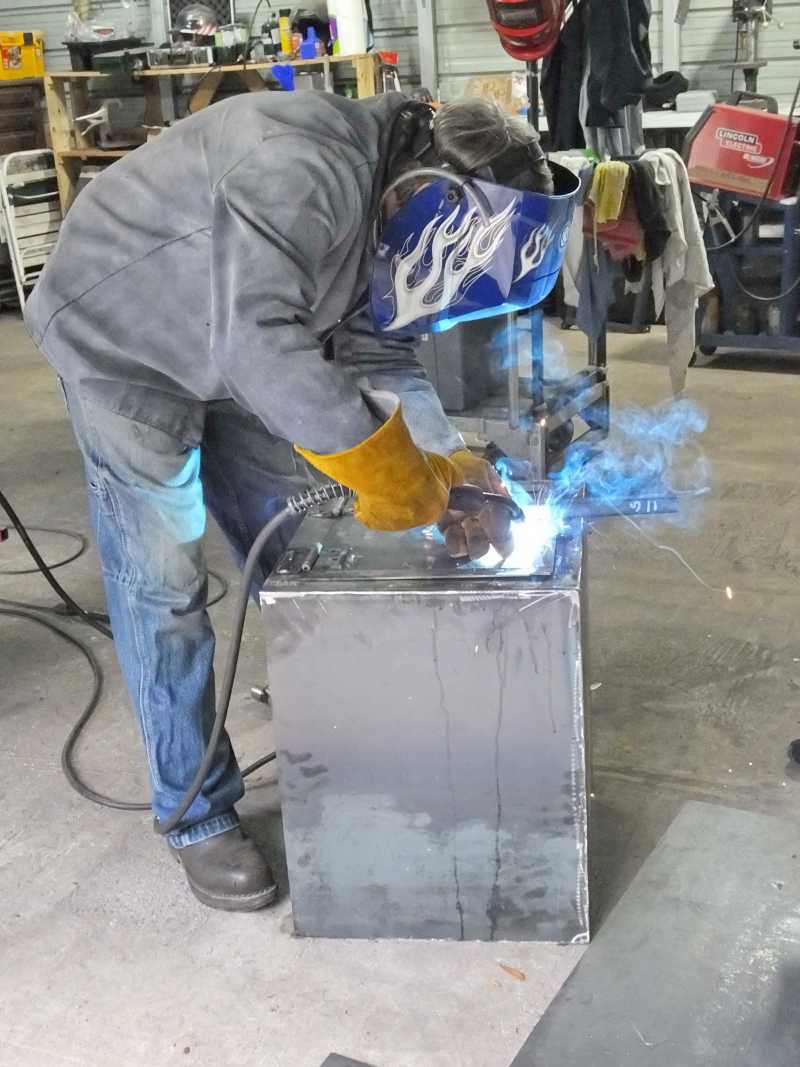
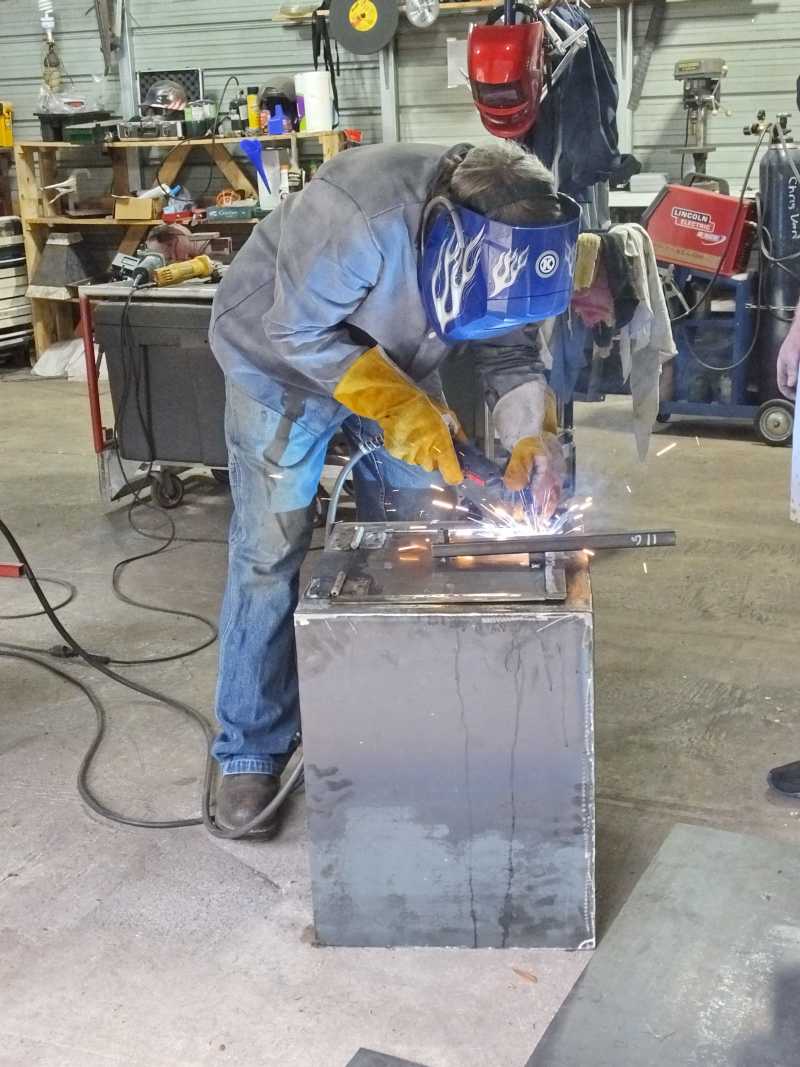
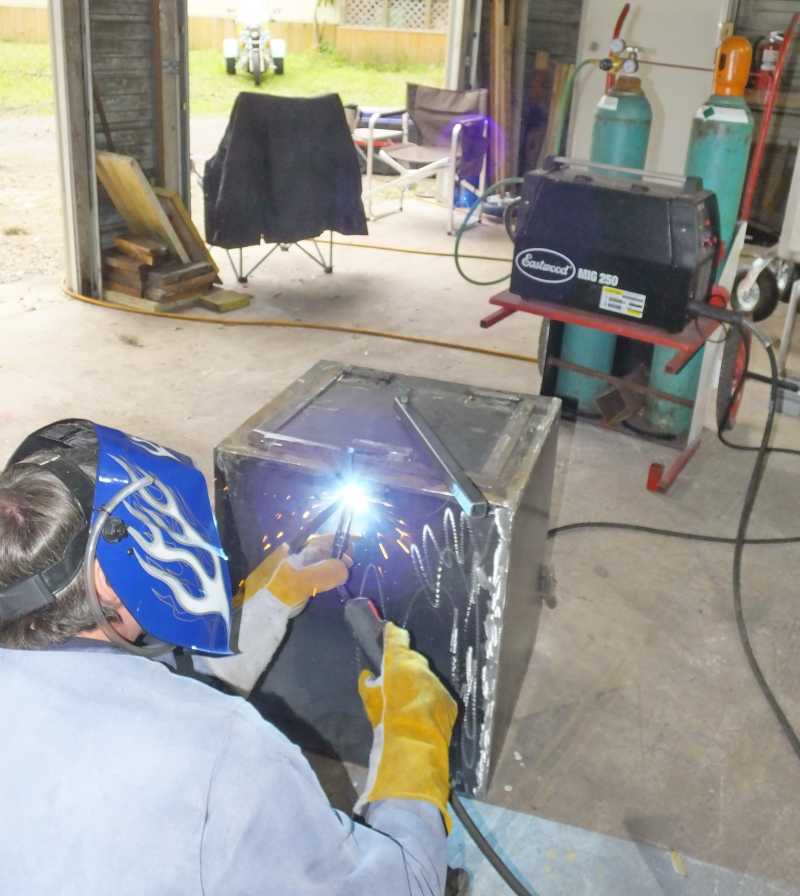
Now we are beginning to weld the walls of the firebox together. It will have five closed sides and one open side to mount onto the cooking chamber.
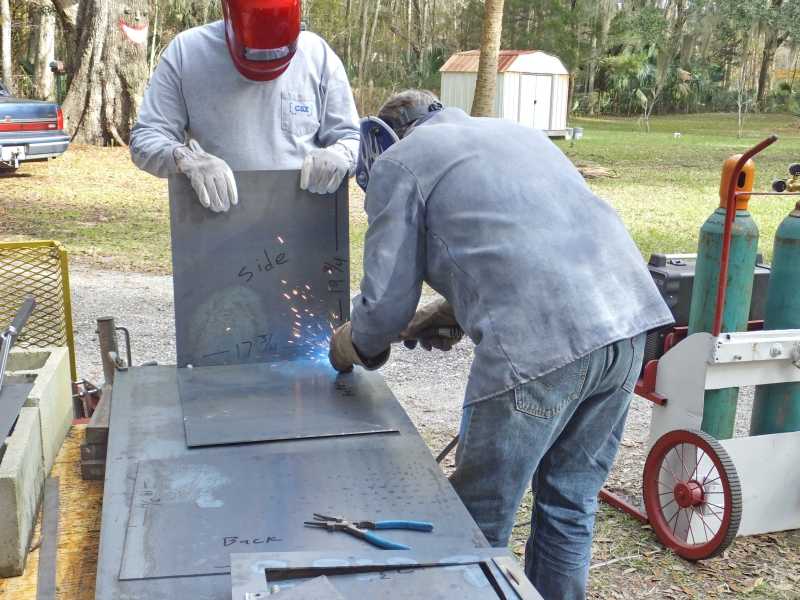
Now you can see one of the walls has the door opening built into it already and the reinforcement is already welded inside because it would be hard to get to later.
You can see how amazingly precise the fit was after cutting the large plate into smaller pieces.
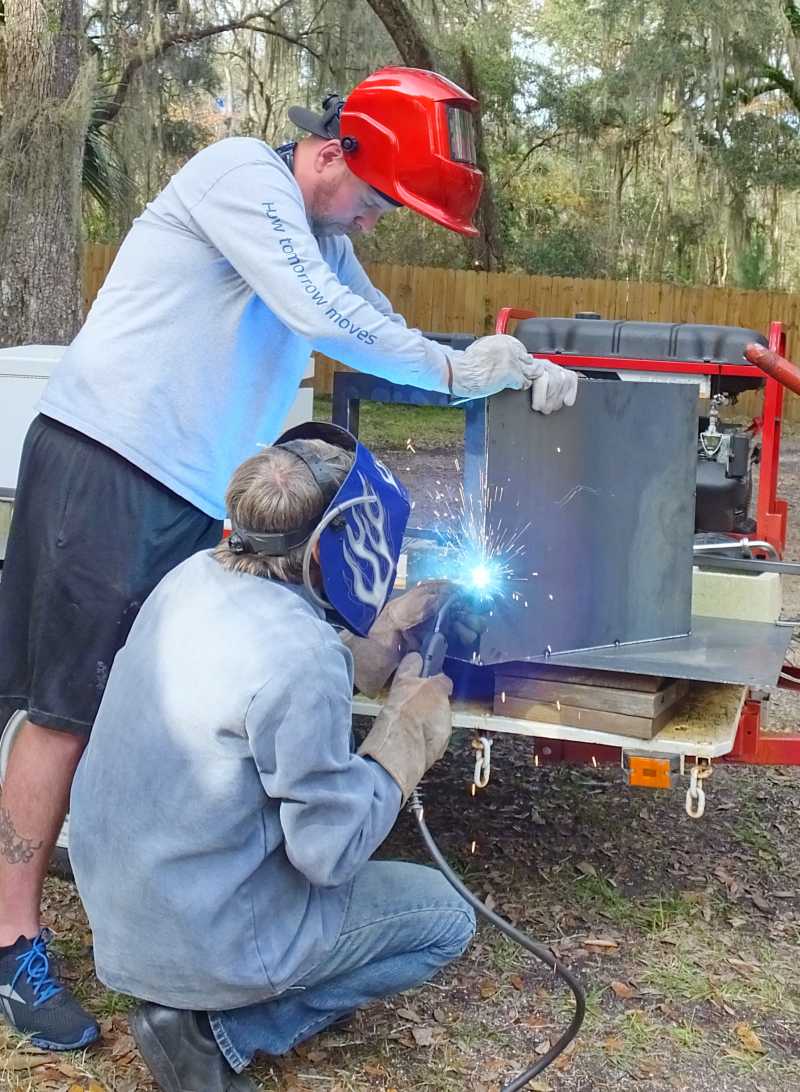
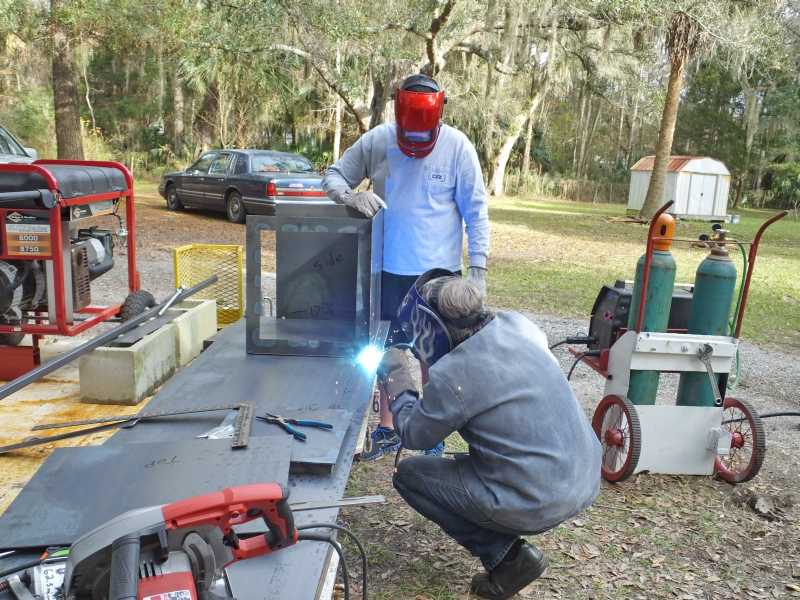
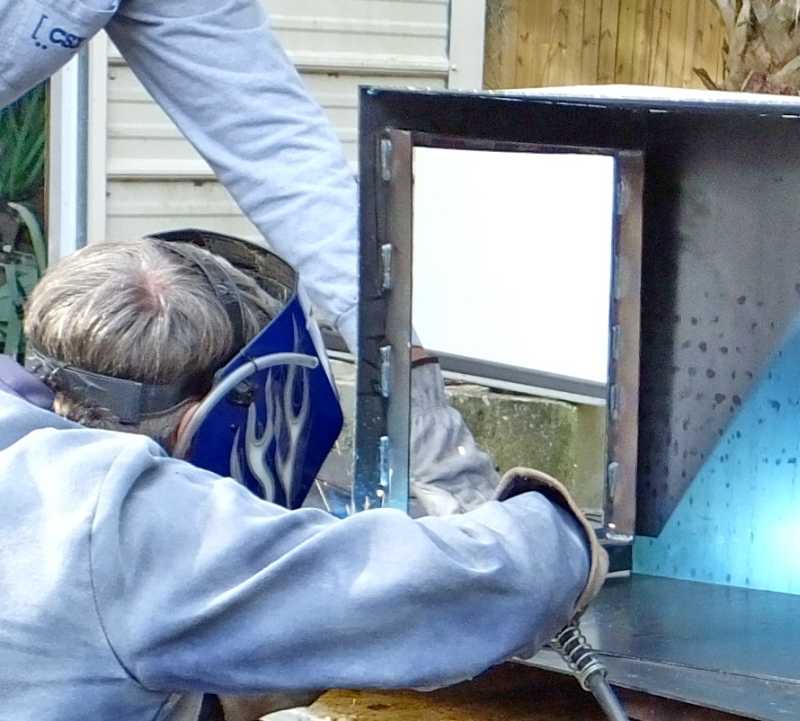
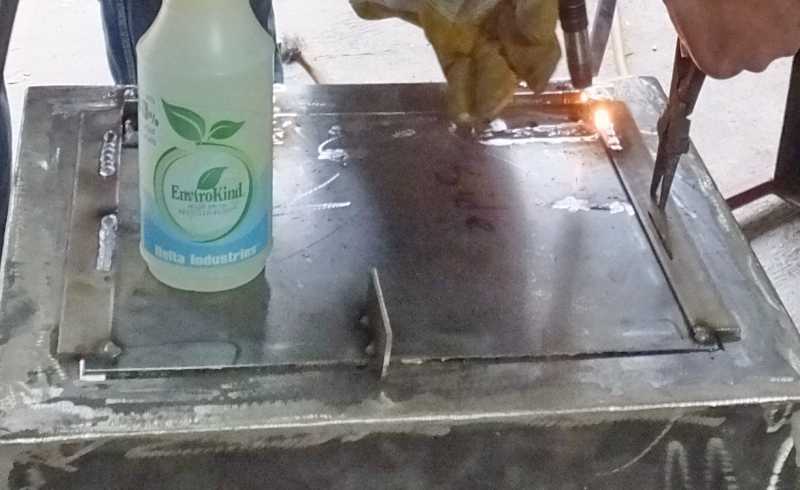
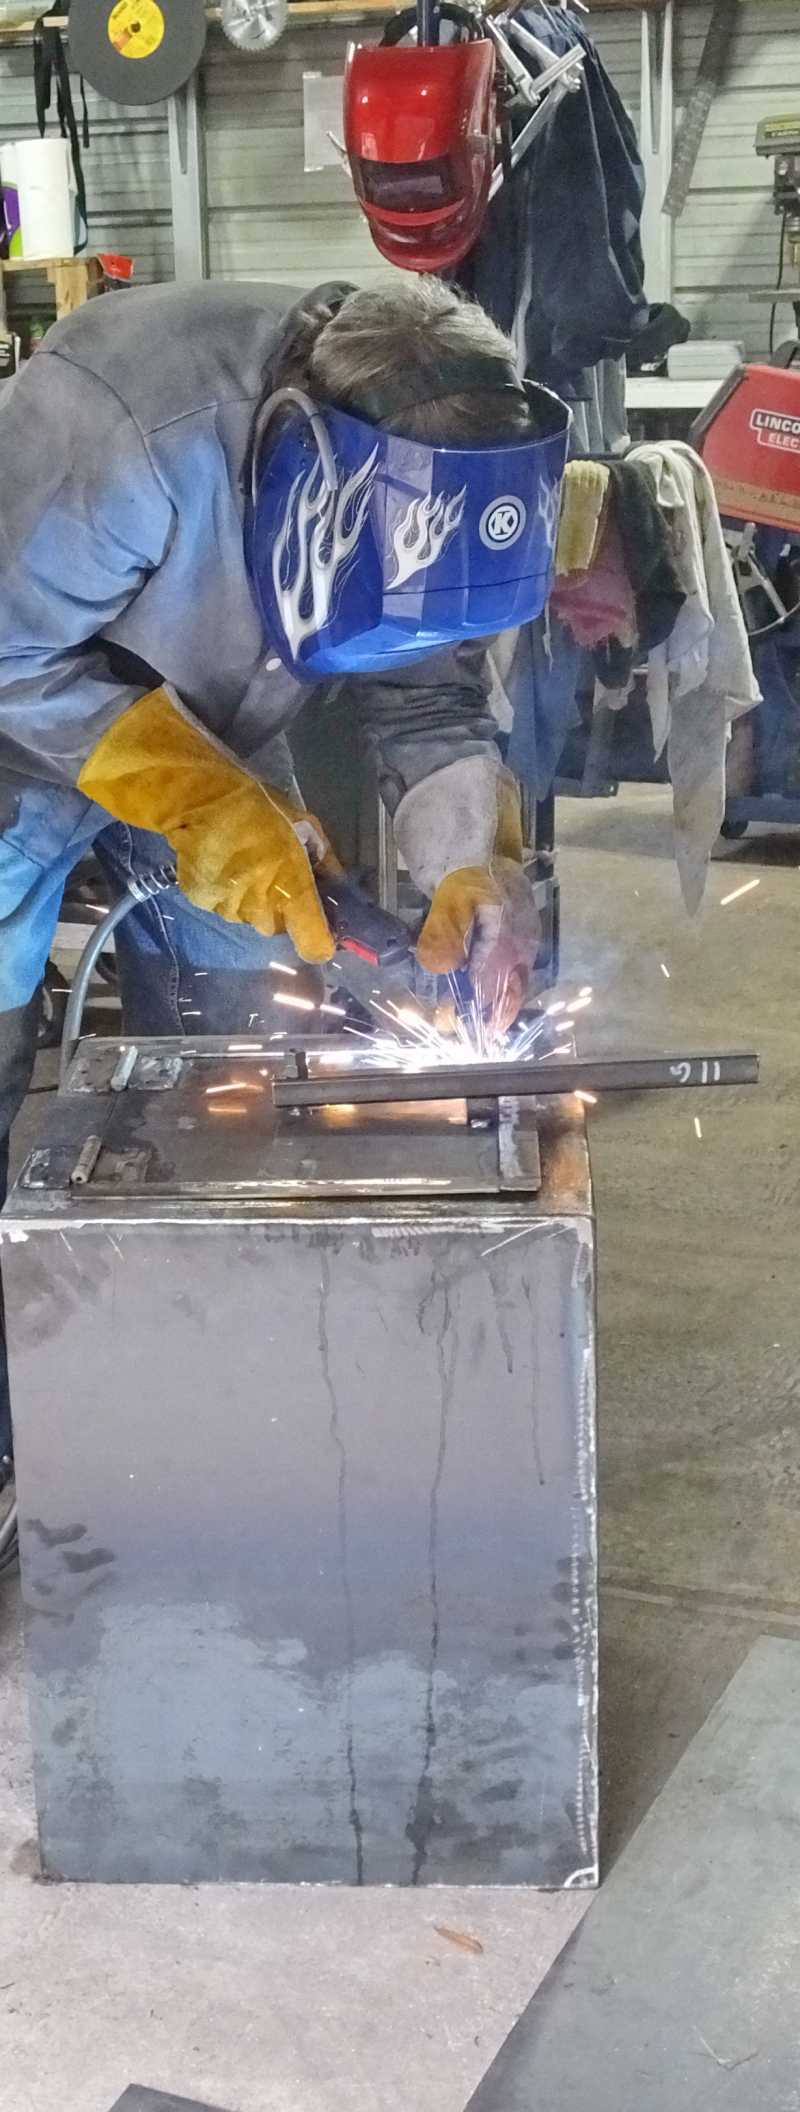
Now you can easily see the reinforcement welded on the inside of the door opening. It gives it tremendous stiffness and rigidly so the door ends up with a perfect air tight fit.
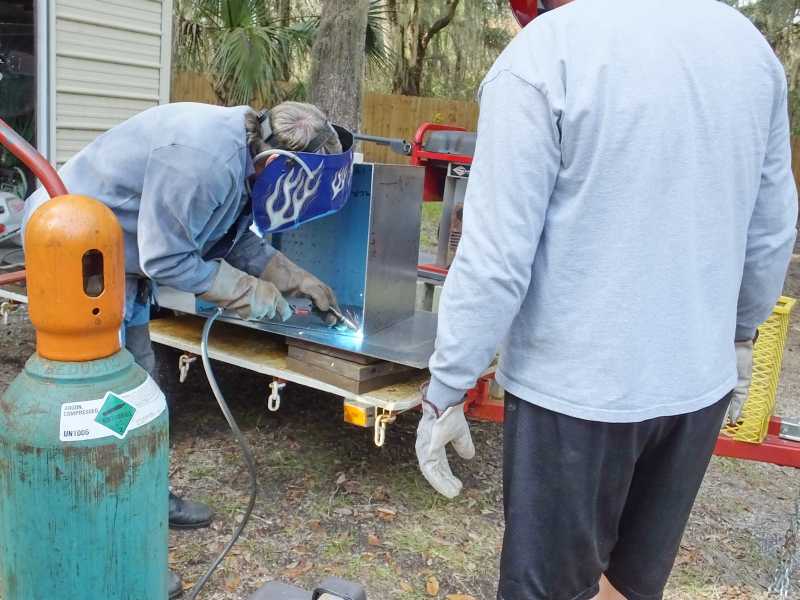
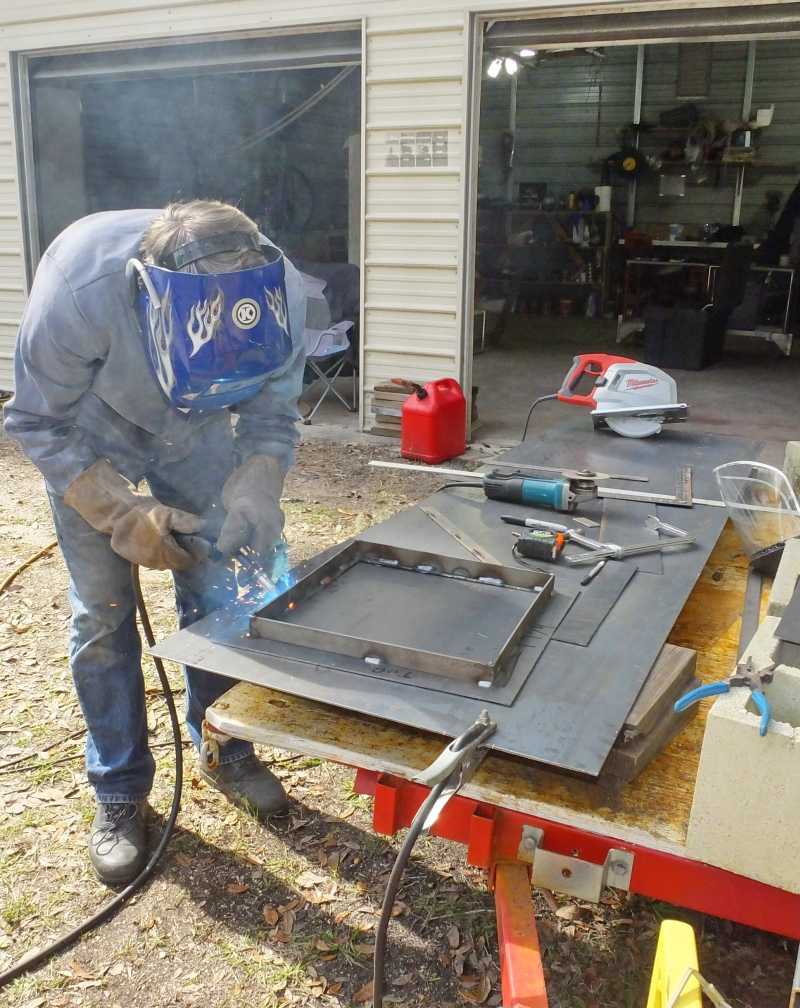
The five sided firebox is done waiting for the door to be mounted into its opening. At this moment its tach welded in place so there was still room for adjustments. Now it will receive the last of its permanent welds.

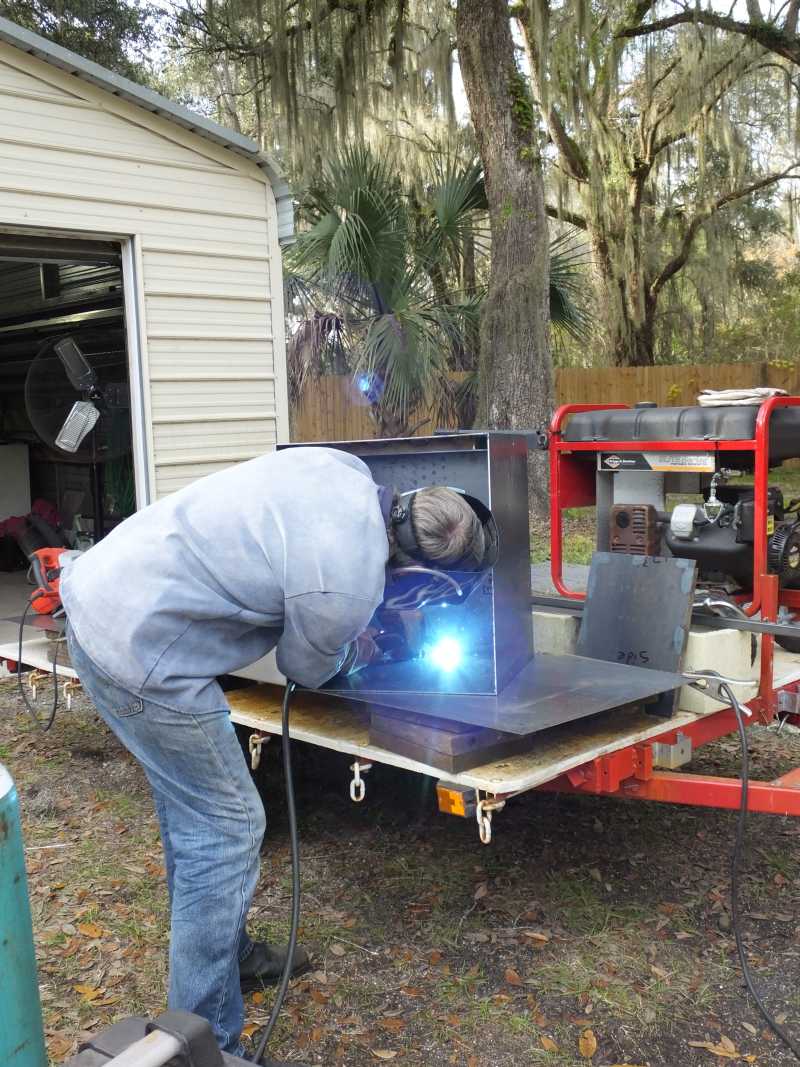
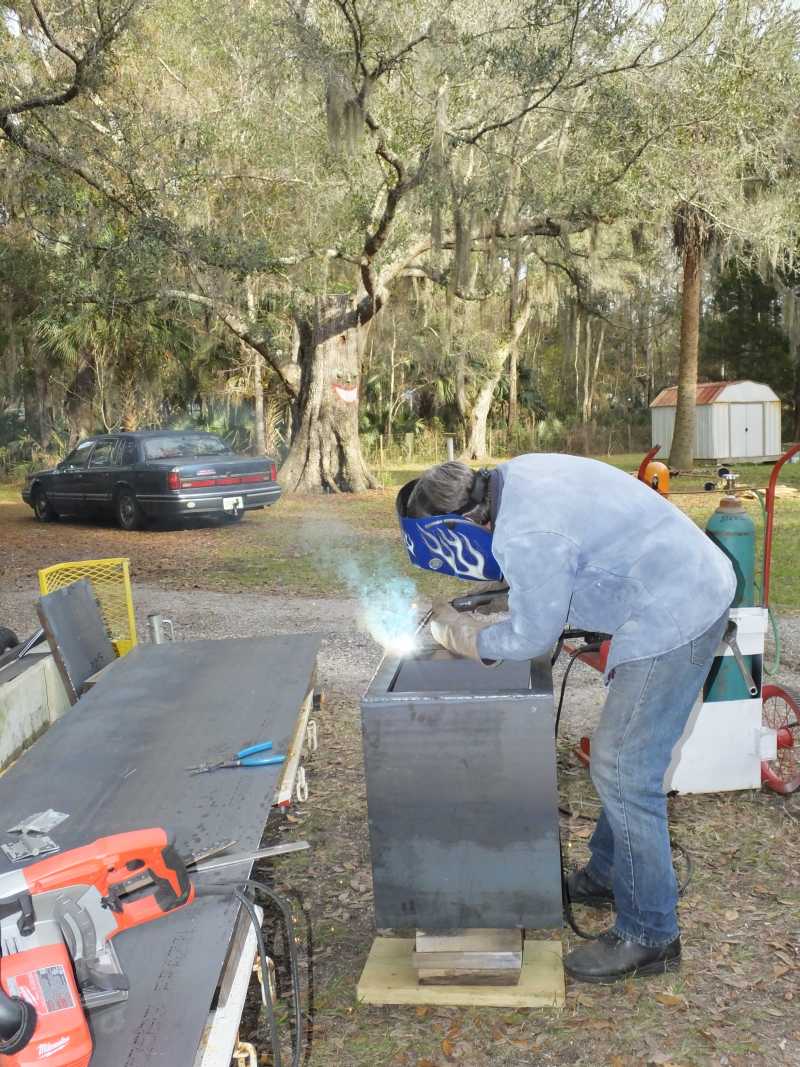
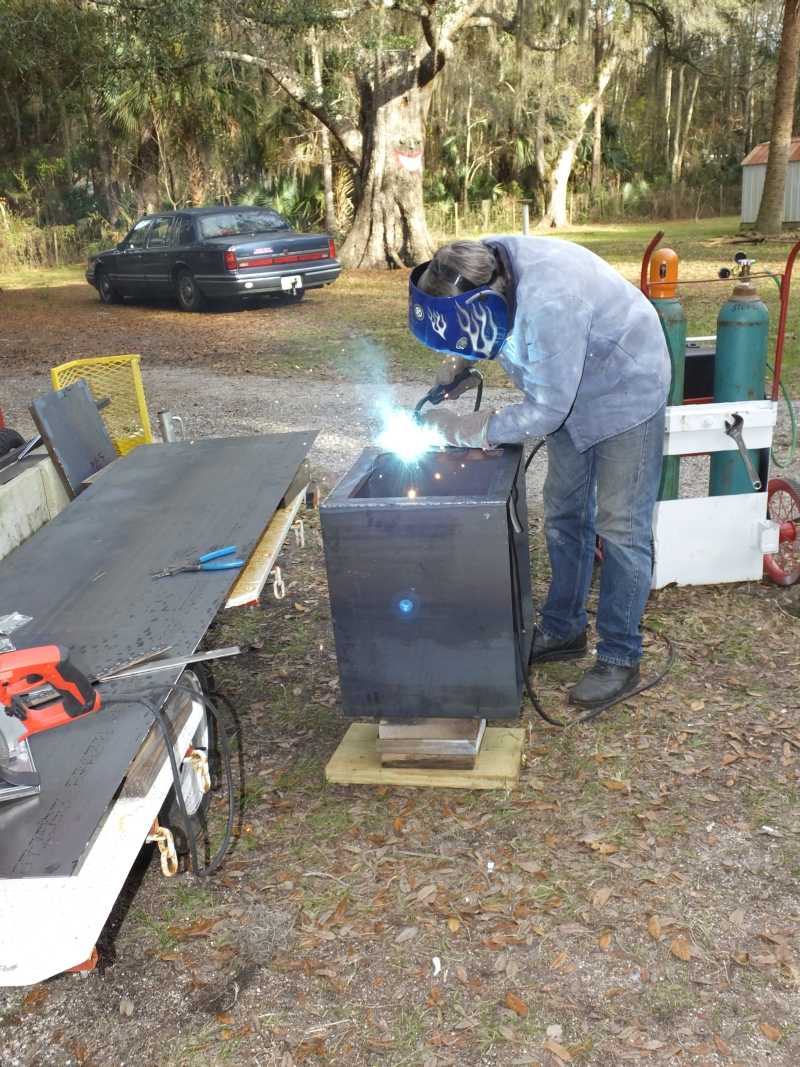
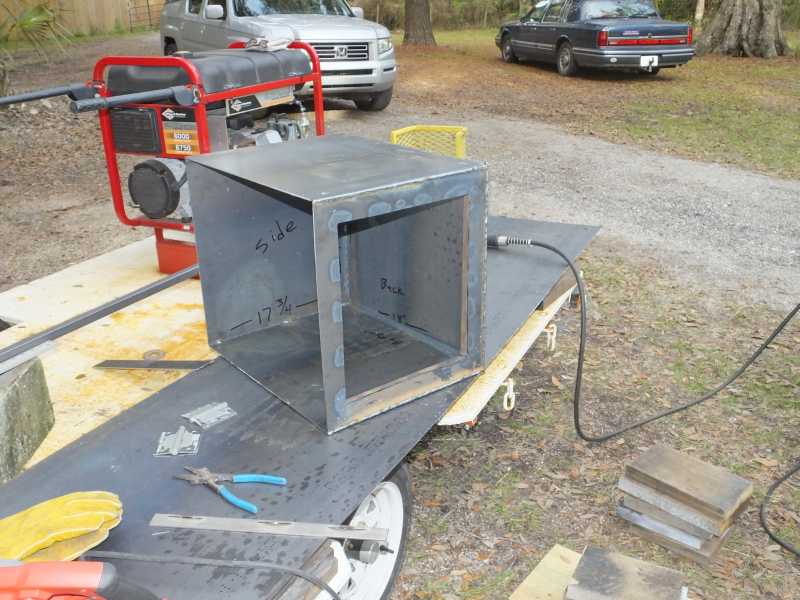
In one day it went from brand new steel flat plate to a fine perfect five sided firebox.
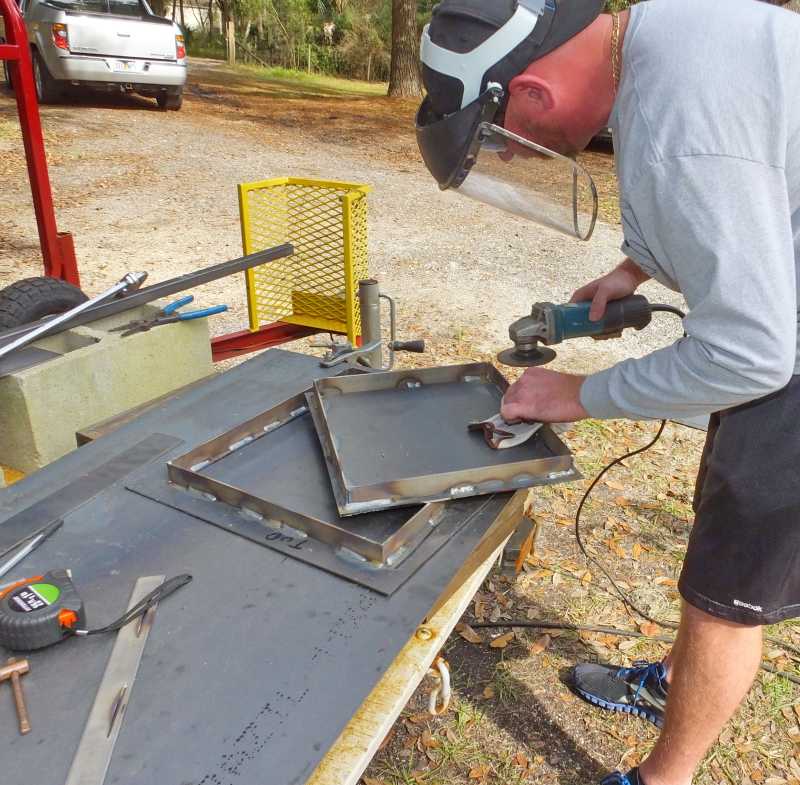
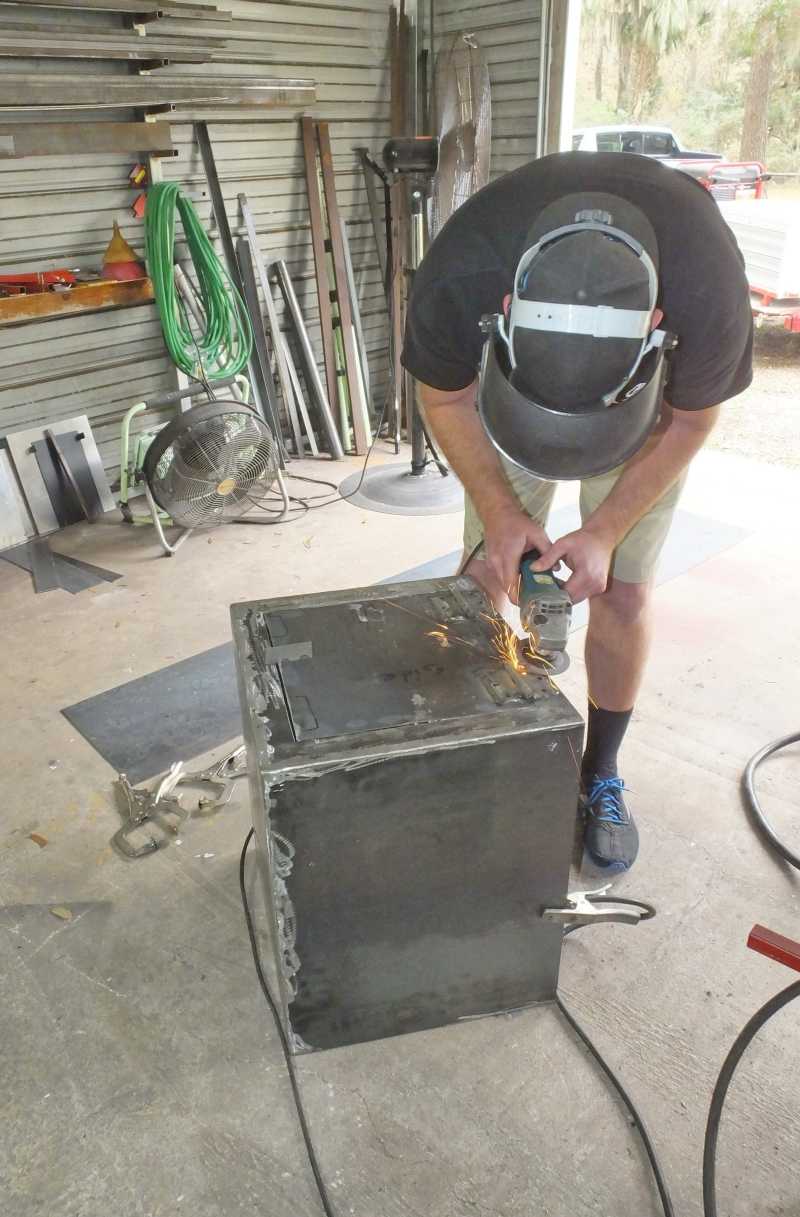
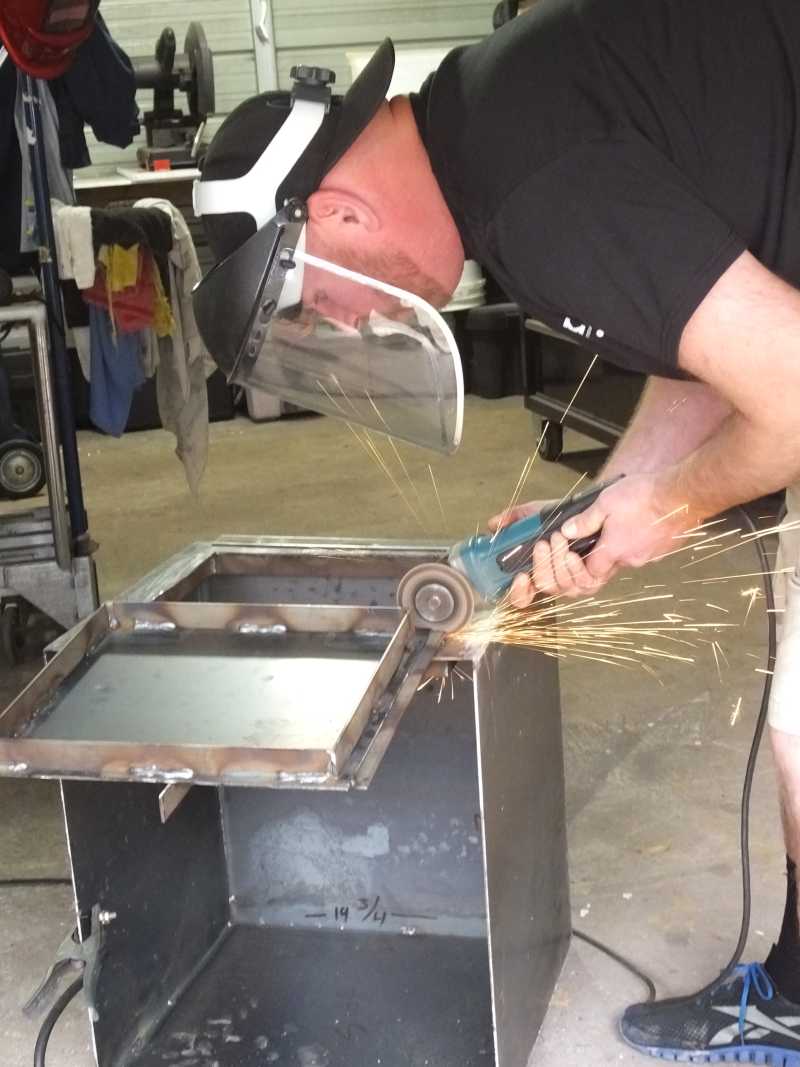
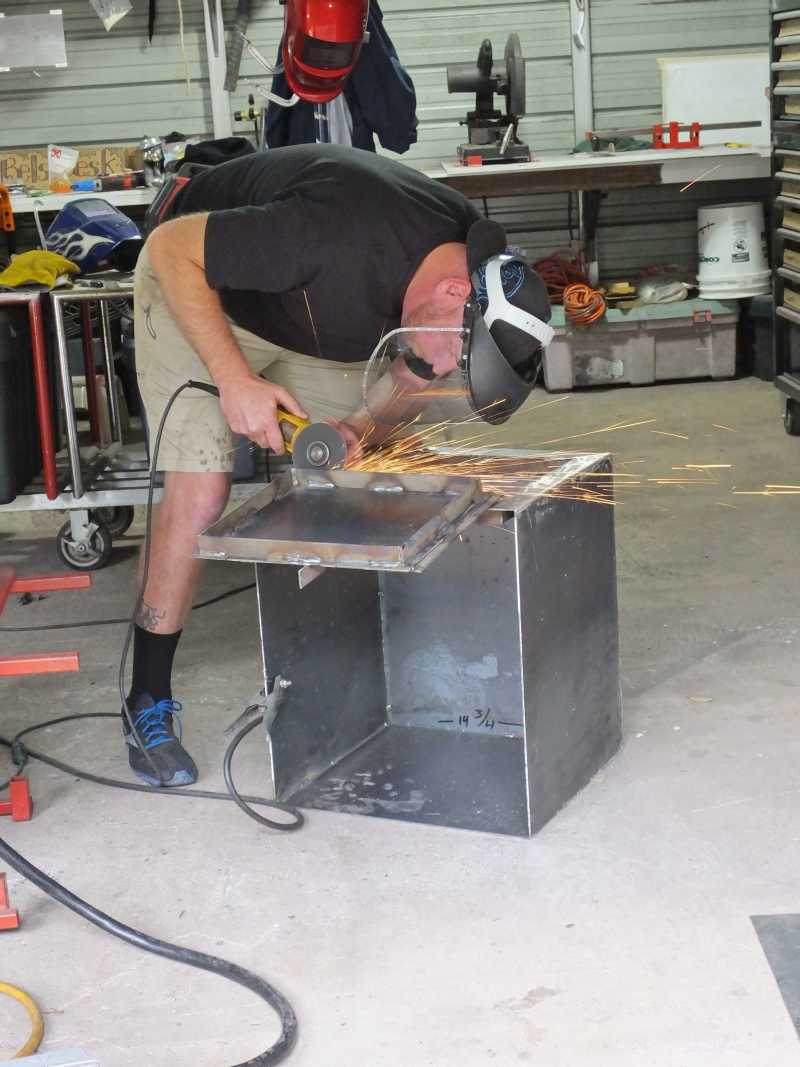
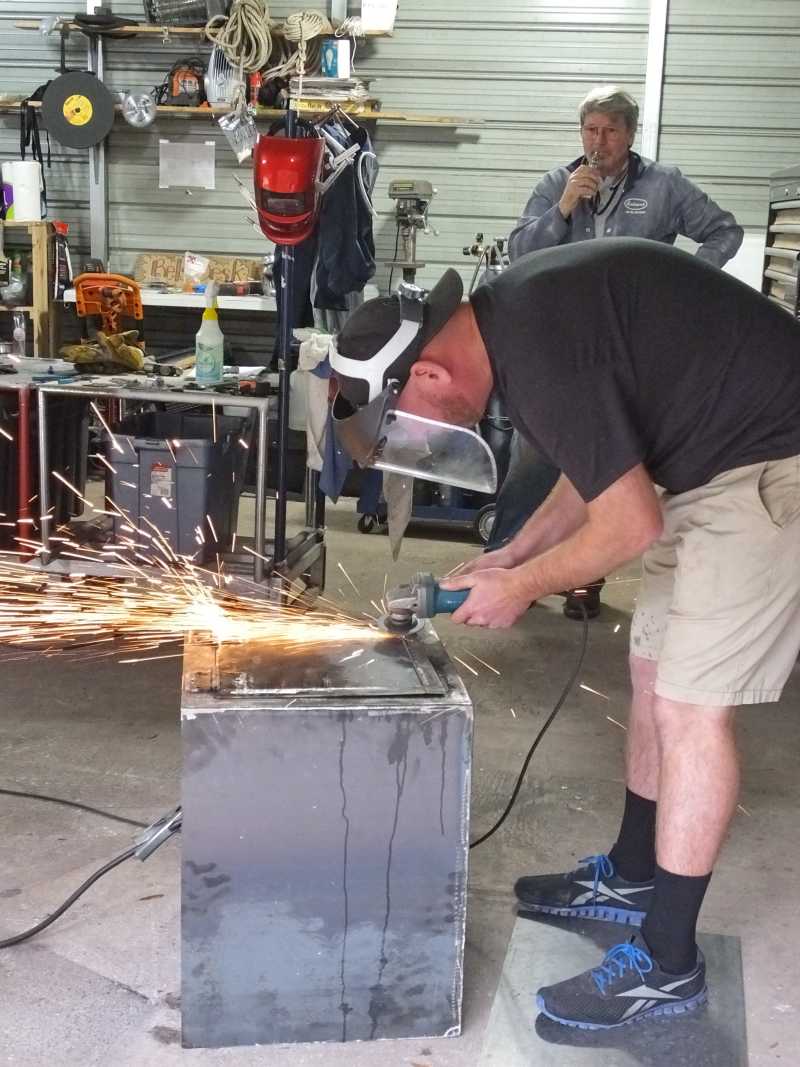
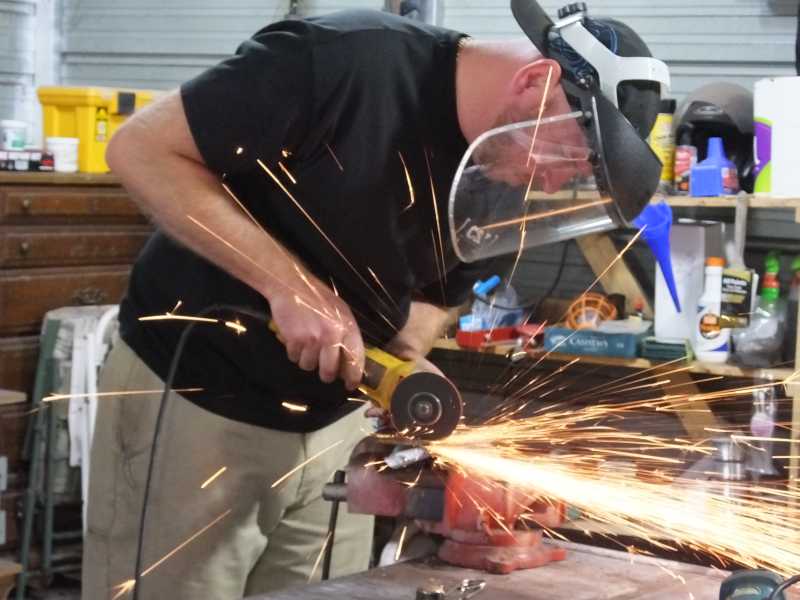
Jamie is smoothing out the weld splatter to make the joints invisible.
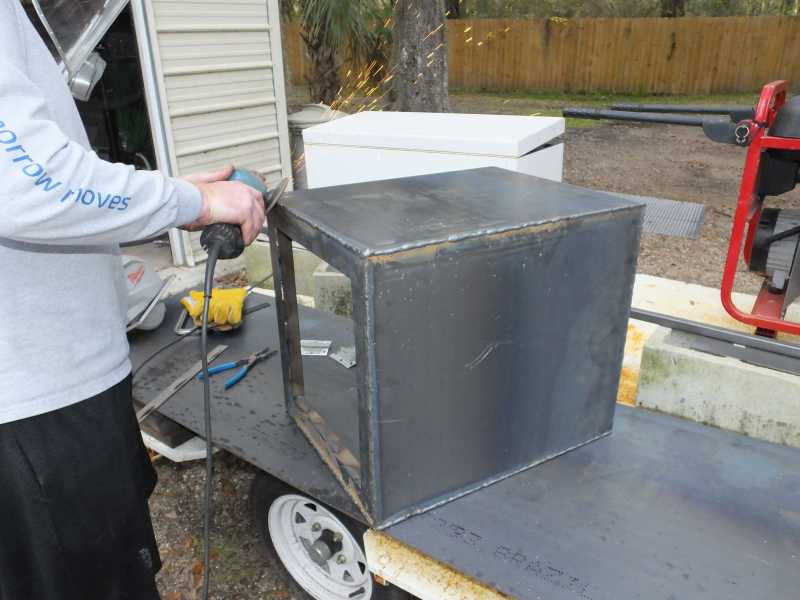
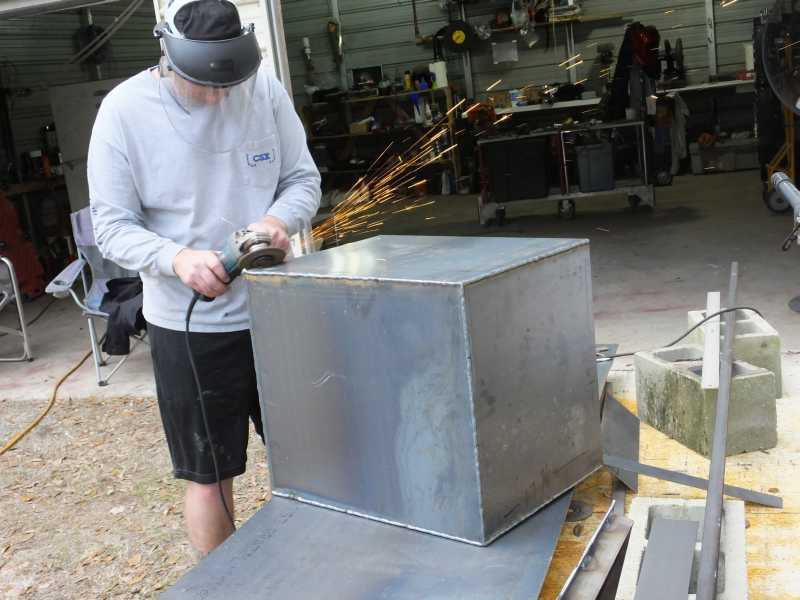
When Jamie finished grinding the edges of the firebox, you could not tell it was welded. You could not tell it was made from multiple individual pieces put together. It looked like it just slide out of a mold. Every seam was invisible.
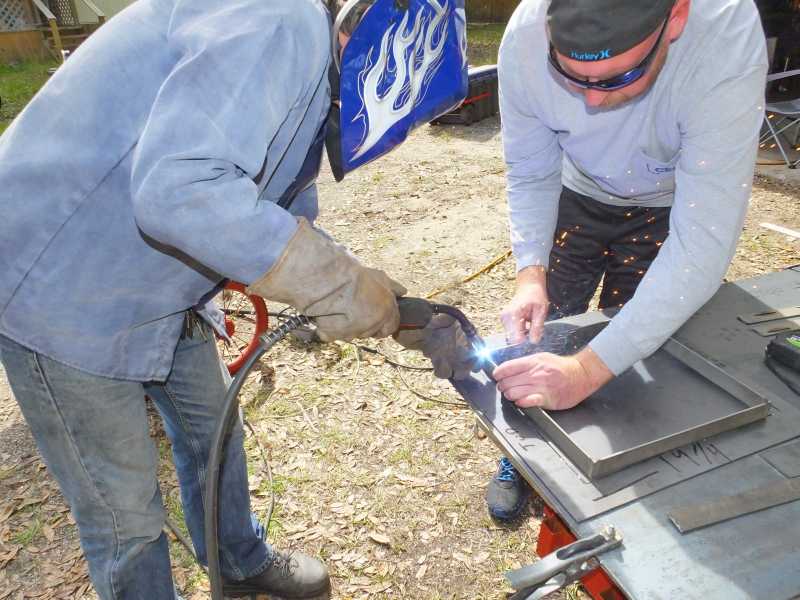
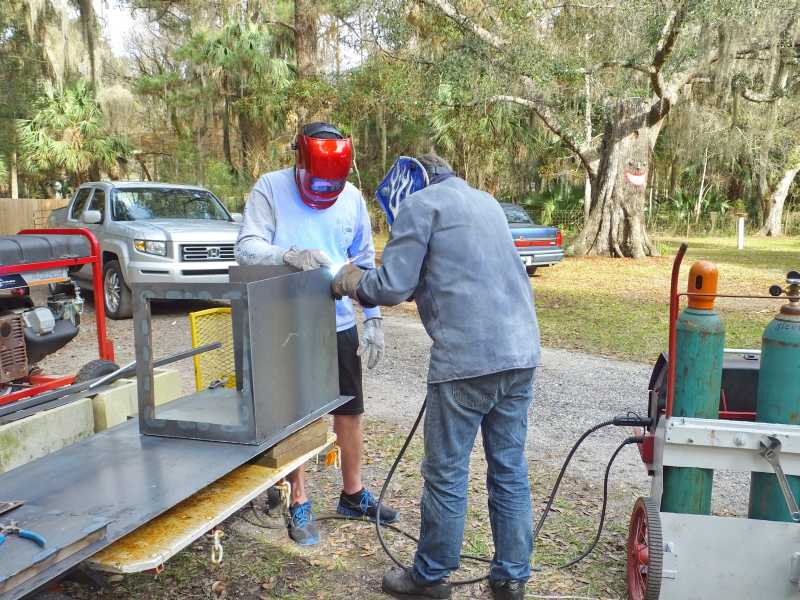
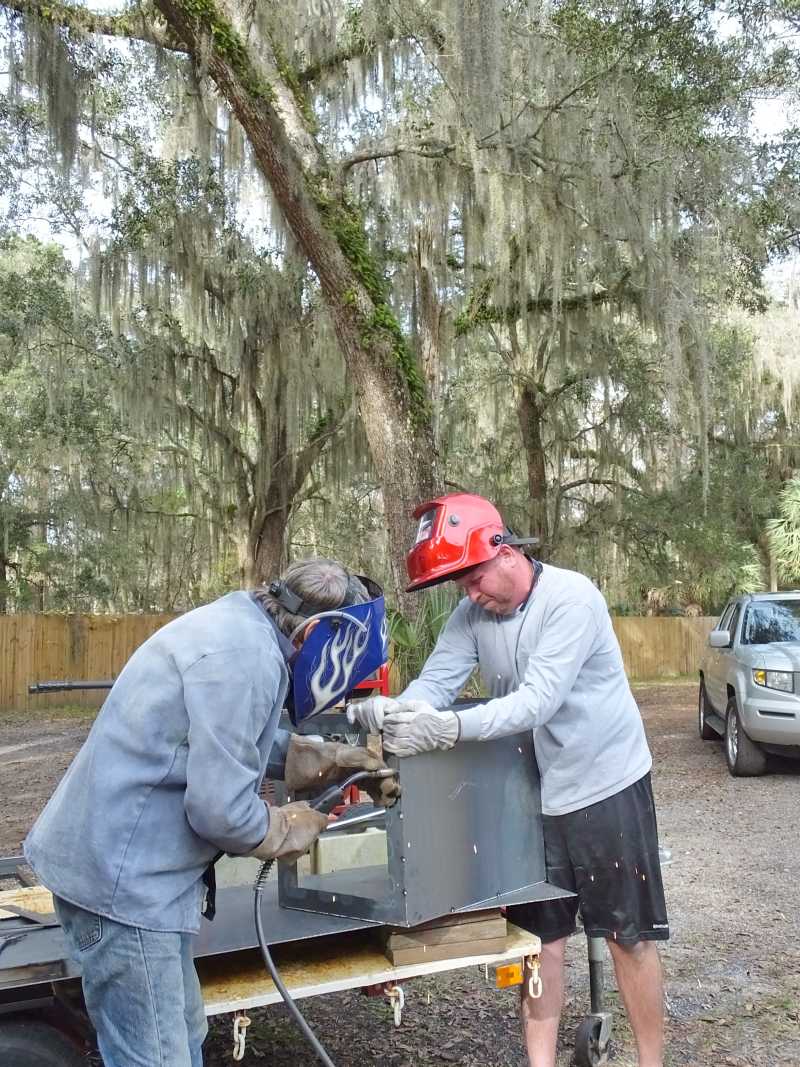
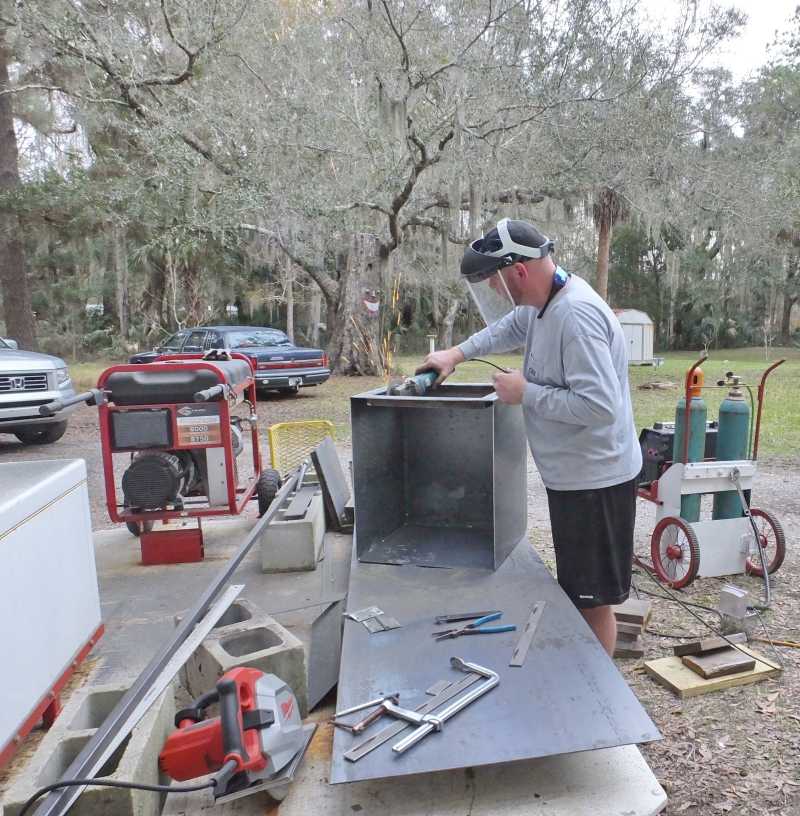
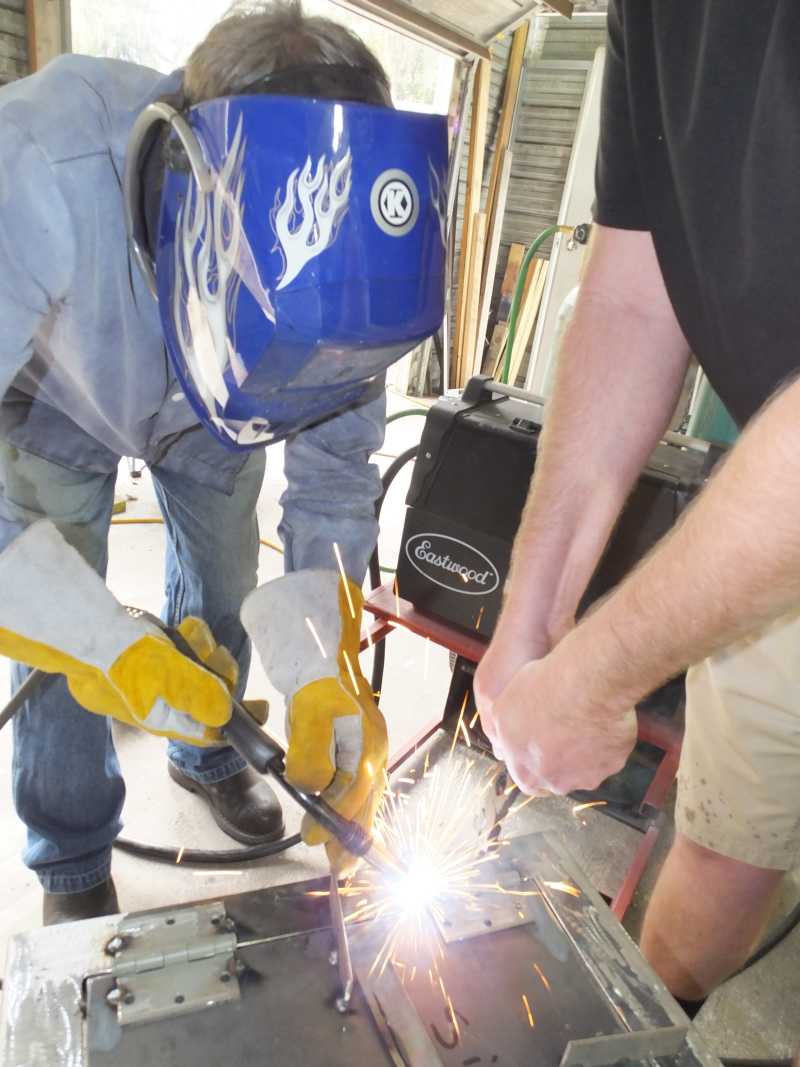
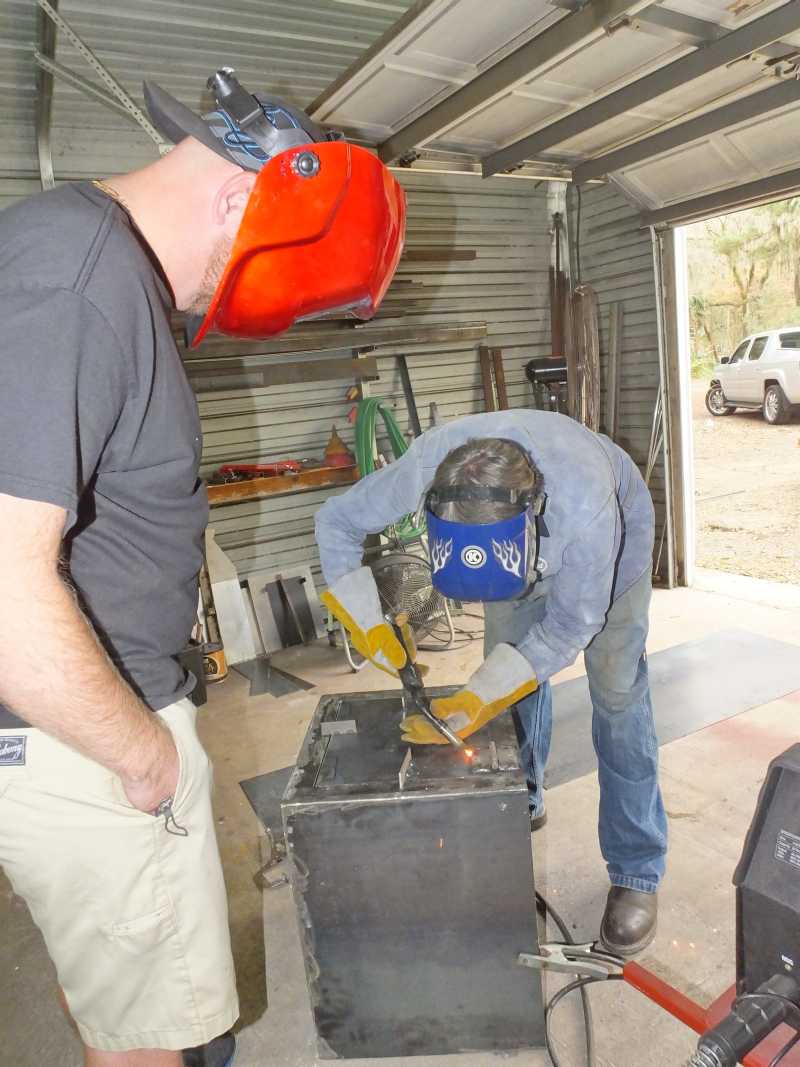
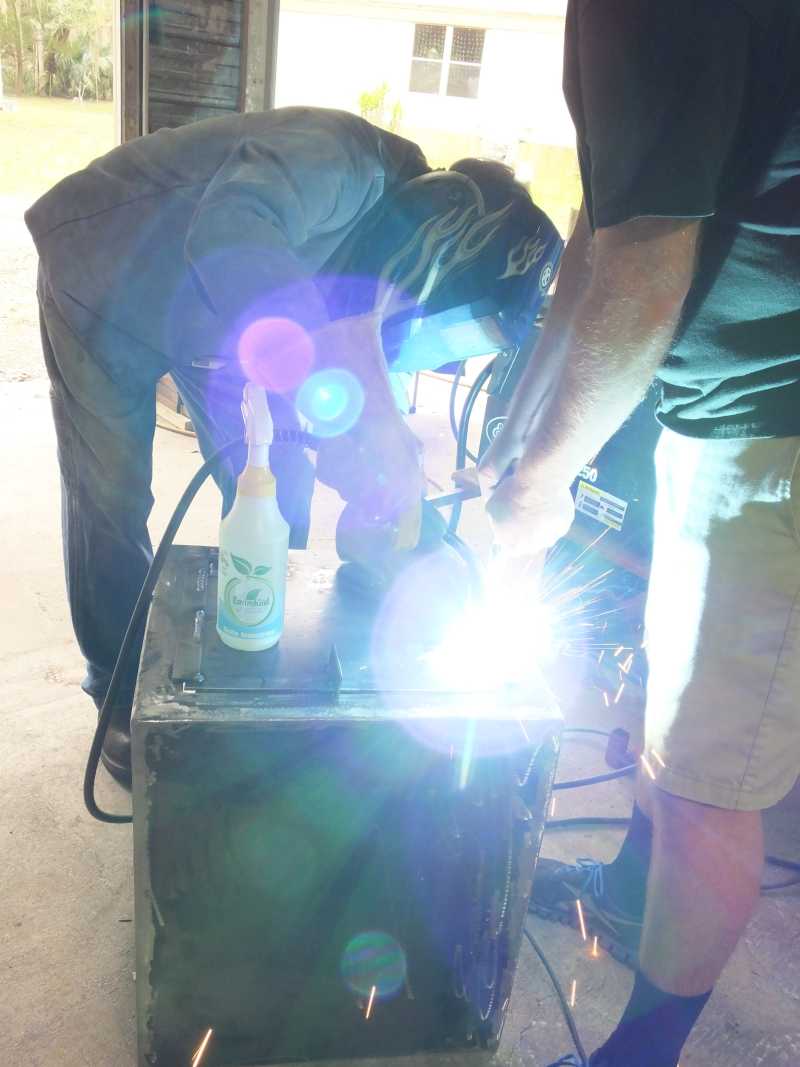
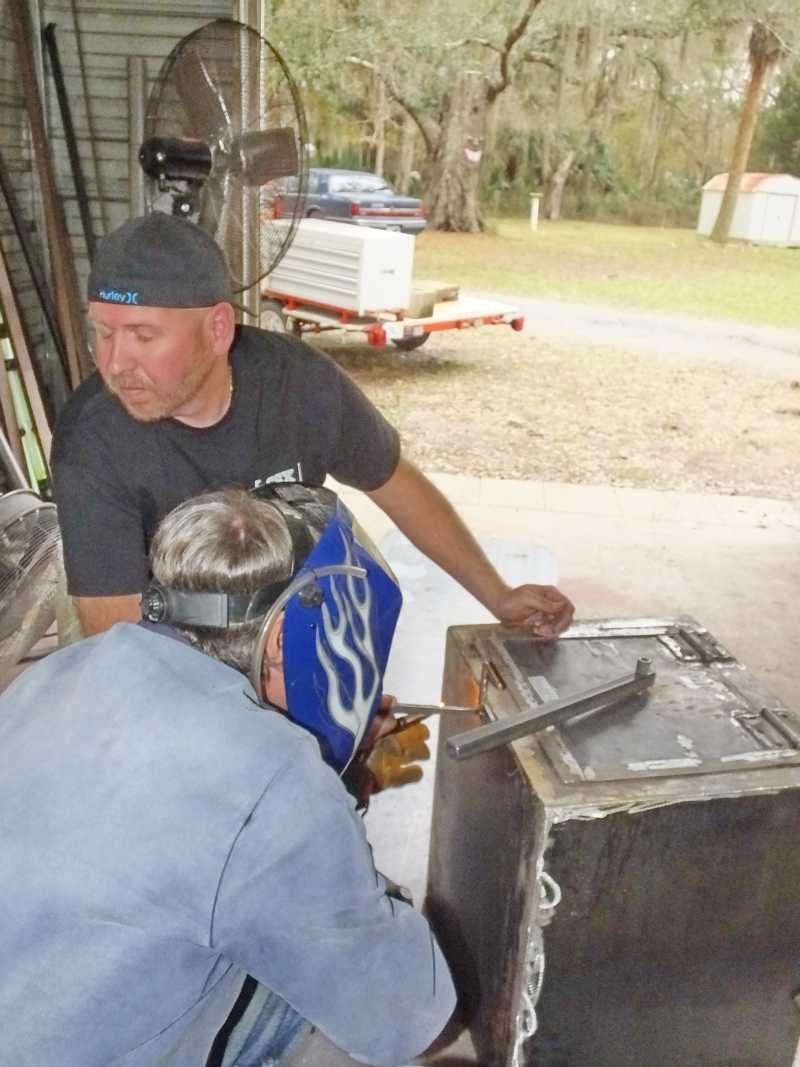
Now I'm welding temporary tabs on the door so I can put the door into its opening and it will sit in perfect plane, not too deep nor too high, as I wiggle it around to get its perfect alignment for welding the hinges on.
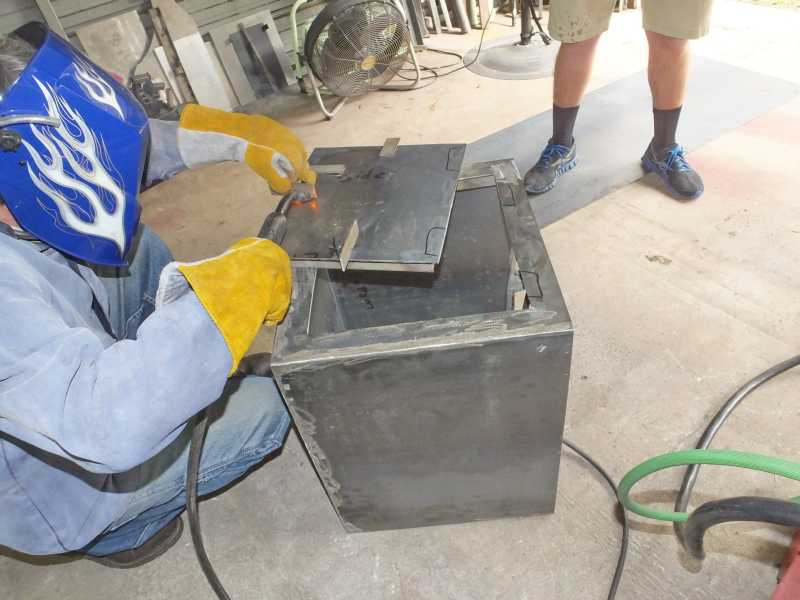
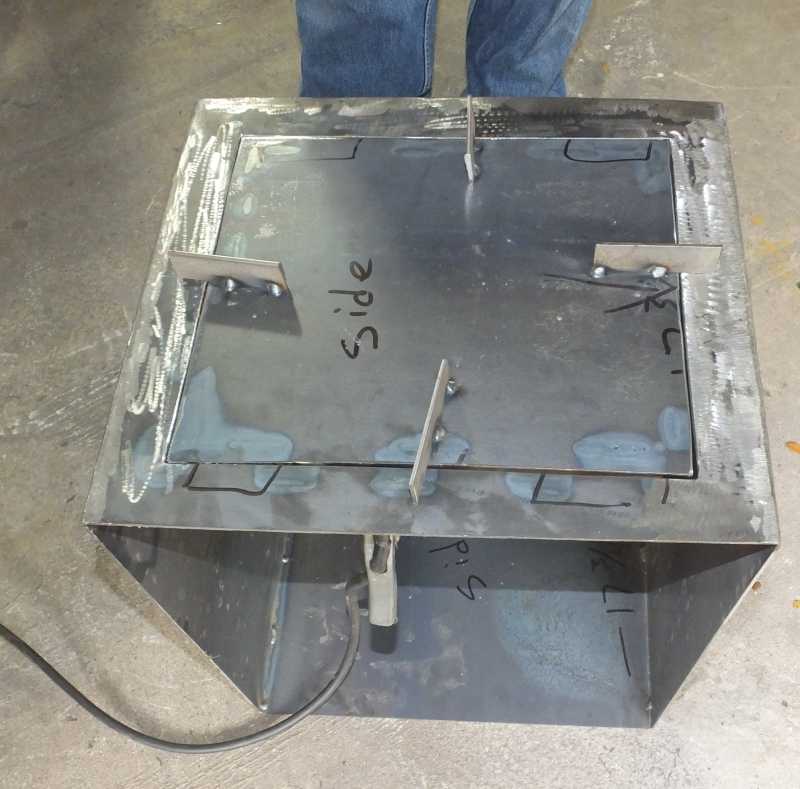
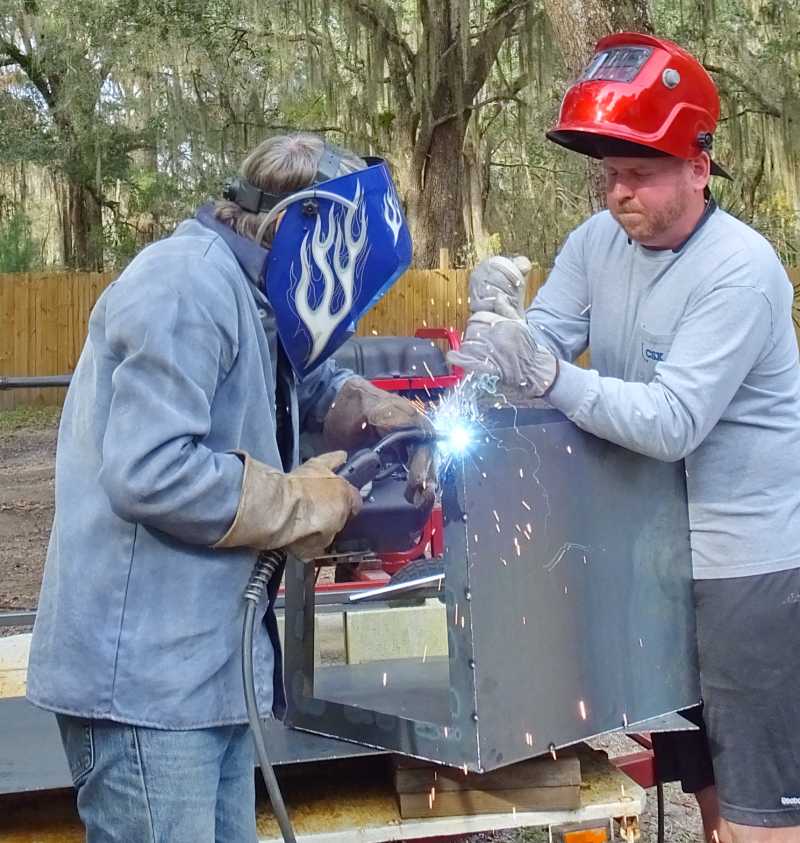
Jamie is holding the hinges tight to the box so I get good tight welds.
One tab is knocked off already so we can test the door swing.
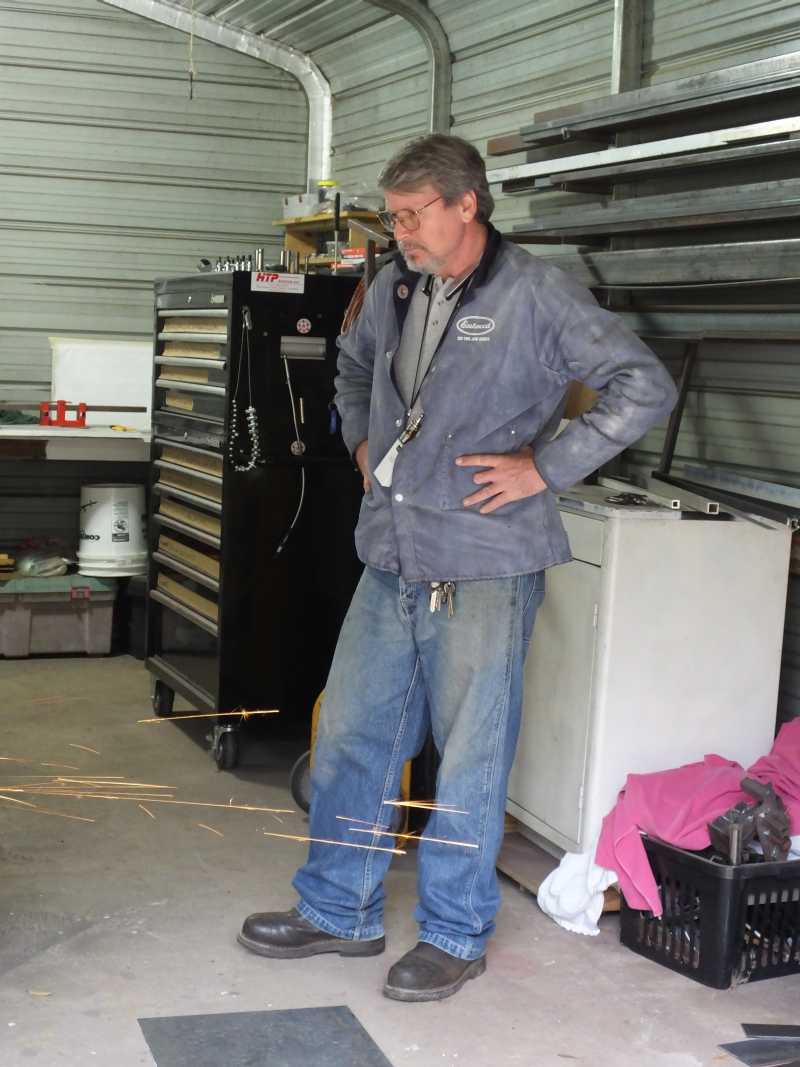
I was really surprised. I've had many customers help me before but Jamie was amazing. He was smart, knew what he was doing, learned super fast and worked non stop.
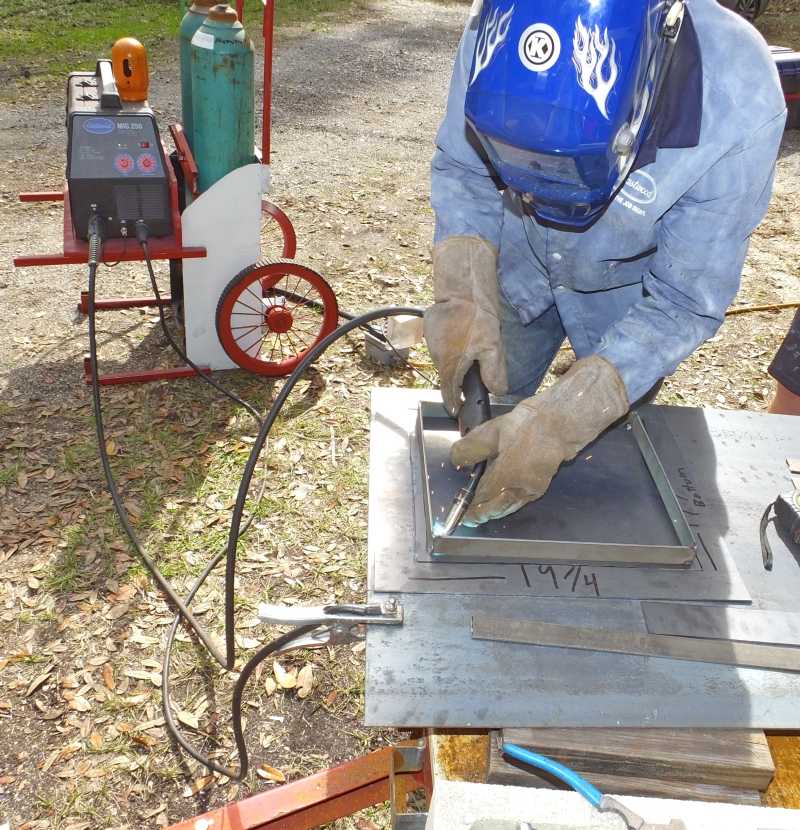
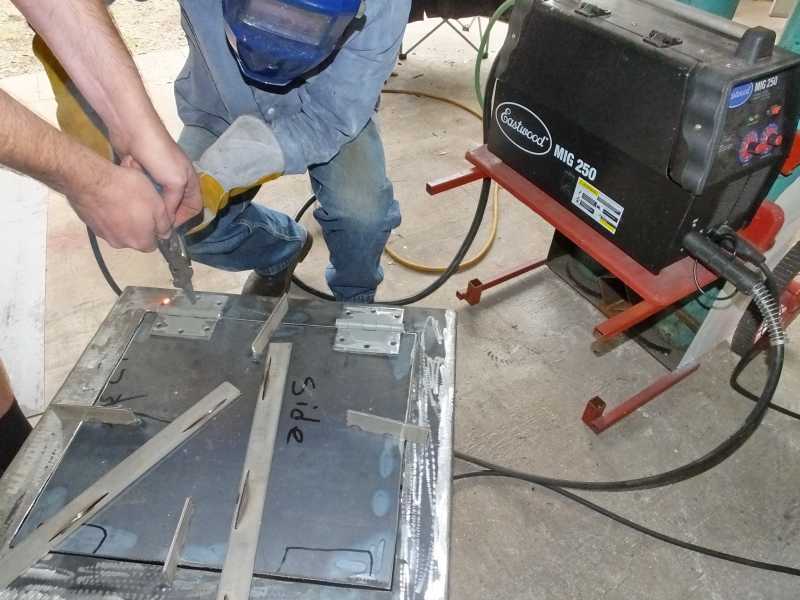
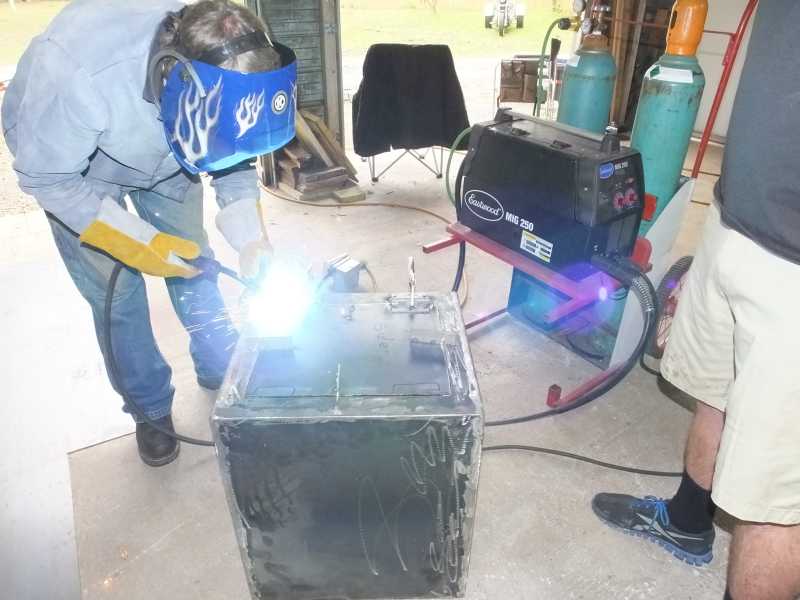
Now we are adding outside lips on the door that will make flush contact with the wall when the door is closed for a nice tight seal.
I cut slots in the lip so I can weld through the slots holding the lip perfectly flush and very strong to the door.
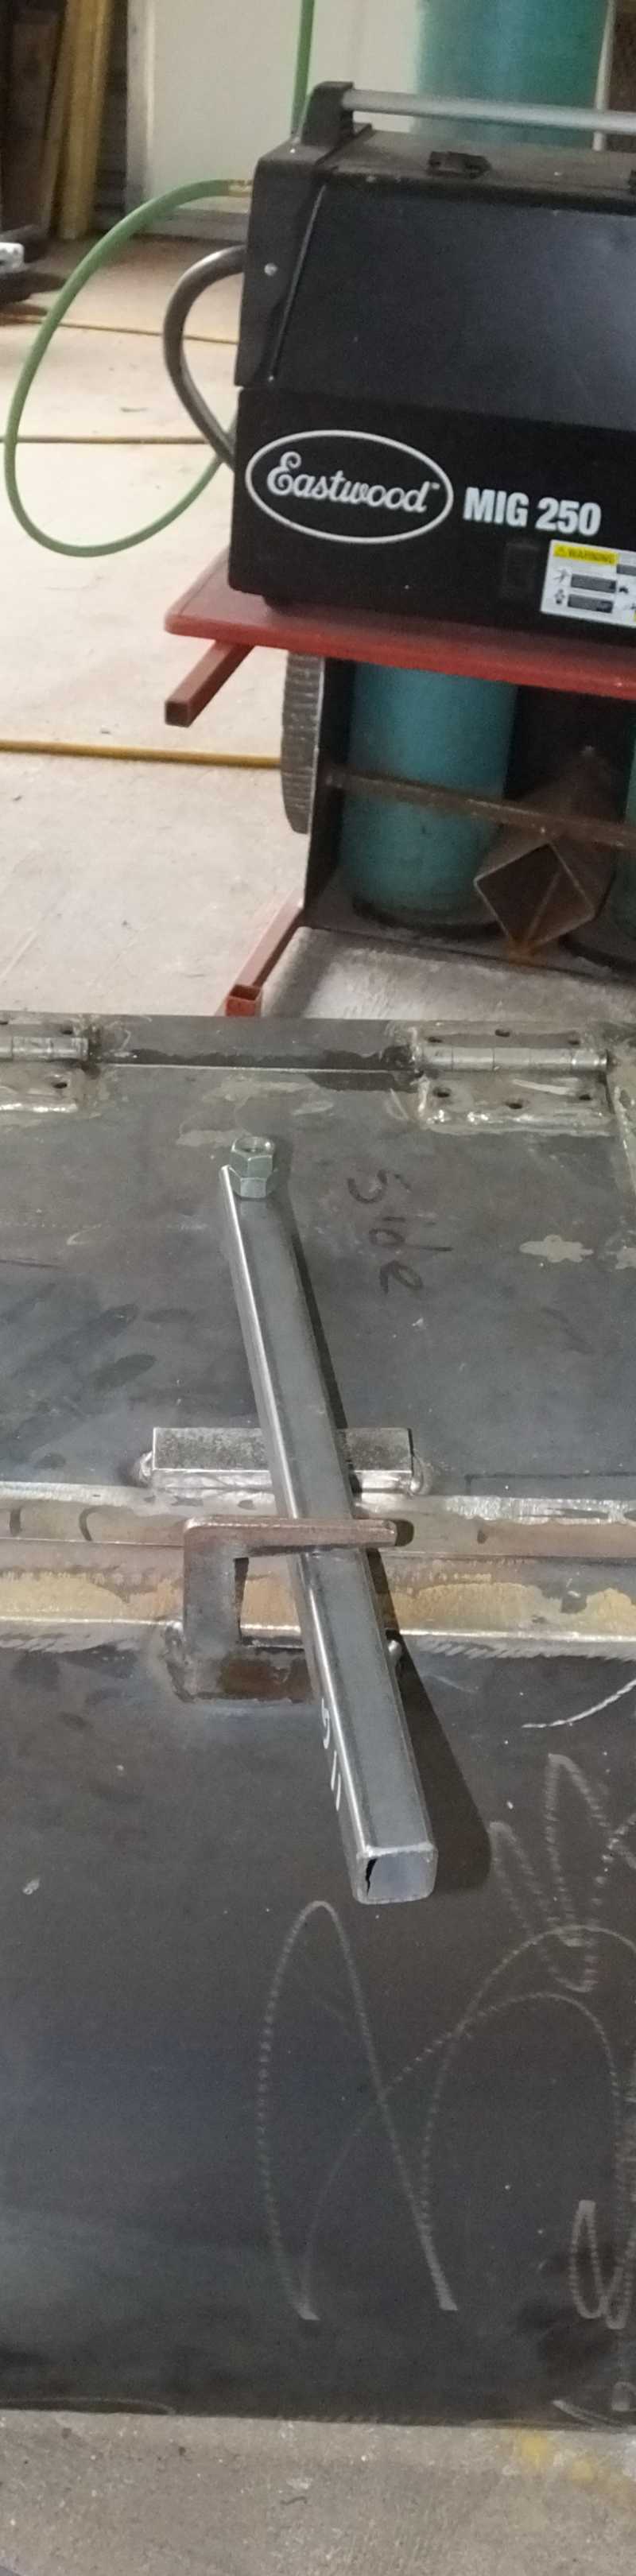
Now its time to start making some sort of handle and door latch system for holding it tightly closed.

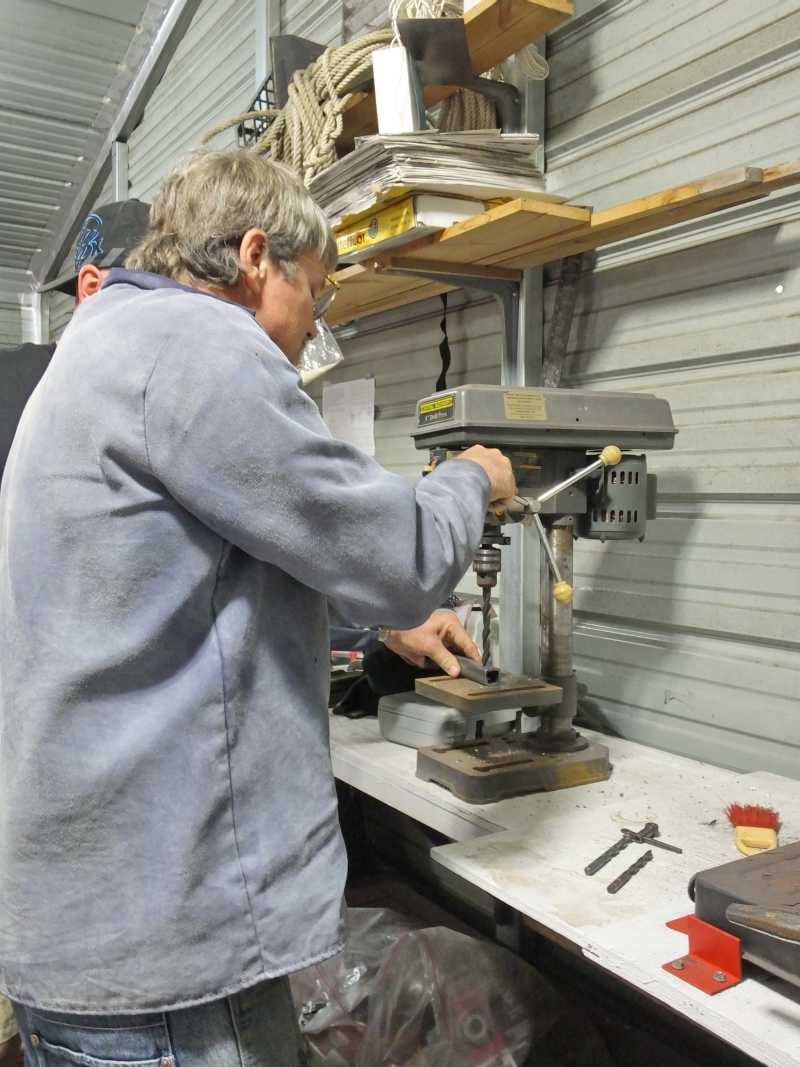
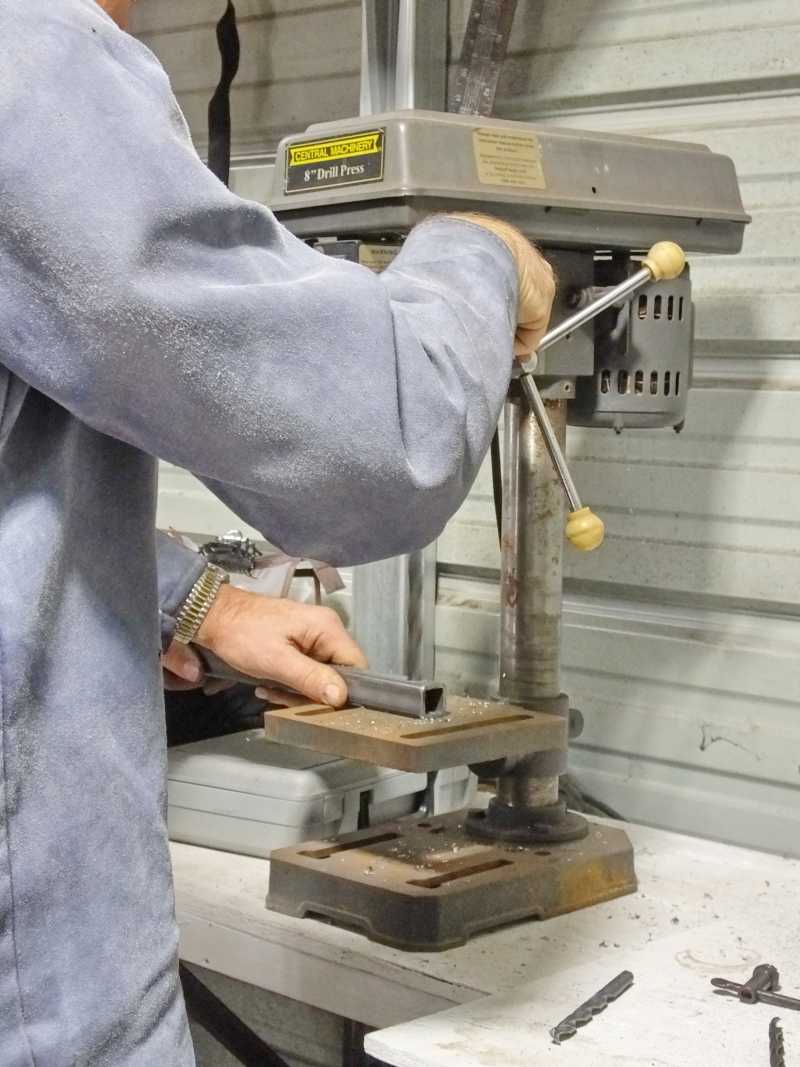
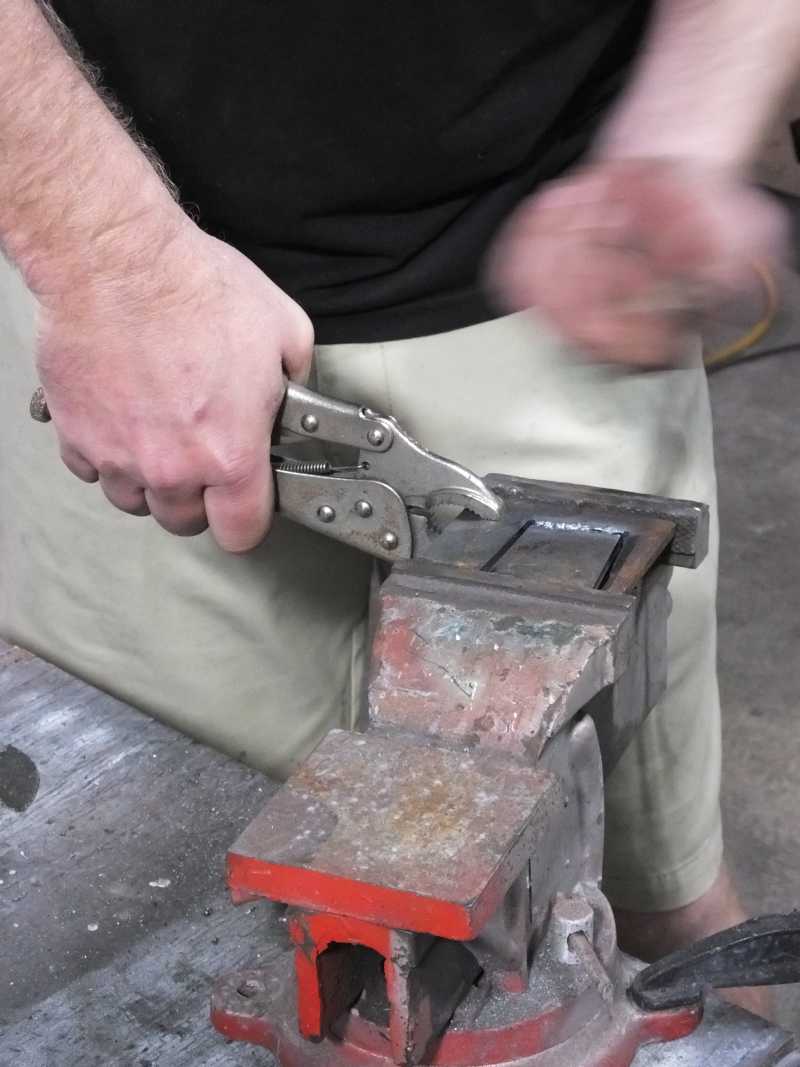
Drilling a hole/pivot point in the handle so it can rotate open and closed.
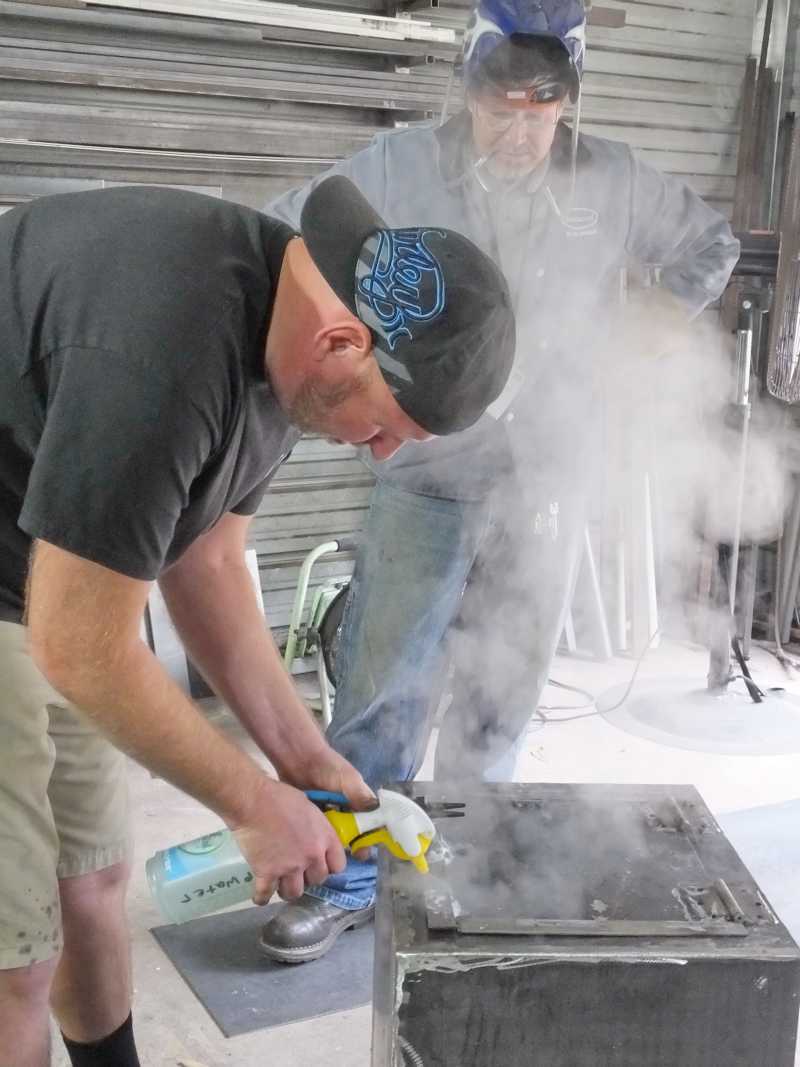
Cooling the hot welds down quickly so we get the least amount of heat distortion in the door and its lips.
Grinding down the welds through the lips so the weld becomes invisible and leaves people wondering what's holding the lips in place.
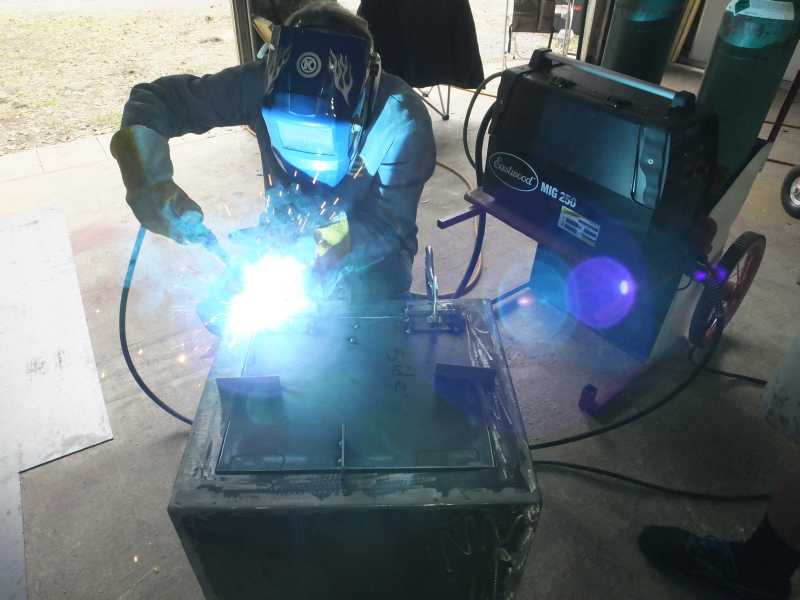
Welding the bolt pivot place, in place so the door handle can freely swing as we intend for it to do.
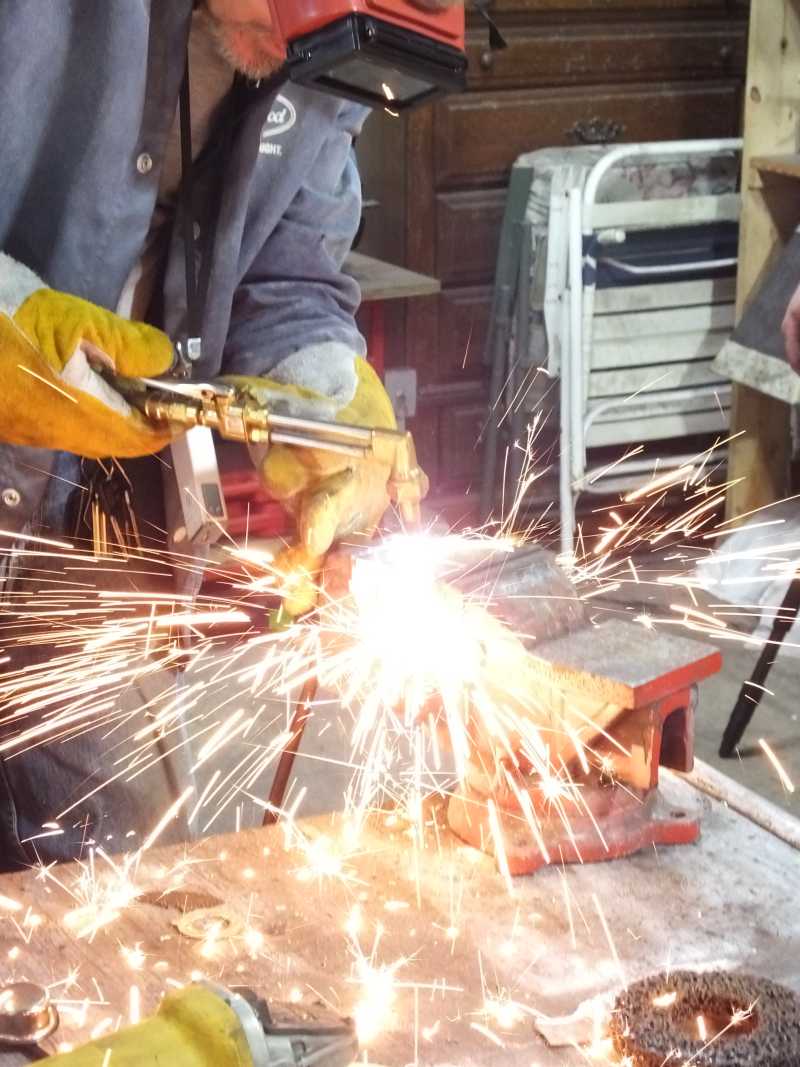
Cutting out the latch mechanism the door handle will lock tight into.
Some of it was saw cut and the last piece had to be cut with a torch as it was too short to fit any blades into that short of a space.
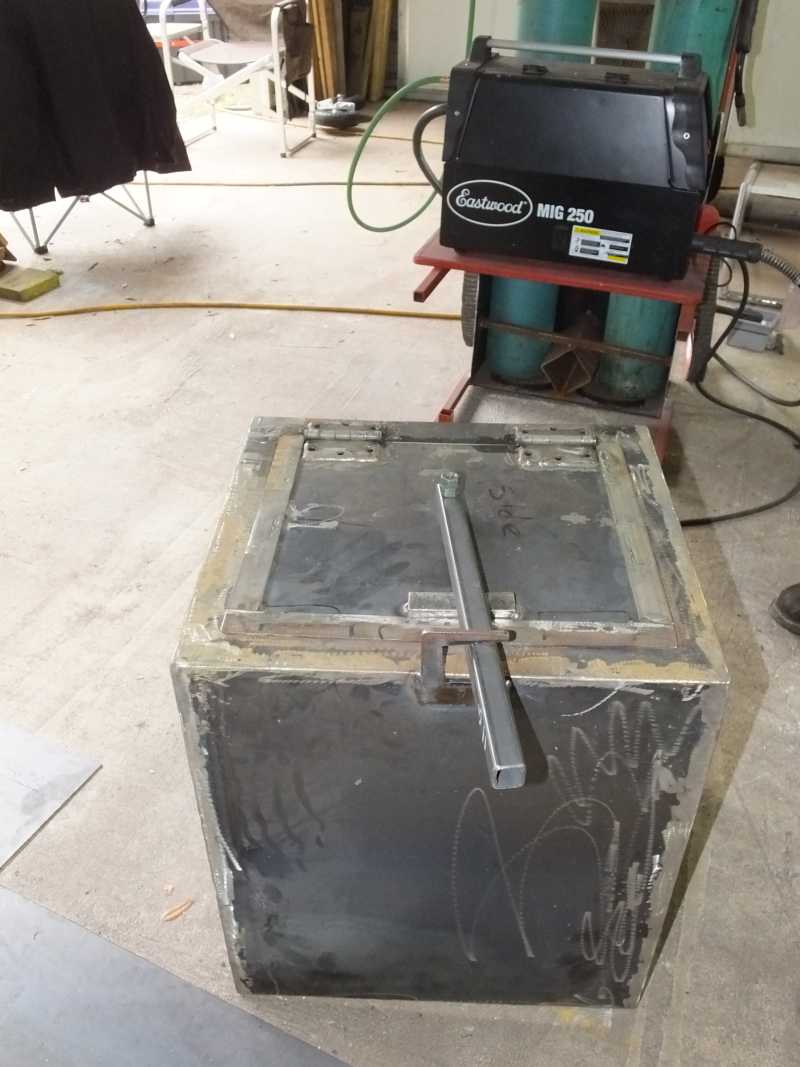
Now the lock is welded in place that holds the handle and door tightly closed. The more you push the handle, the tighter the closure becomes.

Ok, enough pictures on this one page. Go to build page 2 to see more progress.
The finished painted page BBQ cooker smoker.
This page is "BUILD PAGE 1" BBQ offset smoker built in St Augustine.
Build page 2. BBQ offset smoker built in St Augustine.
Build page 3. BBQ offset smoker built in St Augustine.