


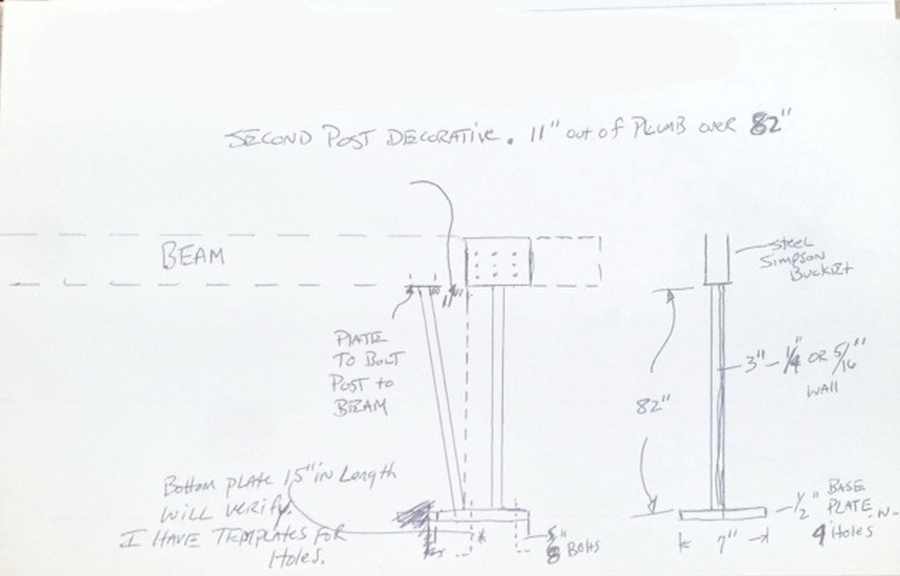
Here is the drawing, the rough sketch he brought to me.
I asked the builder a bunch of questions until I understood exactly what he wanted. Then I began cutting steel, drilling holes, measuring angles with amazing precision, and welding the metal components together.
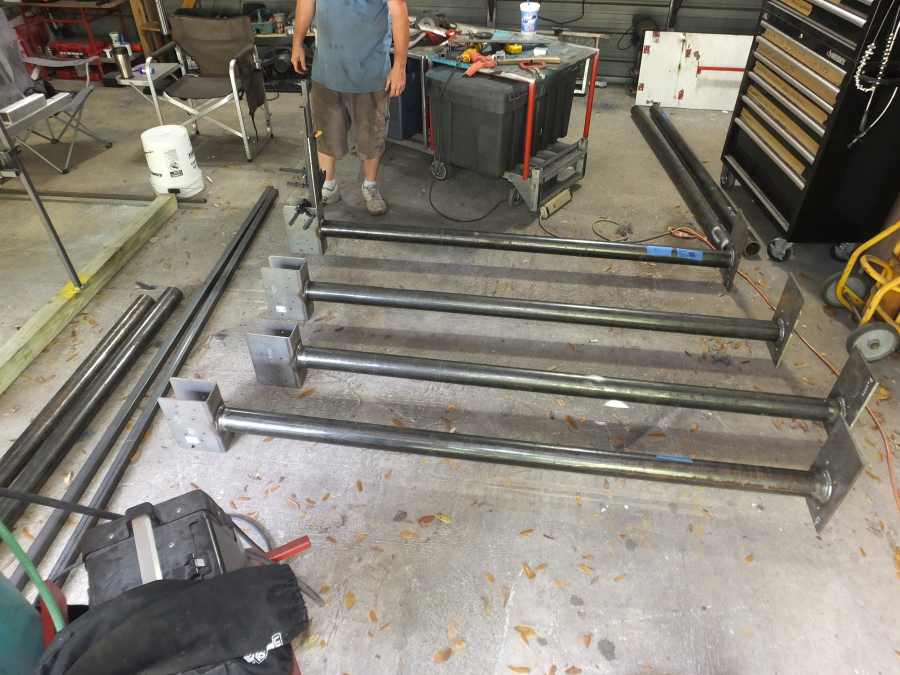
Below here is a picture documentary of the build and weld/fabrication process it took to build his columns.
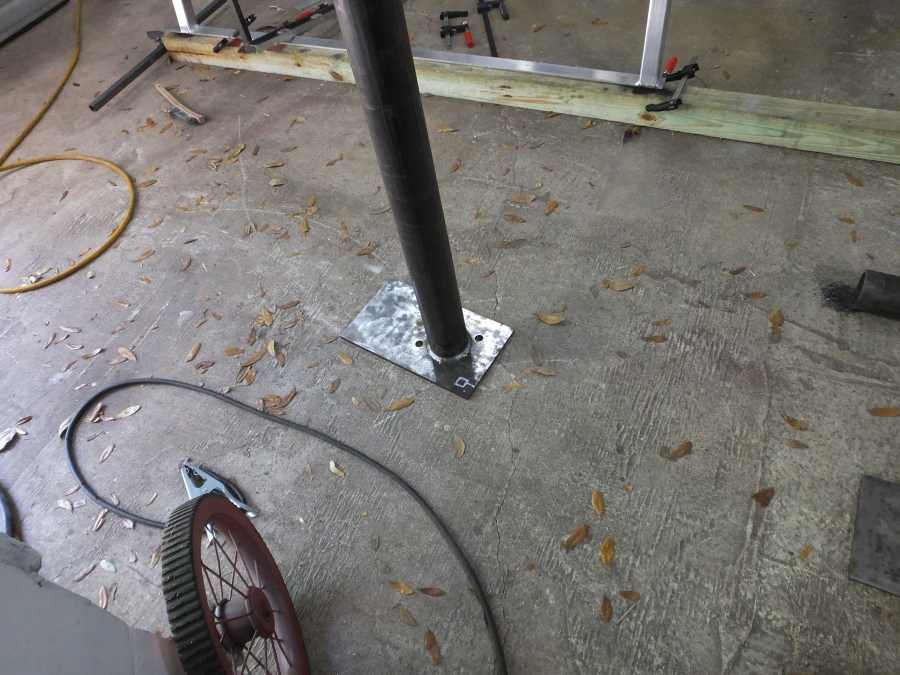
The bottom of the columns mounted to 1/2" thick steel plates which sat atop of mounting bolts that stuck up through the plates from the bottom, with nuts on top holding it all tight.
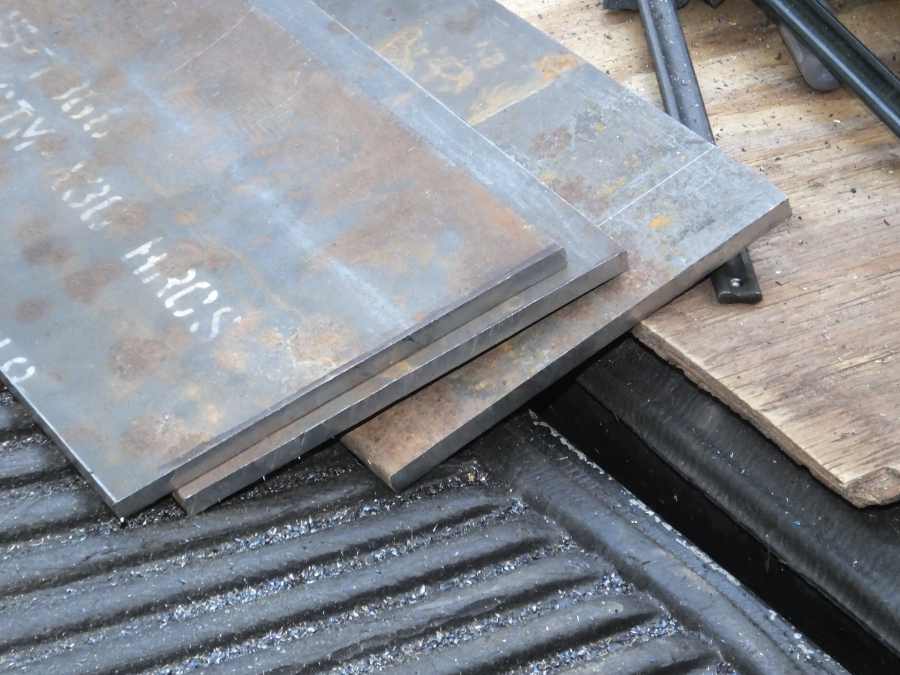
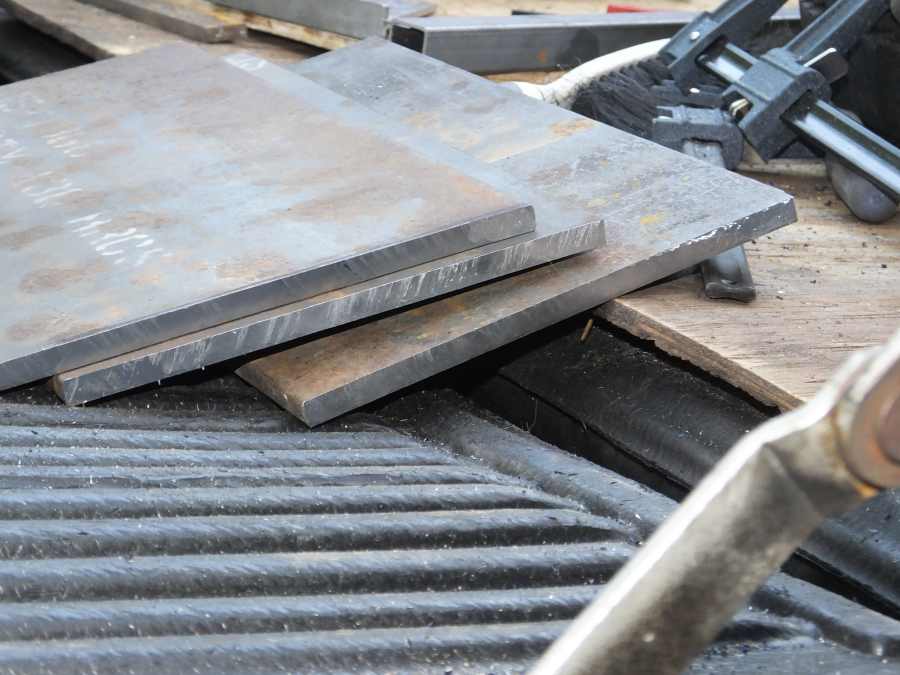
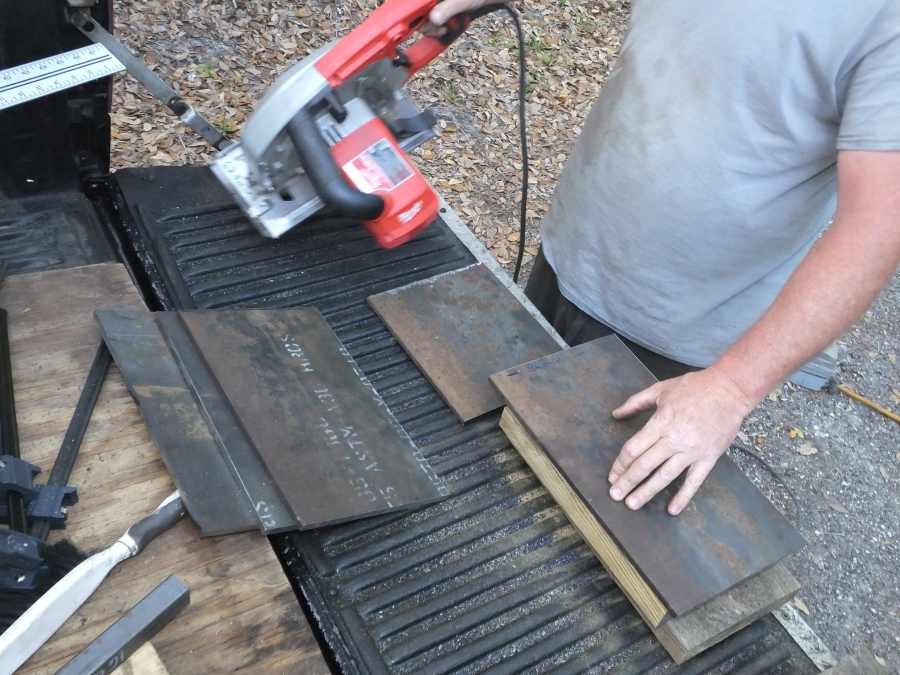
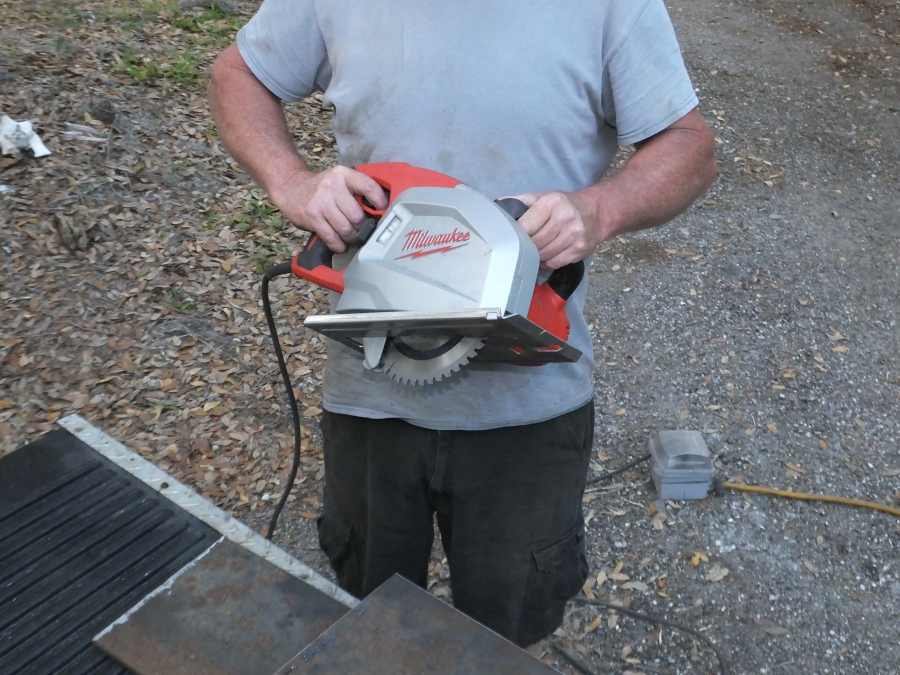
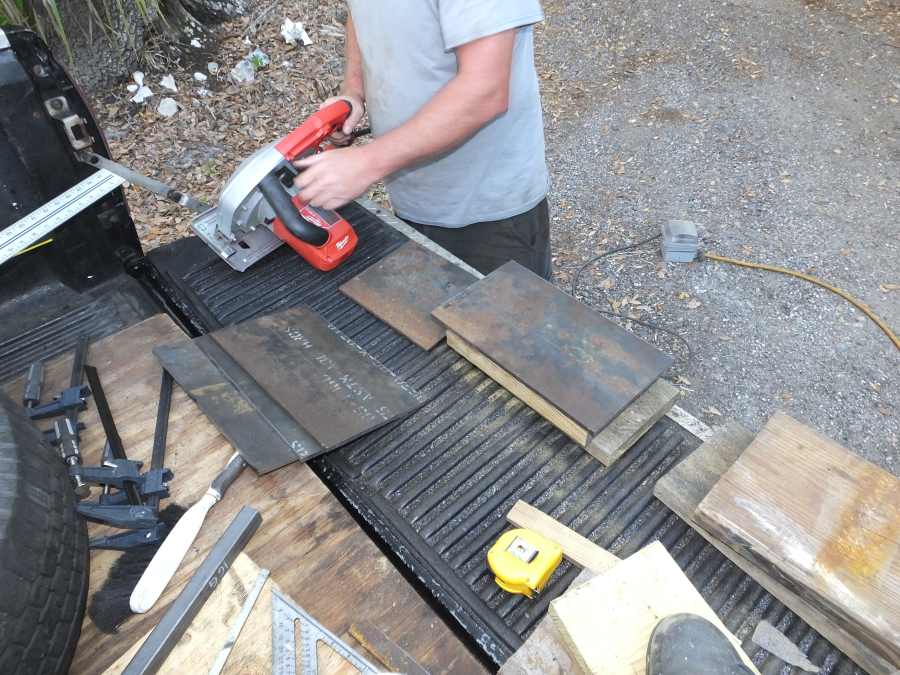
So here we are cutting out the plates to very precise sizes.
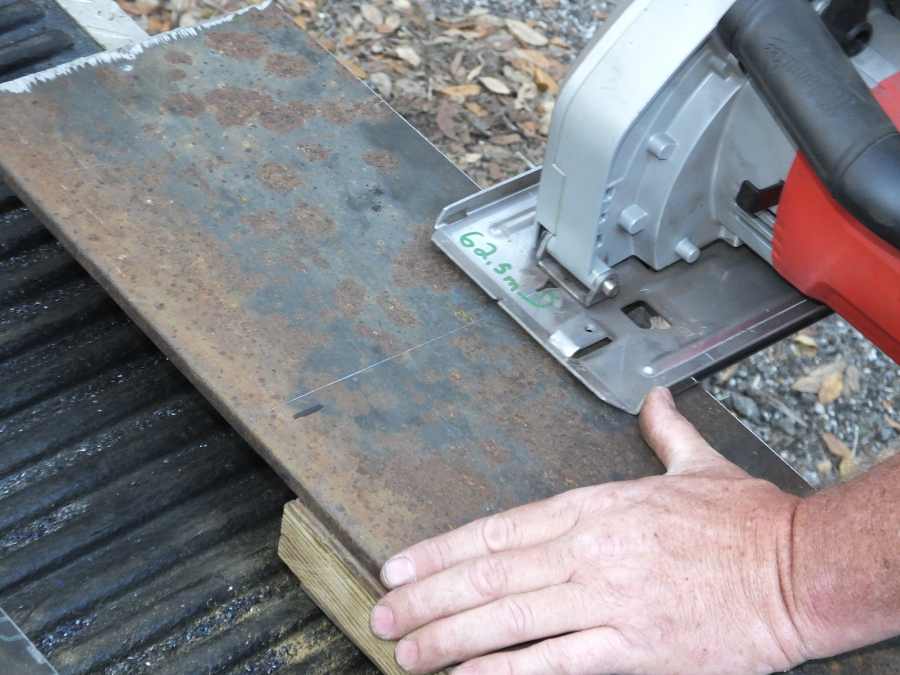
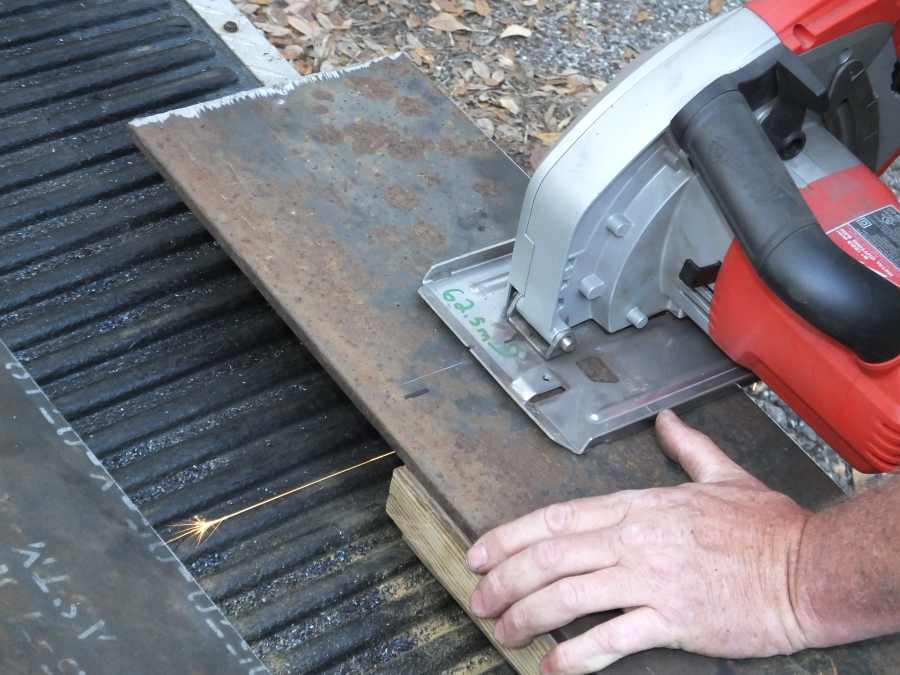
While the other welding shops would use a torch and flame cut them because its easy and fast, I wanted a more precise cut look, so we used special saws and super expensive carbide tipped blades for amazing accuracy and astounding smoothness.
I offered to the builder to strip the rust and scale off all the metal and to paint them so they would not rust as they were to be installed on the beach.
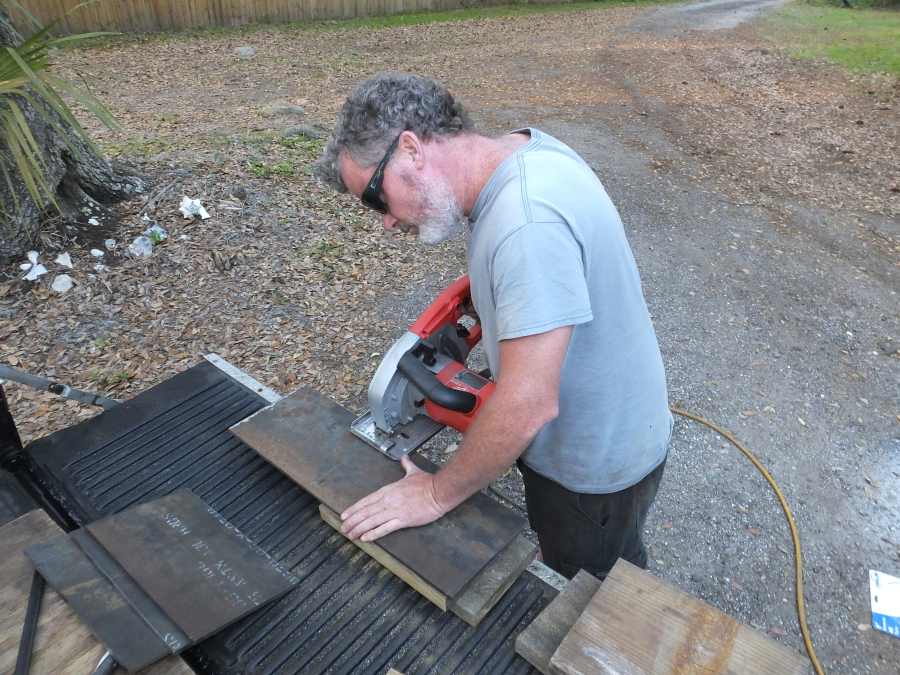
The builder chose to clean them up and paint them himself to save money. That later proved to be a very poor decision.
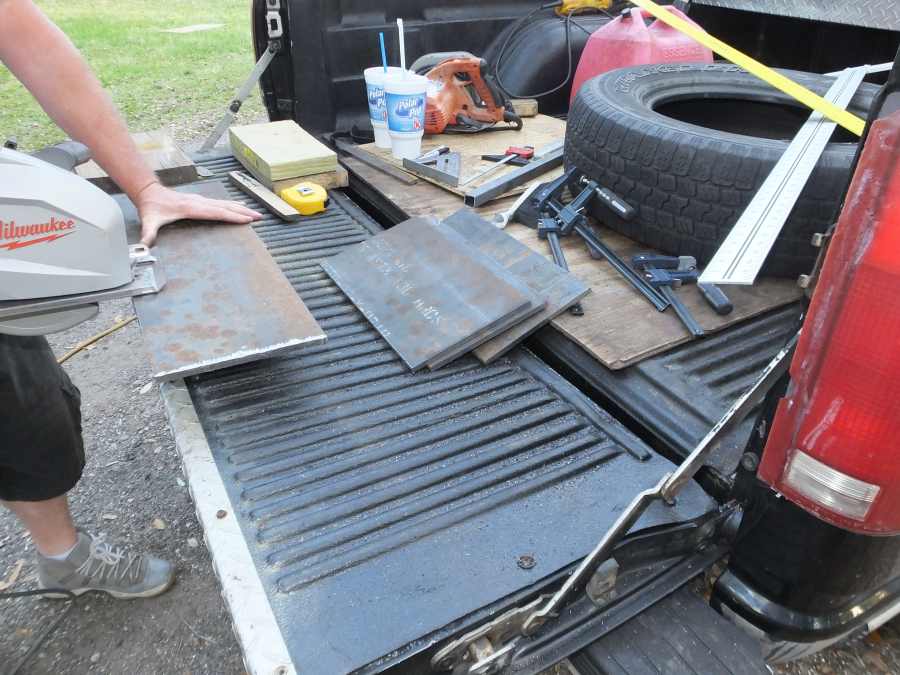
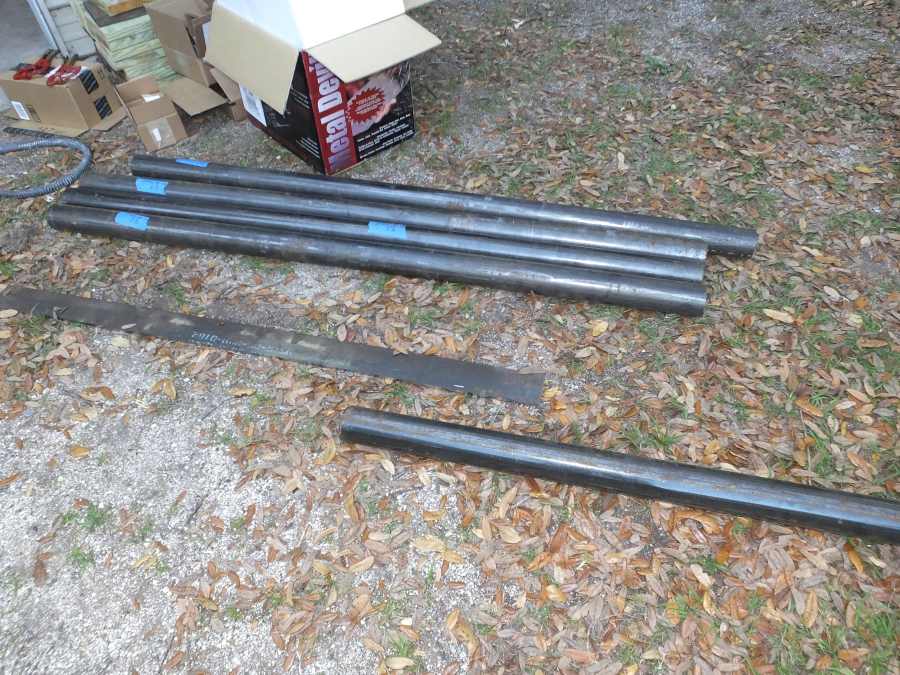
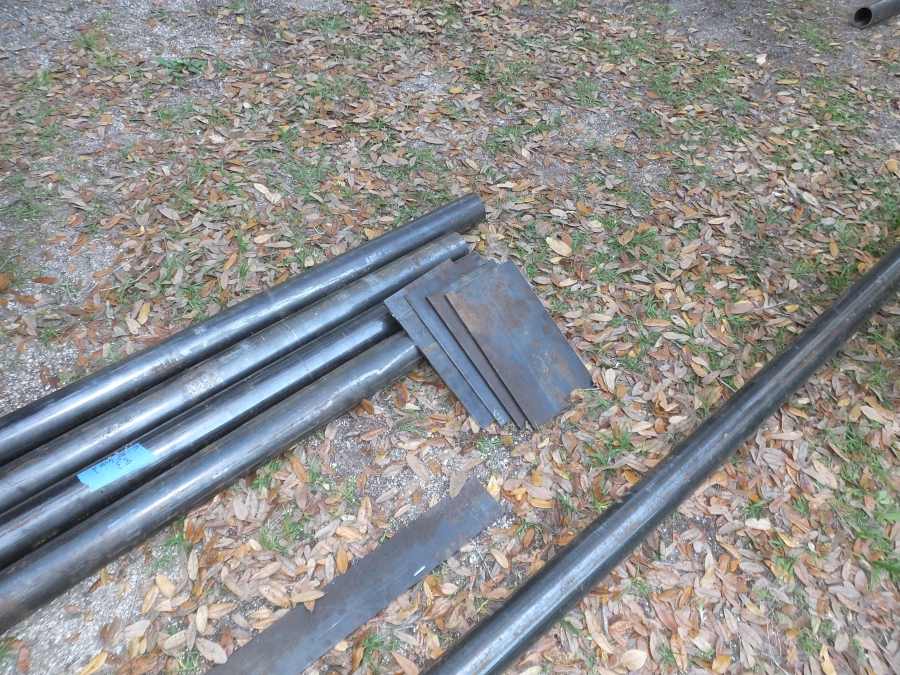
I did not buy this steel for the project. The builder purchased it and delivered it to me to build the columns from.
Actually the builder hired another welding shop originally to build them, and that other welder acquired the steel.
3 months later that other welder had not even begun building them and the construction builder lost patience and fired him.
But the steel was bought and paid for so the builder picked it up from the other welders shop and brought it to me. The other welder left the steel outside the entire time and it rusted badly since it had no paint on it.
I would have used brand new steel that was rust free. But it was not my choice so I had to use what was brought to me to work with.

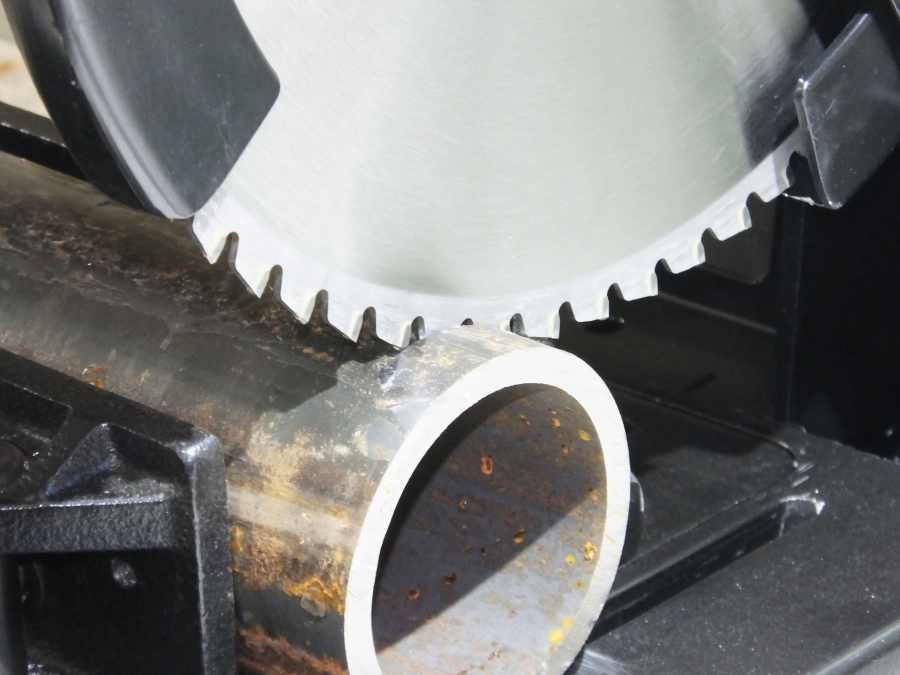
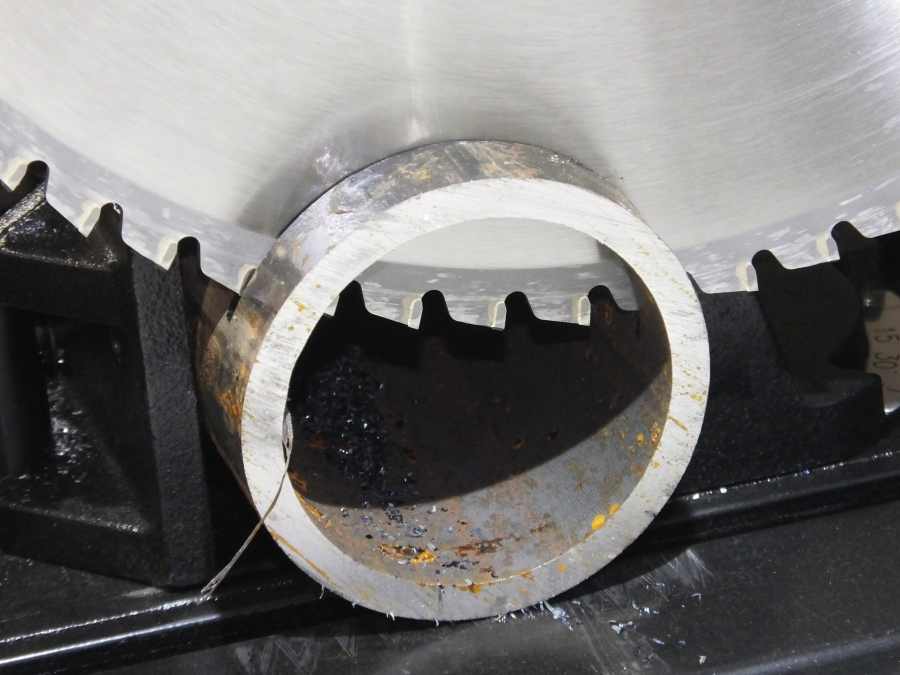
That is one bad ass very special blade and also expensive at $150. But if you want precision you must use the best tools money can buy. Sloppy quality is very inexpensive.

How long do you think a blade will last? My opinion is not long enough.
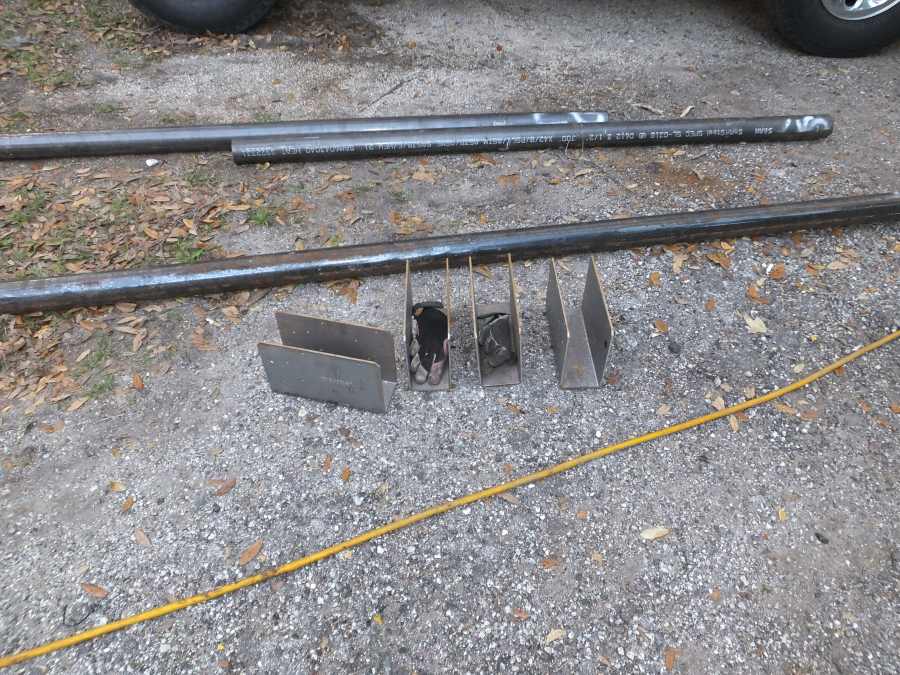
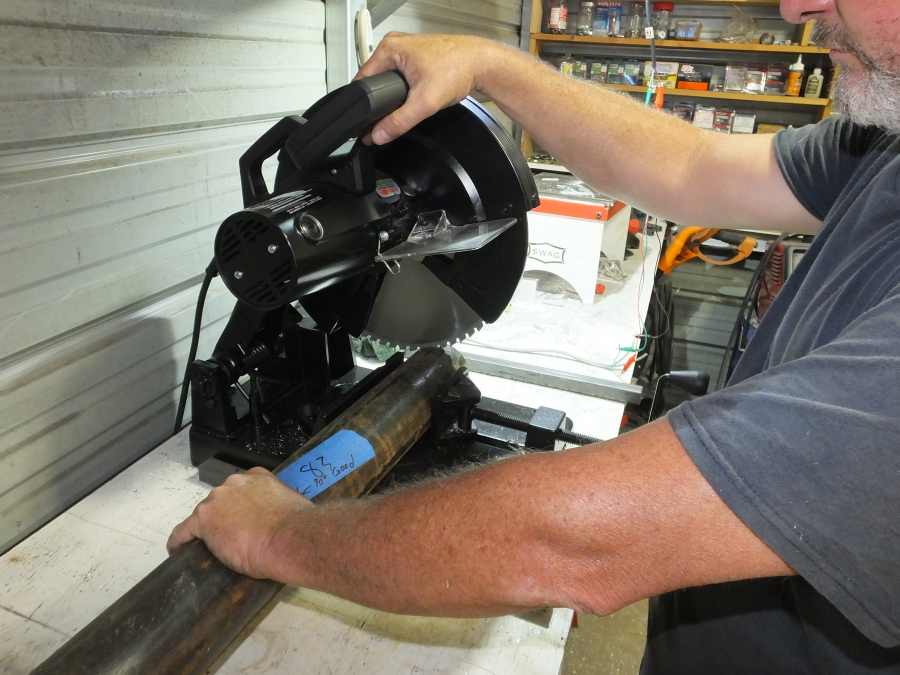
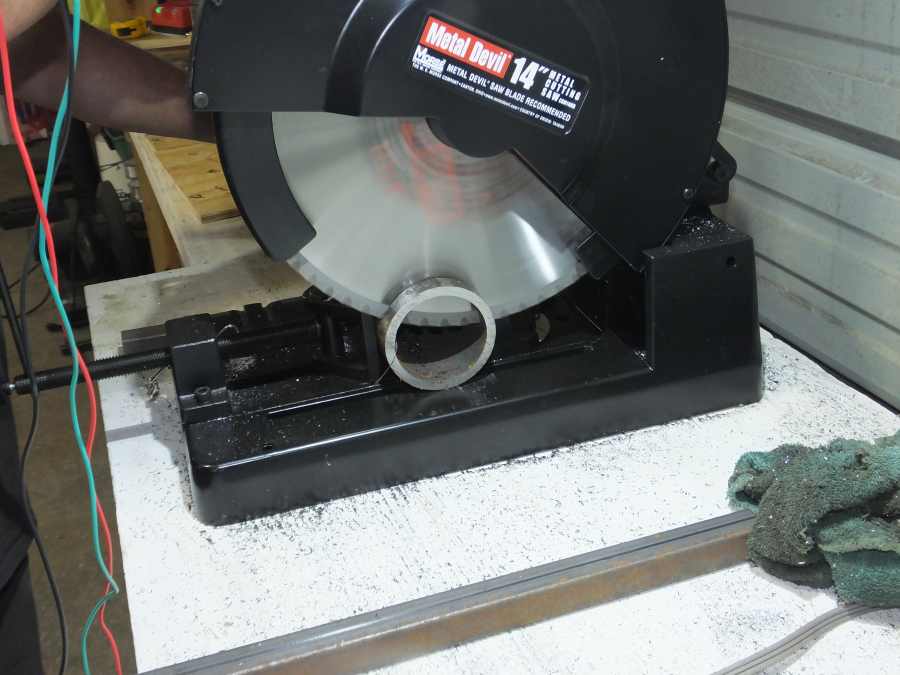
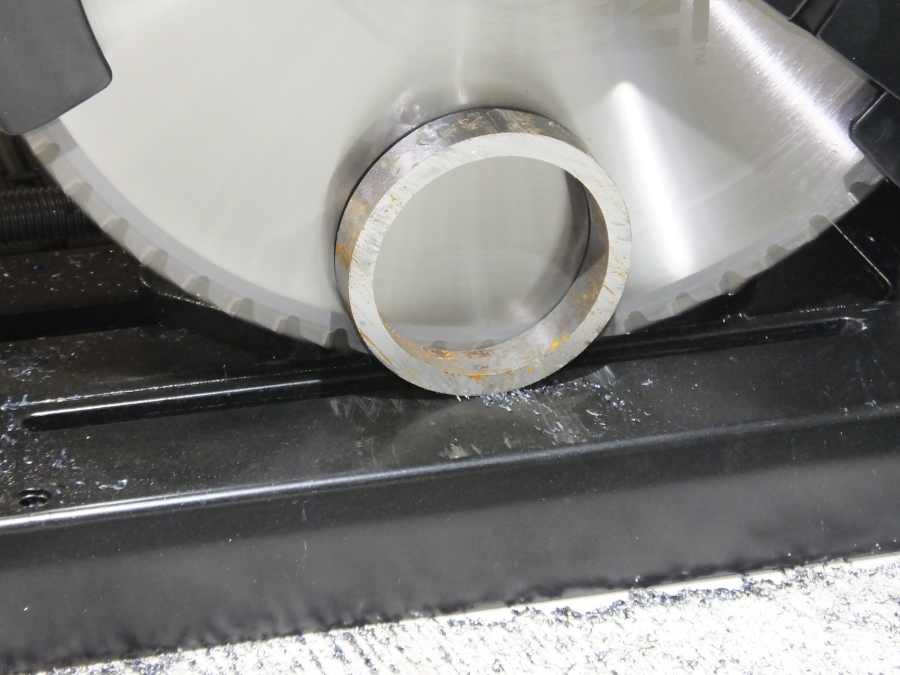
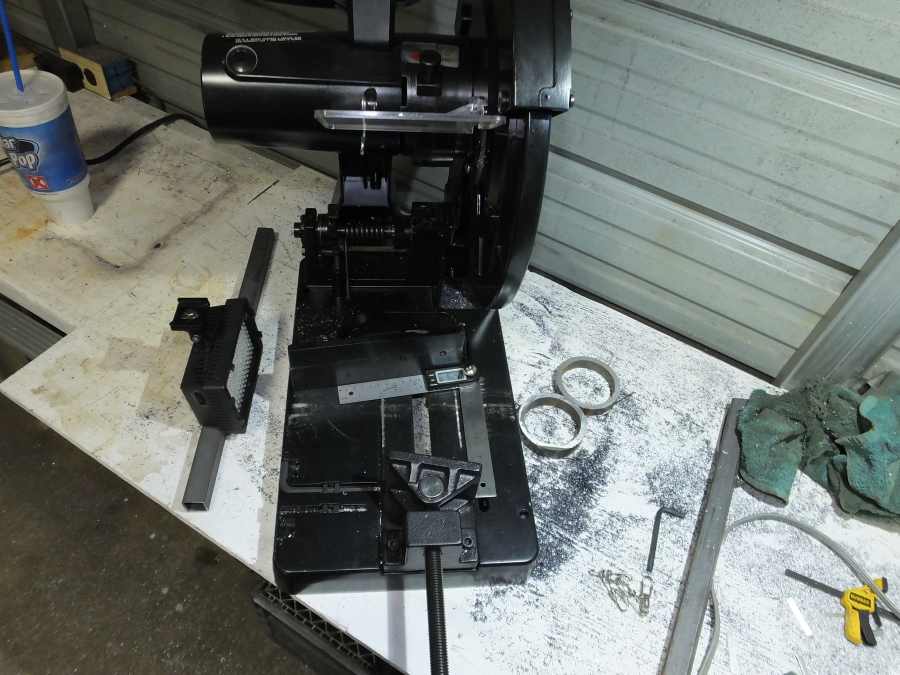
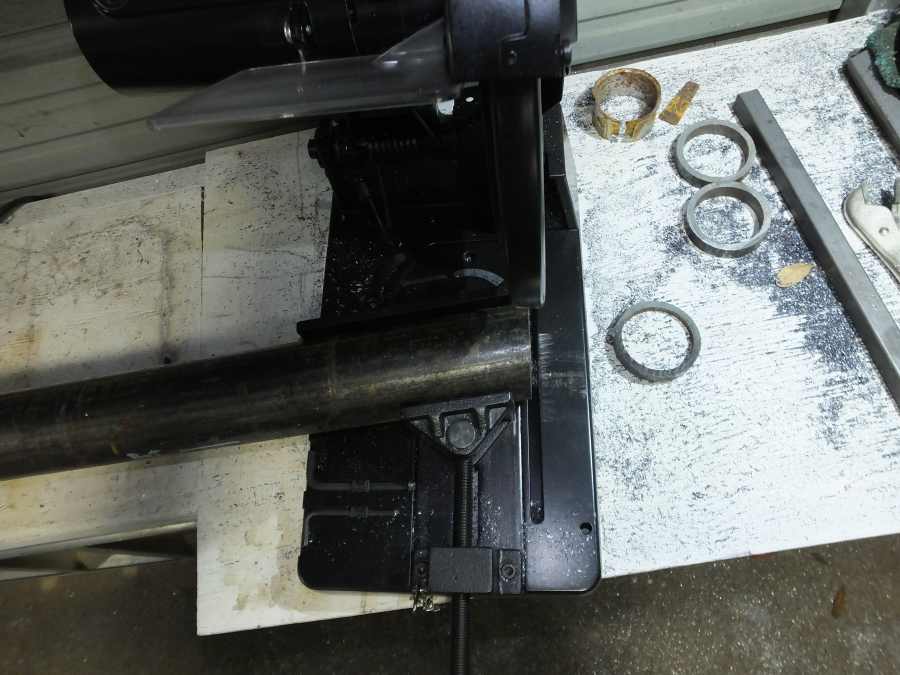
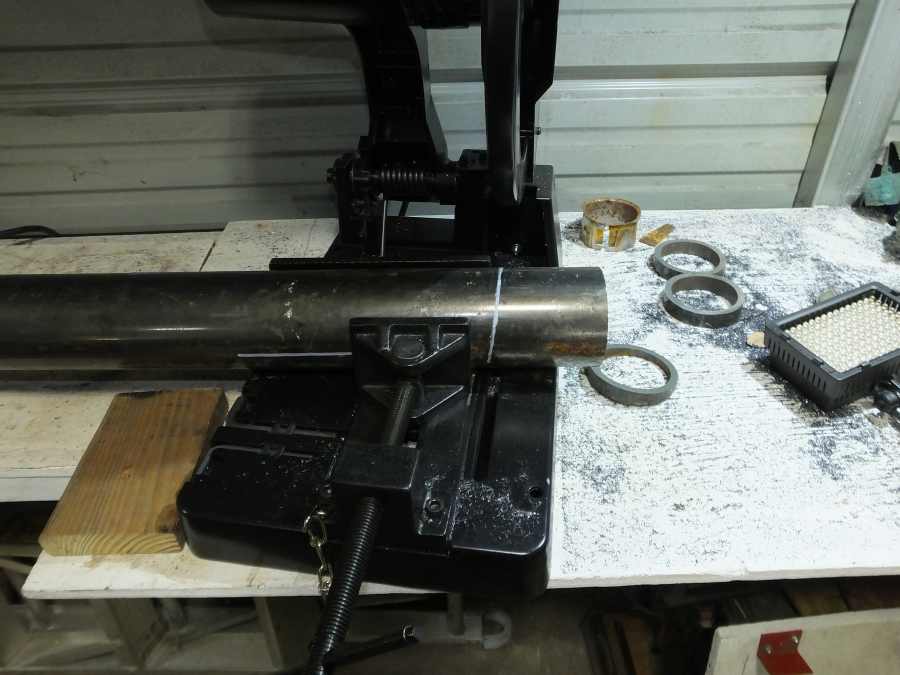
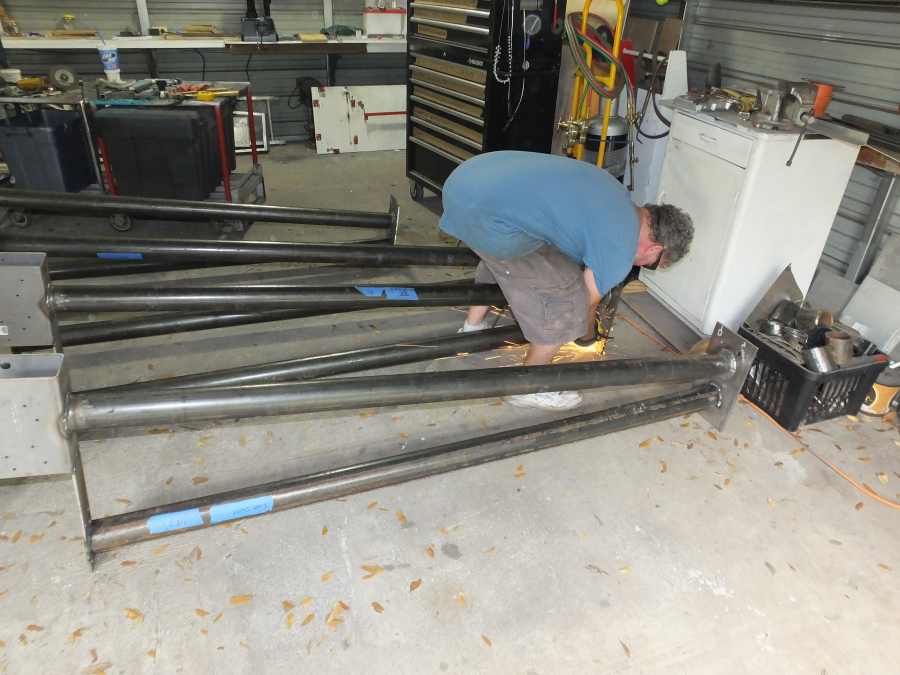
The round tube came in 24" lengths. We had to cut it down to size to use it. Its 4" in diameter and 3/8" thick walled.
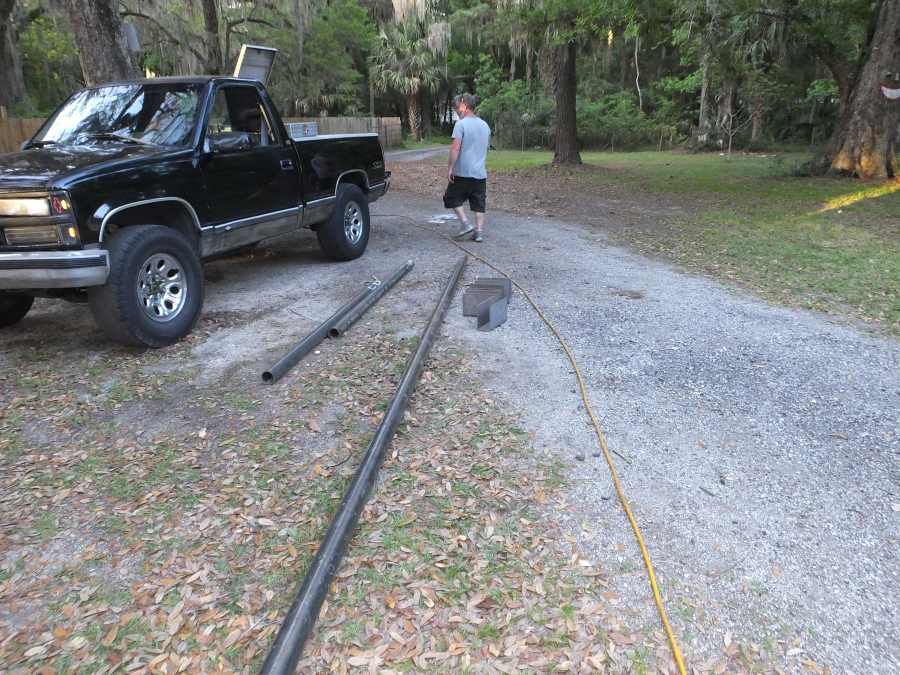
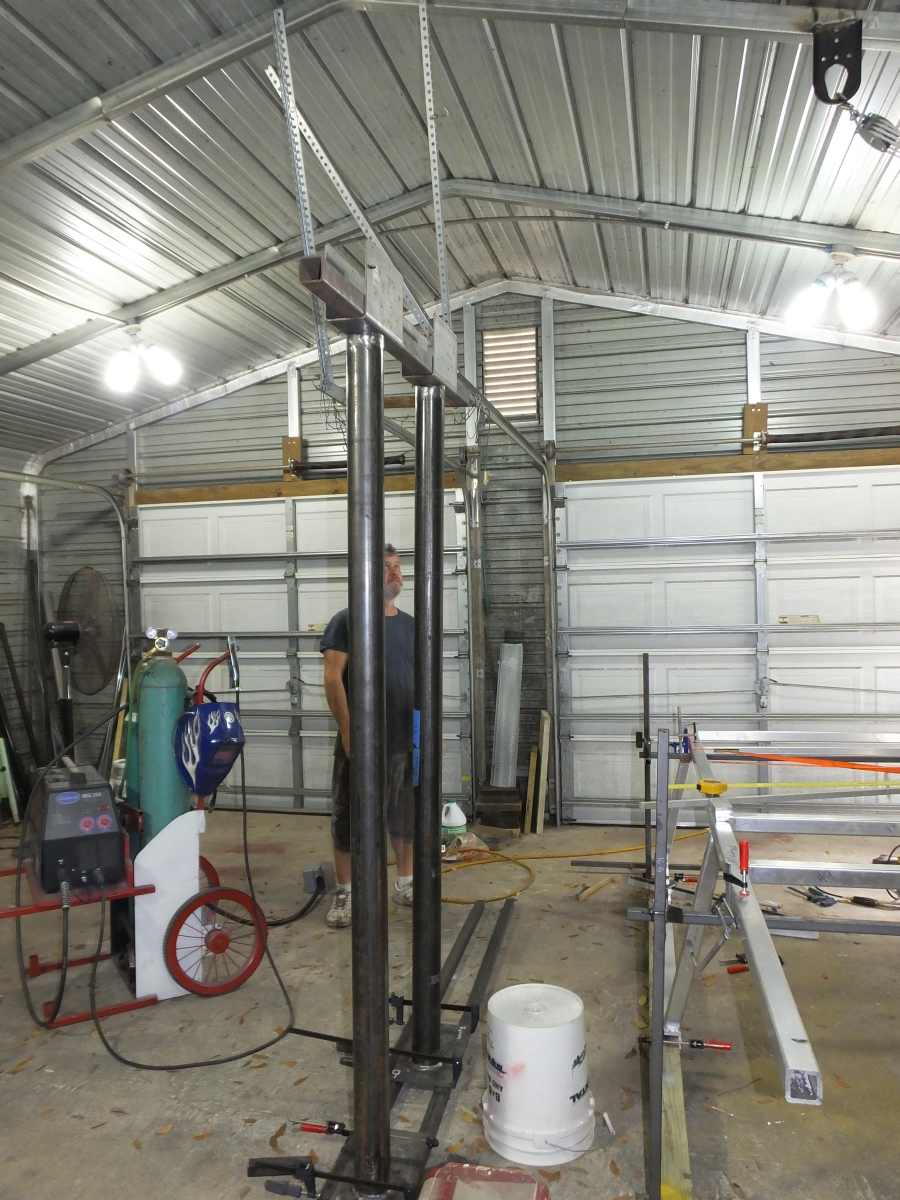
When the builder brought it to my place, he just dumped it off in the driveway. We were going to carry into my shop. My helper said screw that heavy lifting shit.
Let me back the truck up to it and use the tailgate as a work bench instead. I said, "ok, sounds good to me". Later, we carried the small light pieces into the shop for fabricating the custom columns.
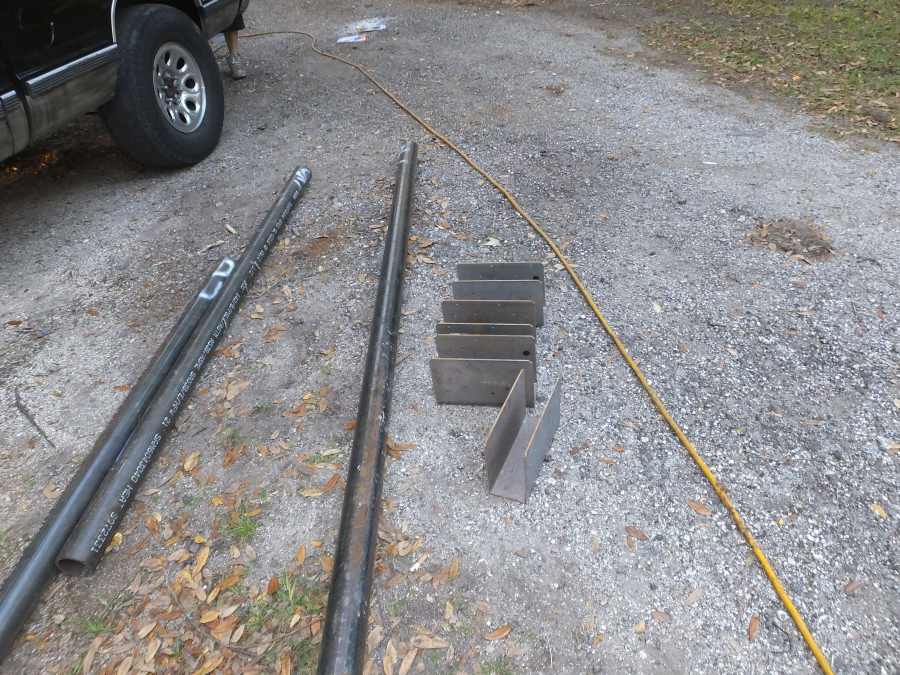
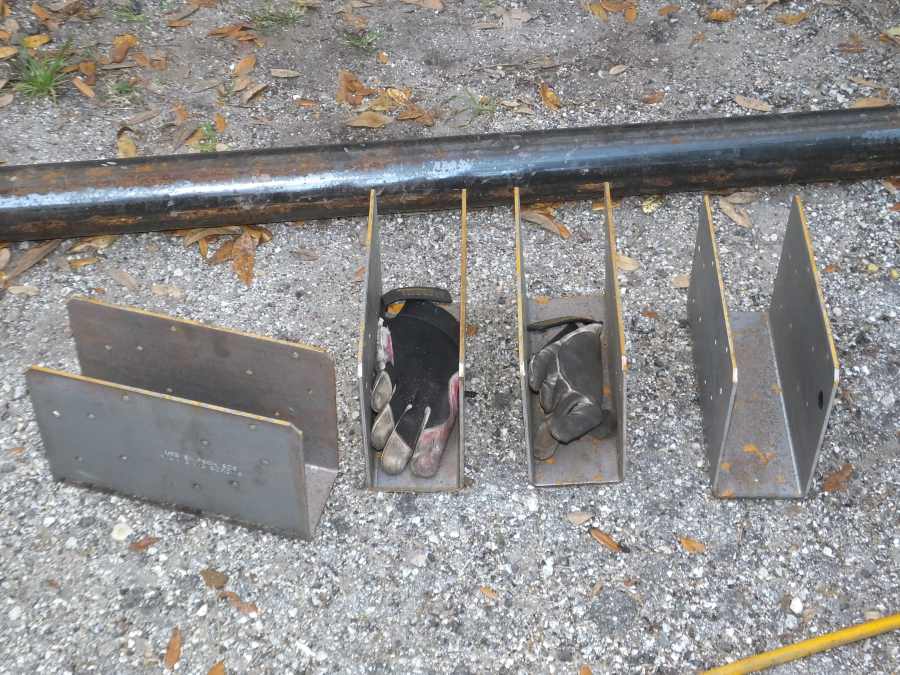
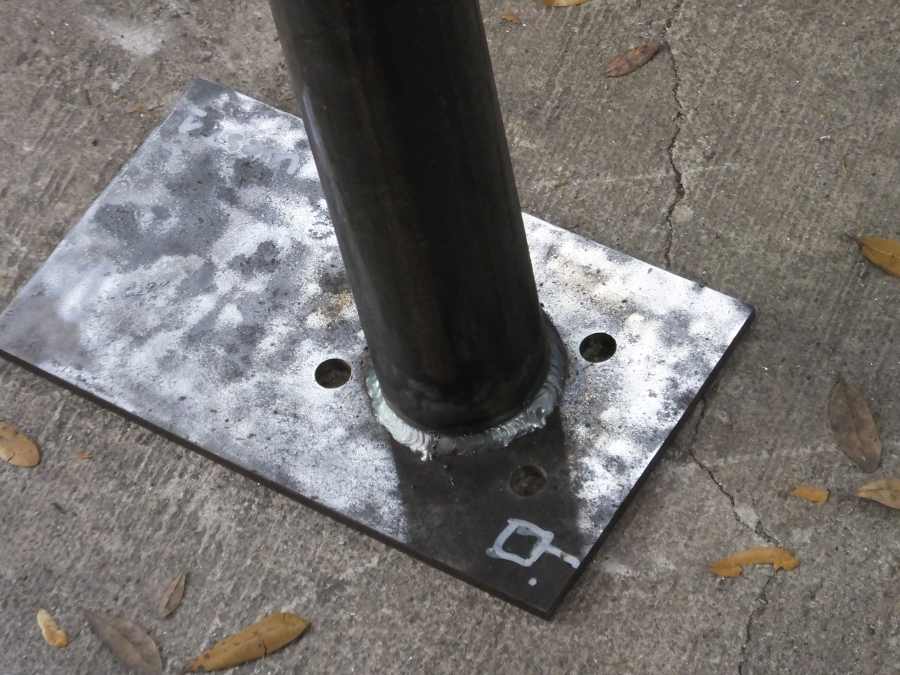
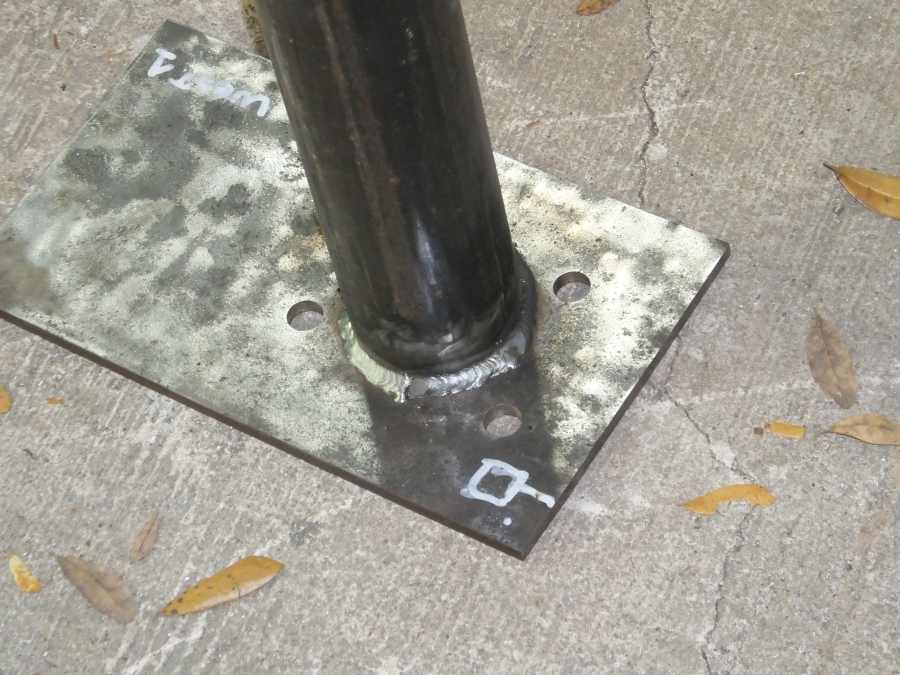
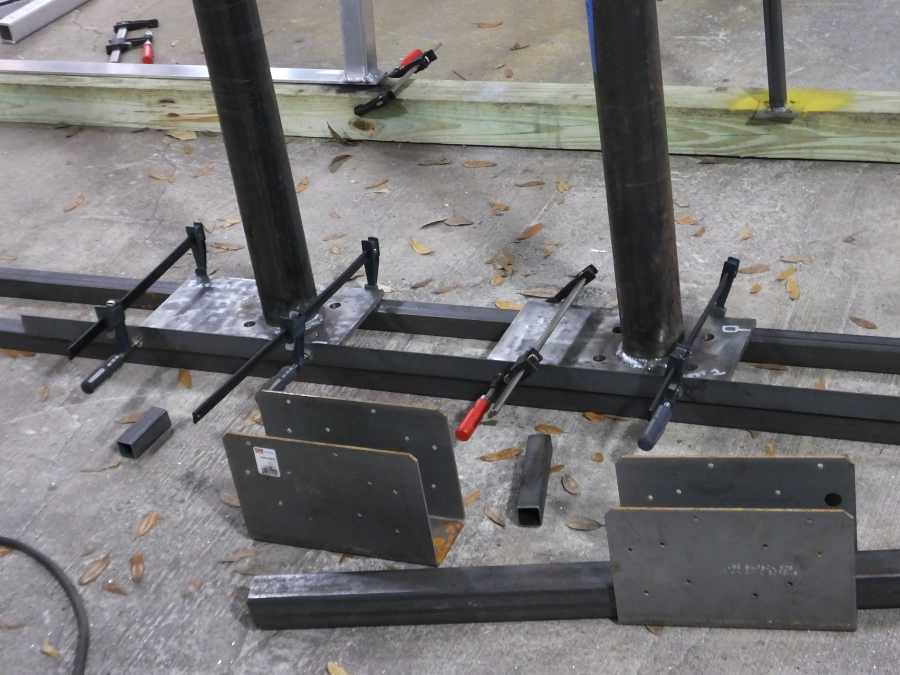
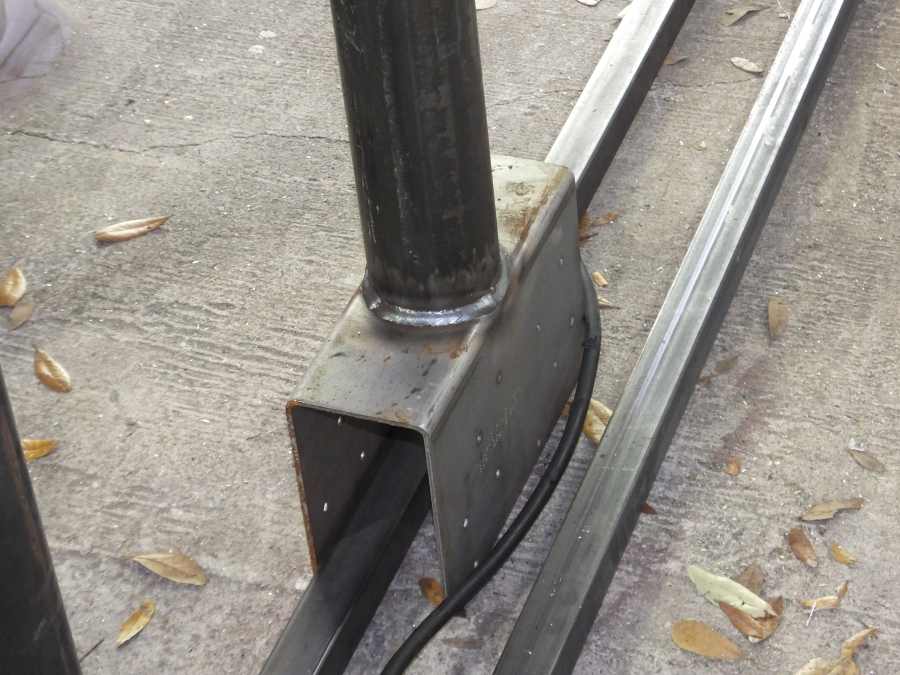
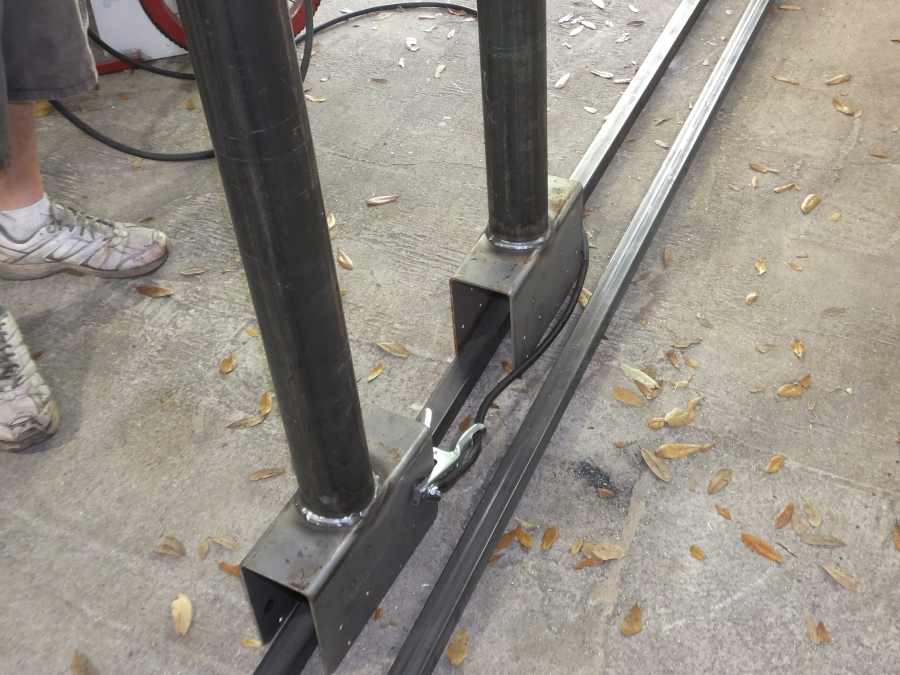
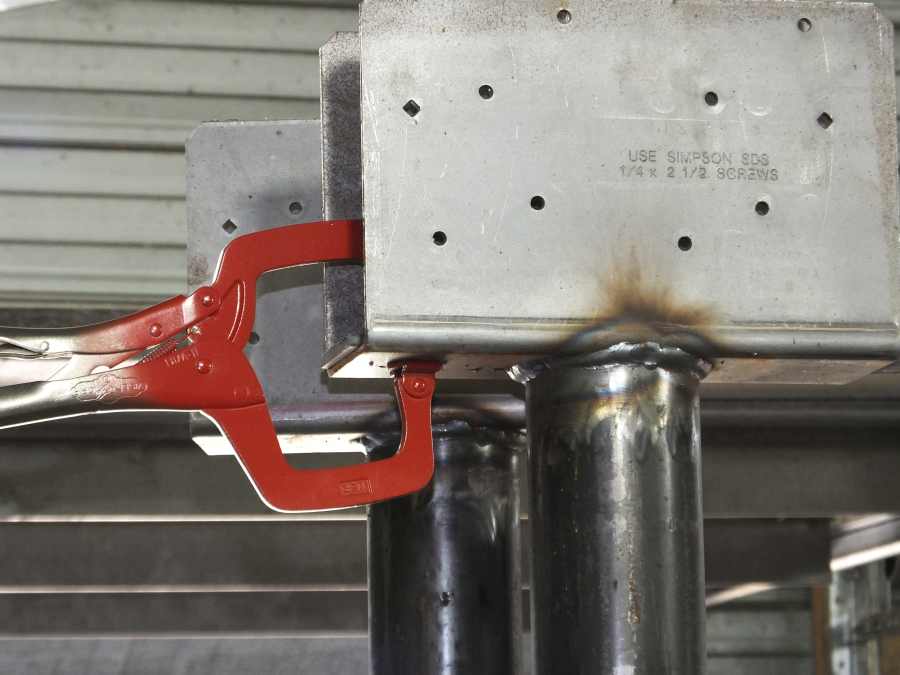
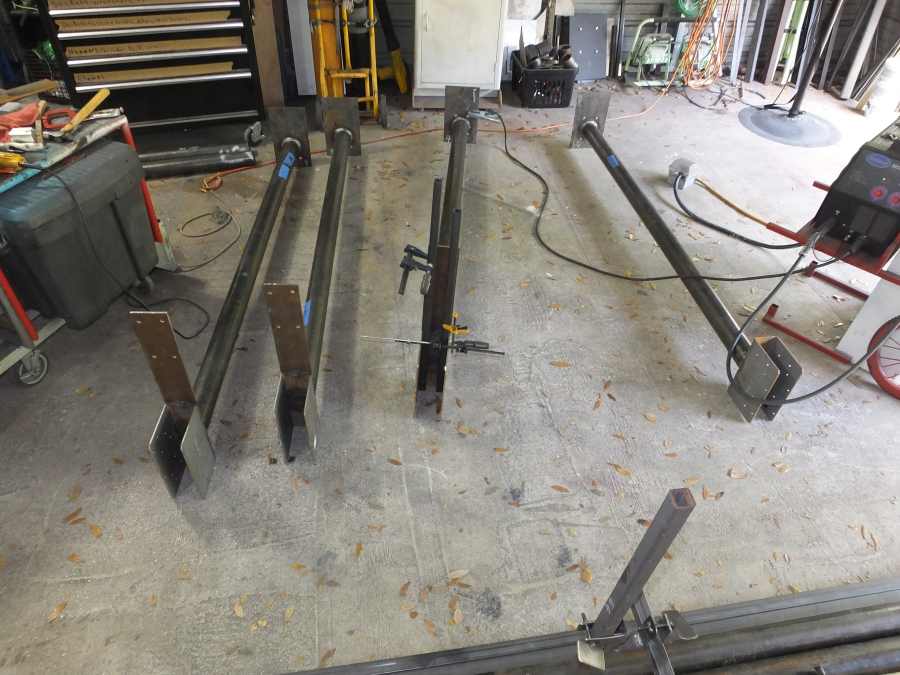
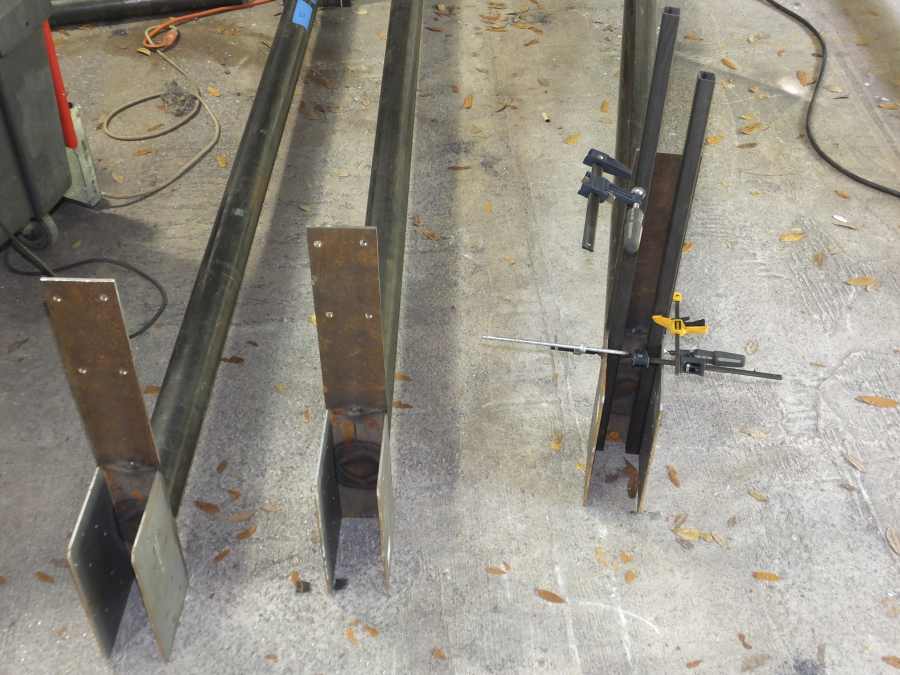
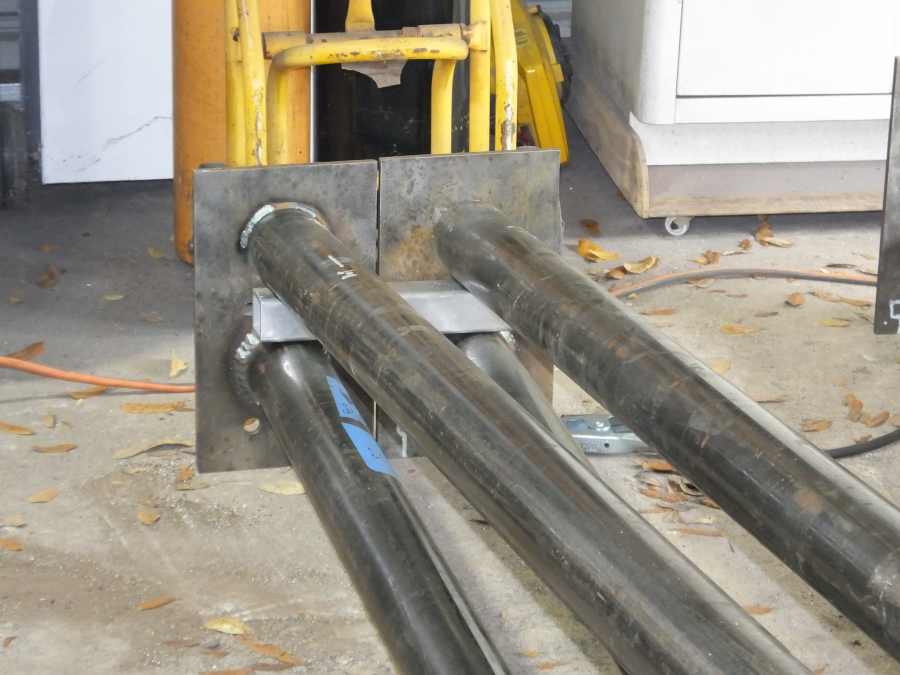
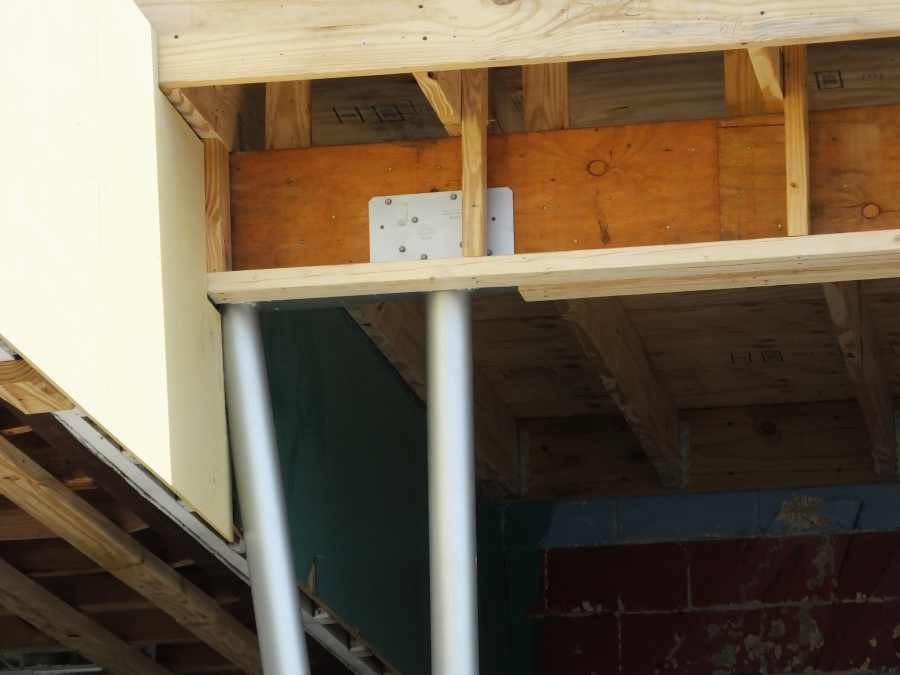
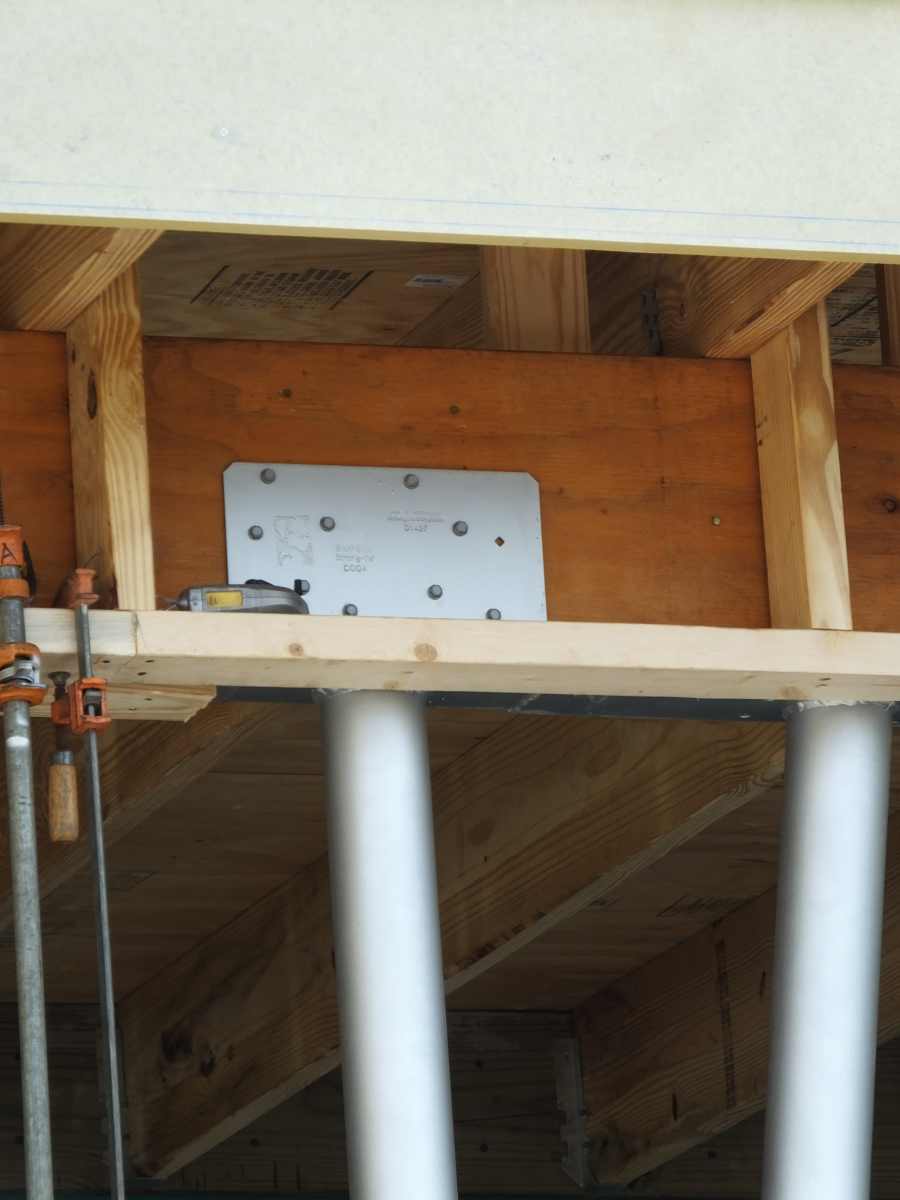
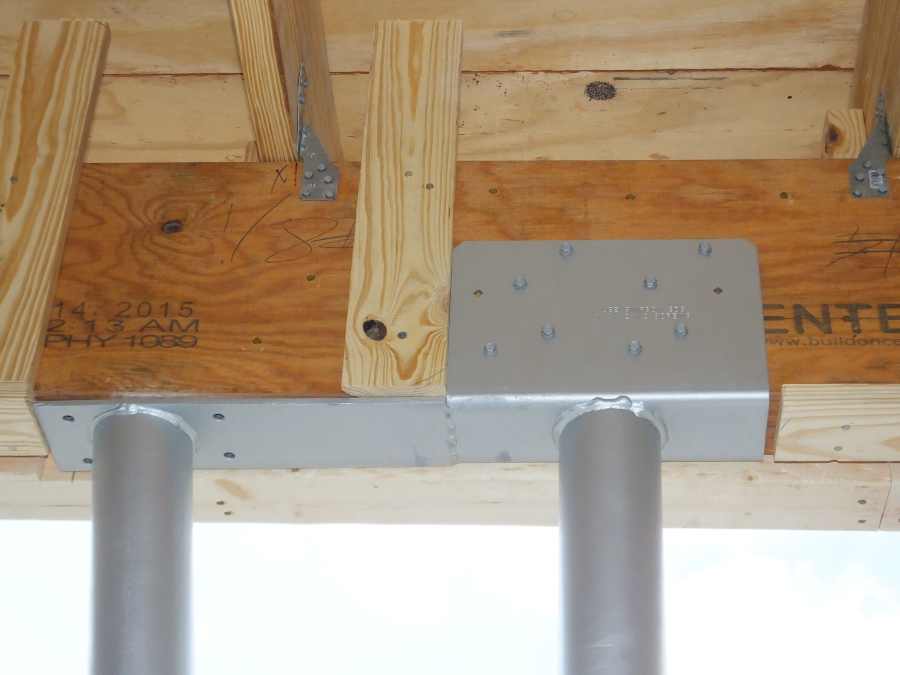
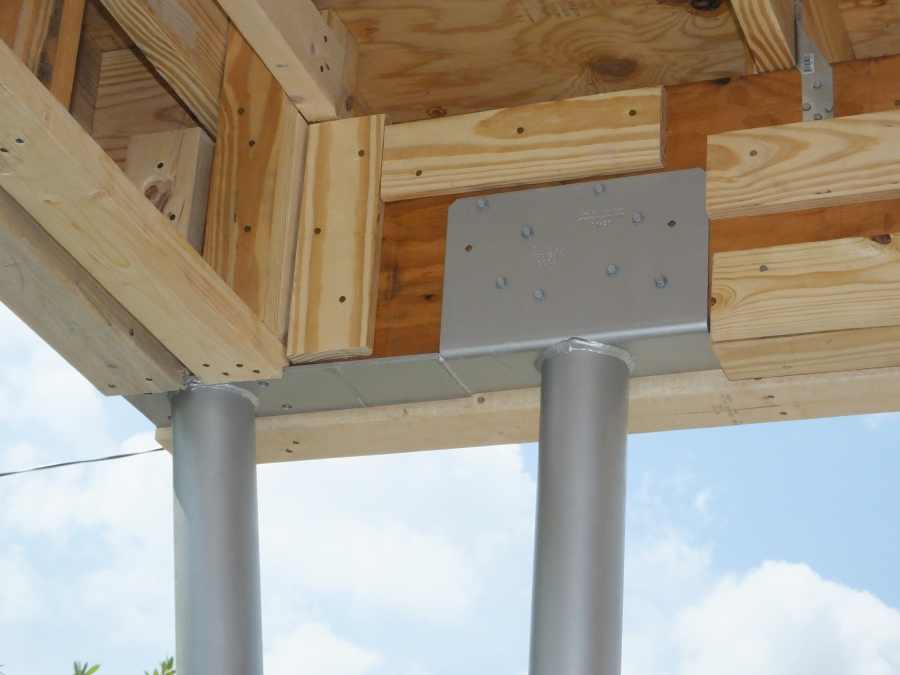
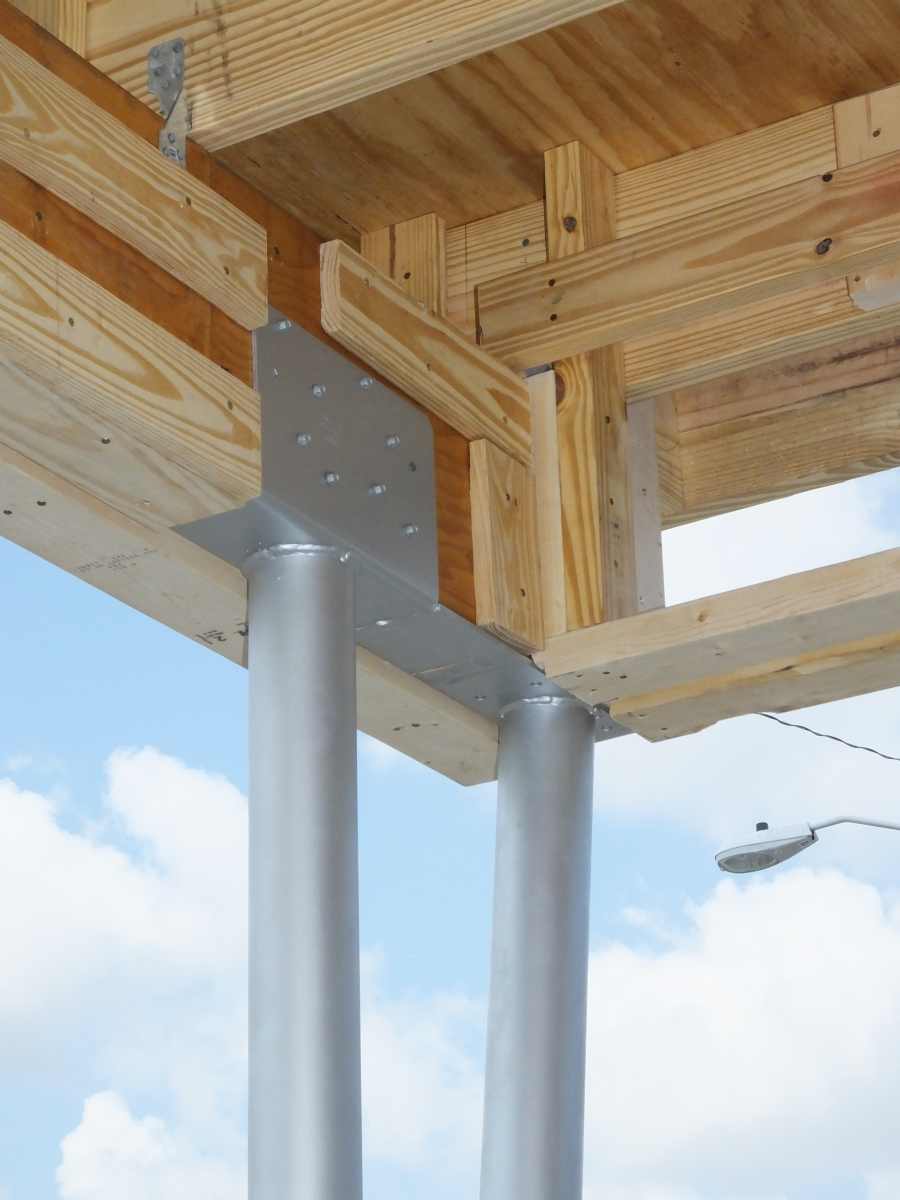
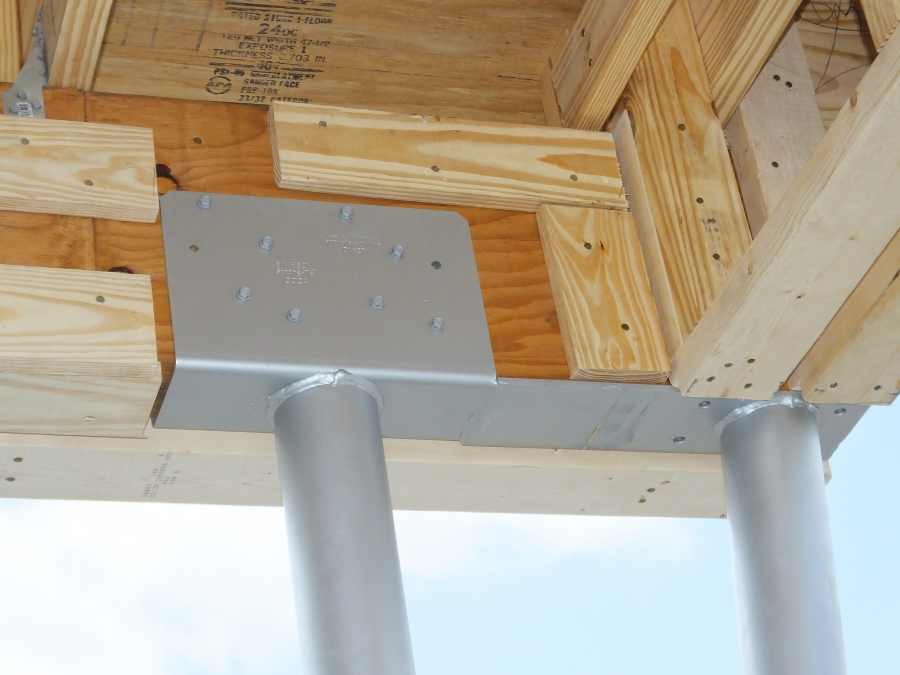
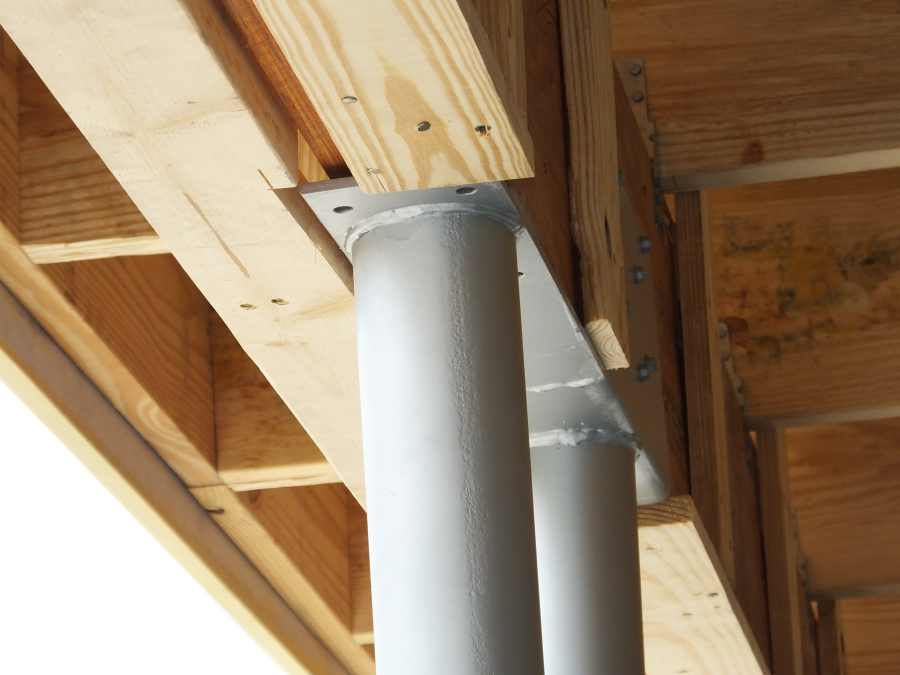
Those are called buckets. (those U shaped brackets) Wooden beams fit in them for fastening purposes to hold the wooded beam in place where the steel columns are installed.
The company that makes the super large laminated wooden beams, supplied the buckets with the beams.
But I have to fabricate the columns and weld on the buckets to super precise tolerances or the long beams wont fit in them. There is zero room for error.
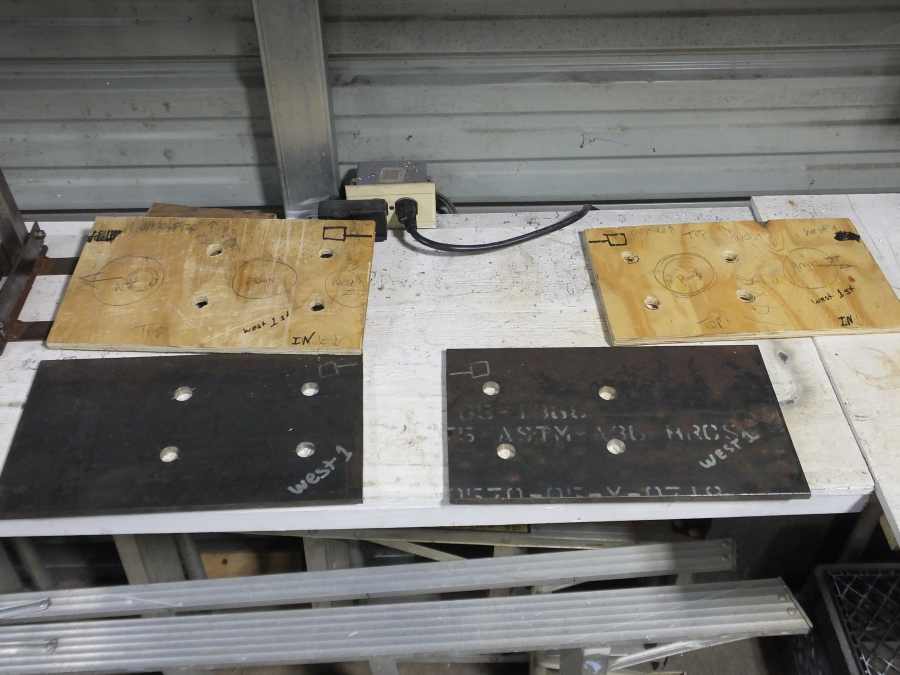
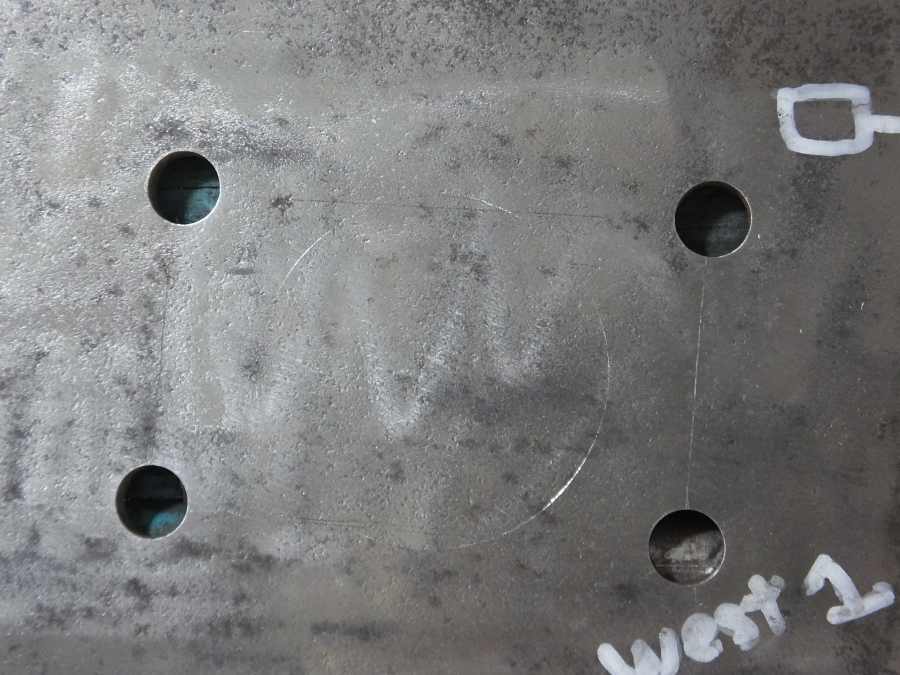
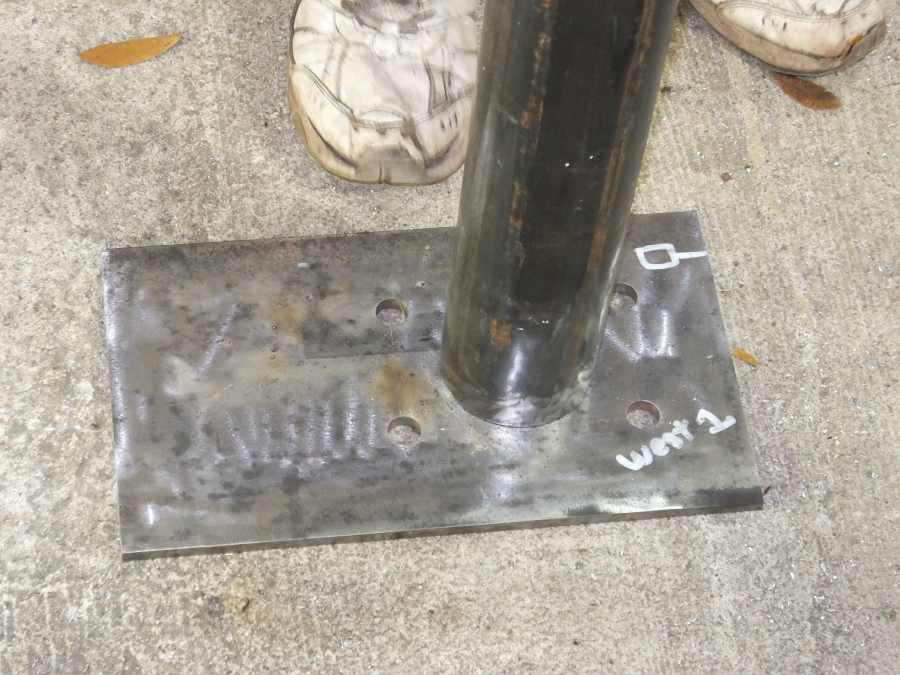
The column base is made from 1/2" thick plates that fit over bolts that are already set in concrete. But the steel plates I'm making must fit those bolt patterns exactly.
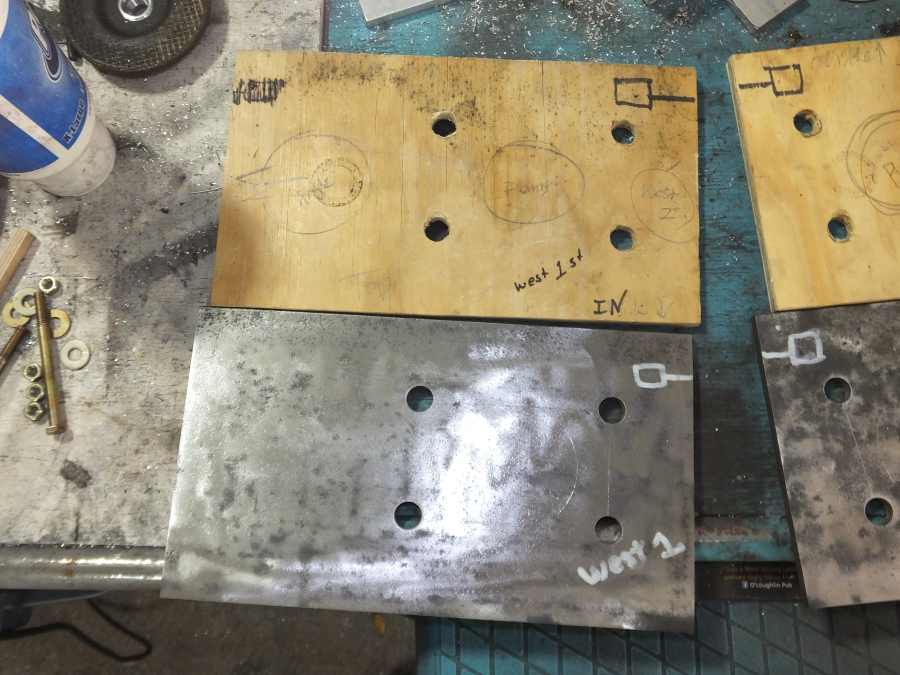
However those bolt patterns are not precise. So we make wooden templates from the existing bolts already in concrete, and then transfer the hole locations to our steel plates for drilling the holes in the exact location.
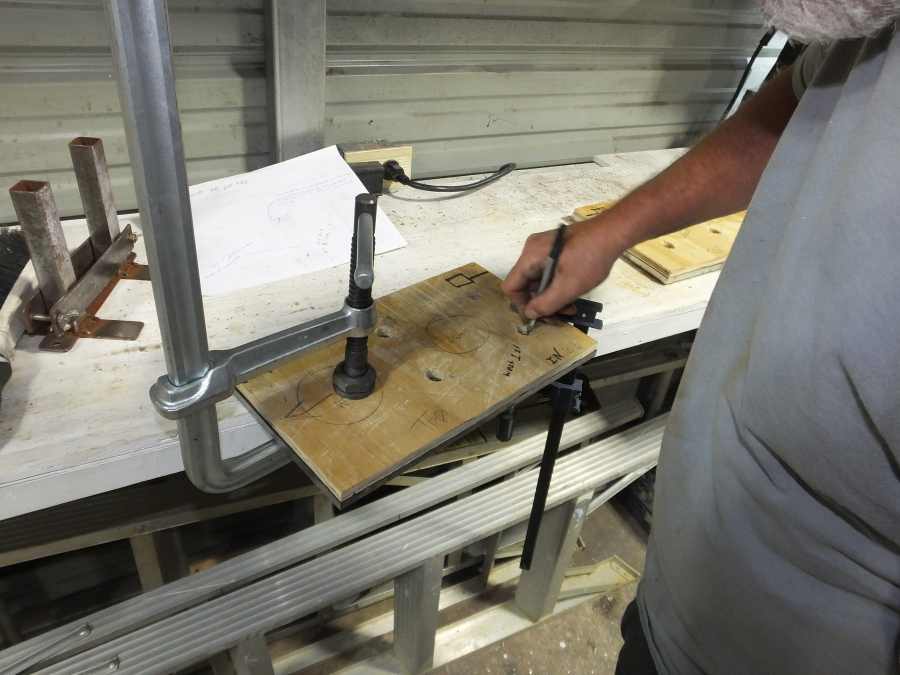
The wooden templates were tested on the bolts and fit perfectly. So we are tracing the hole patterns to our steel plates.
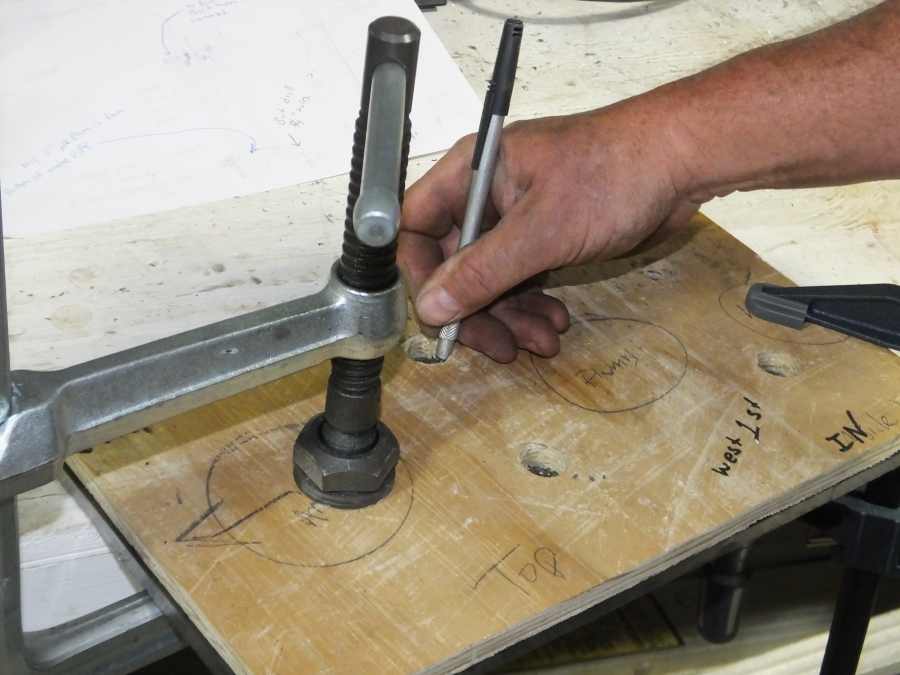
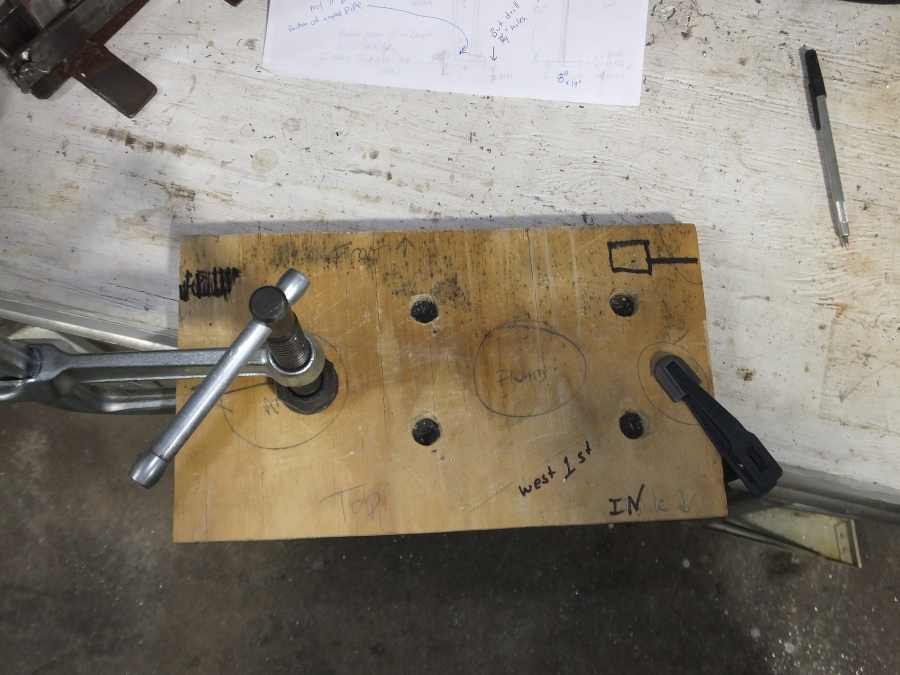
Each location one of the four columns will sit on, has a slightly different bolt pattern. So me must do it one at a time, times four.
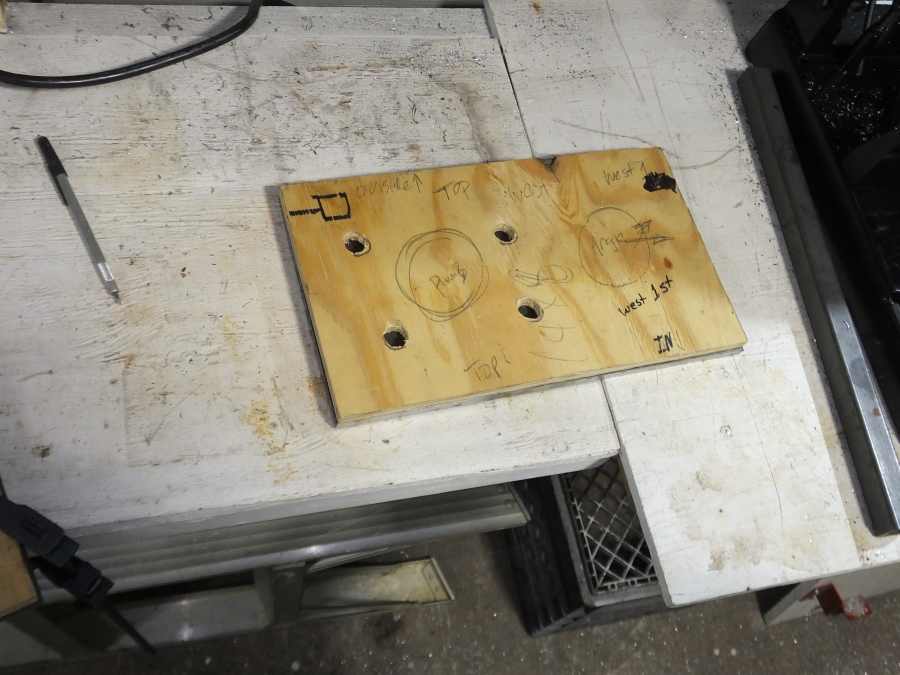
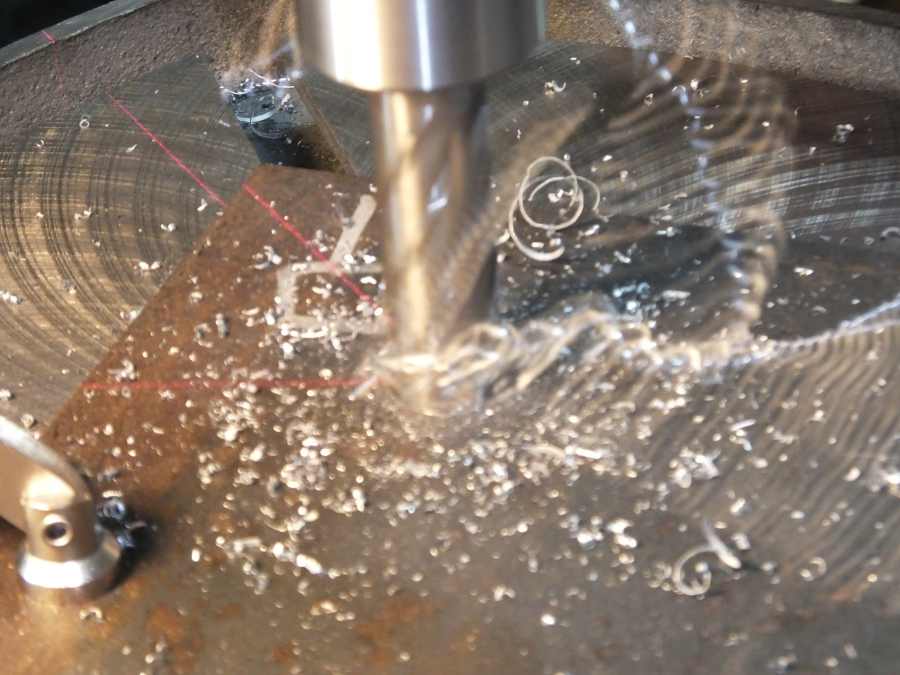
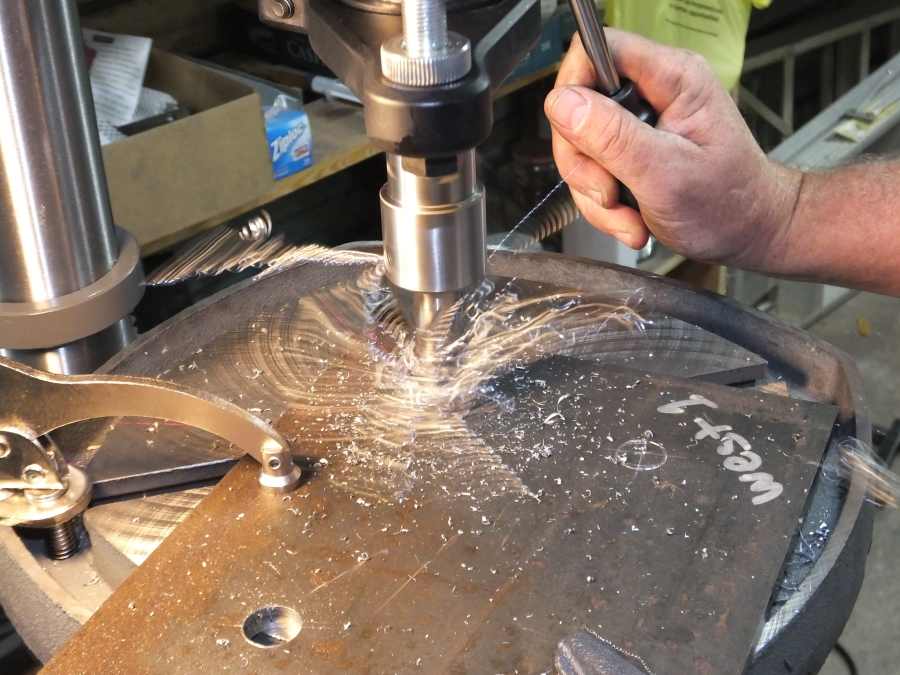
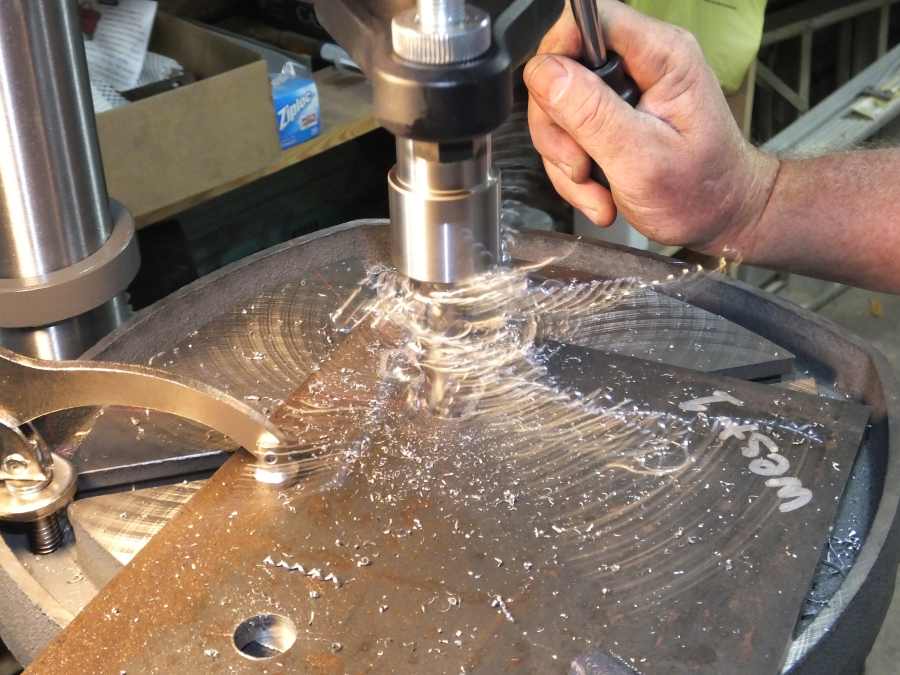
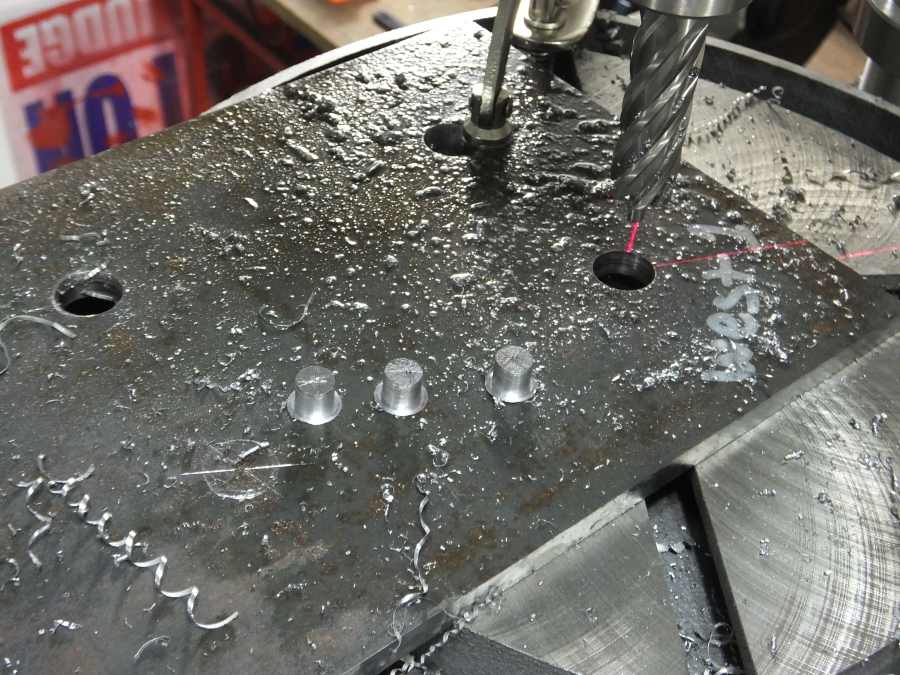
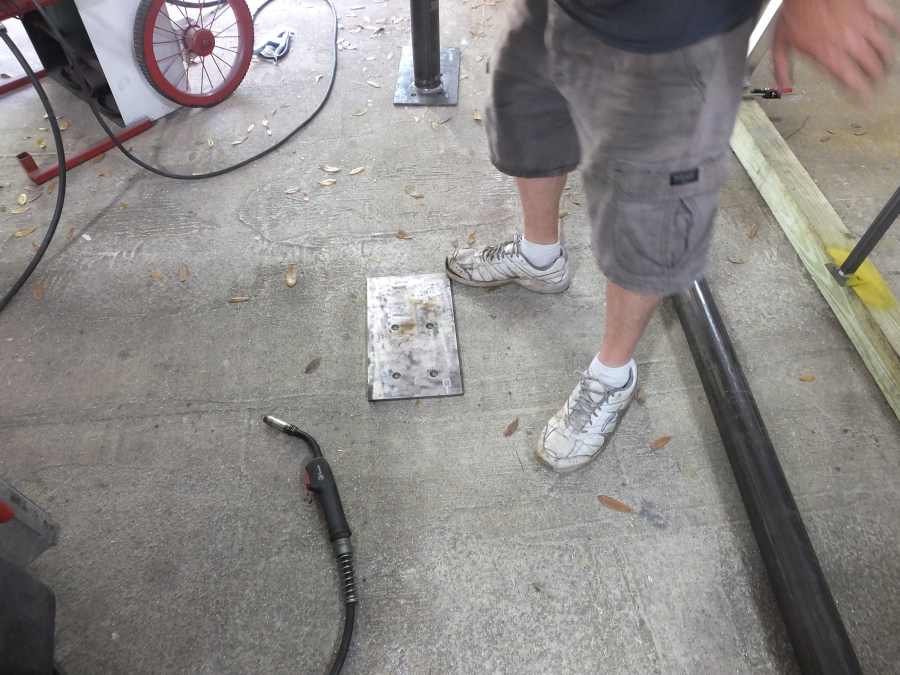
The steel plates are marked and ready for drilling.
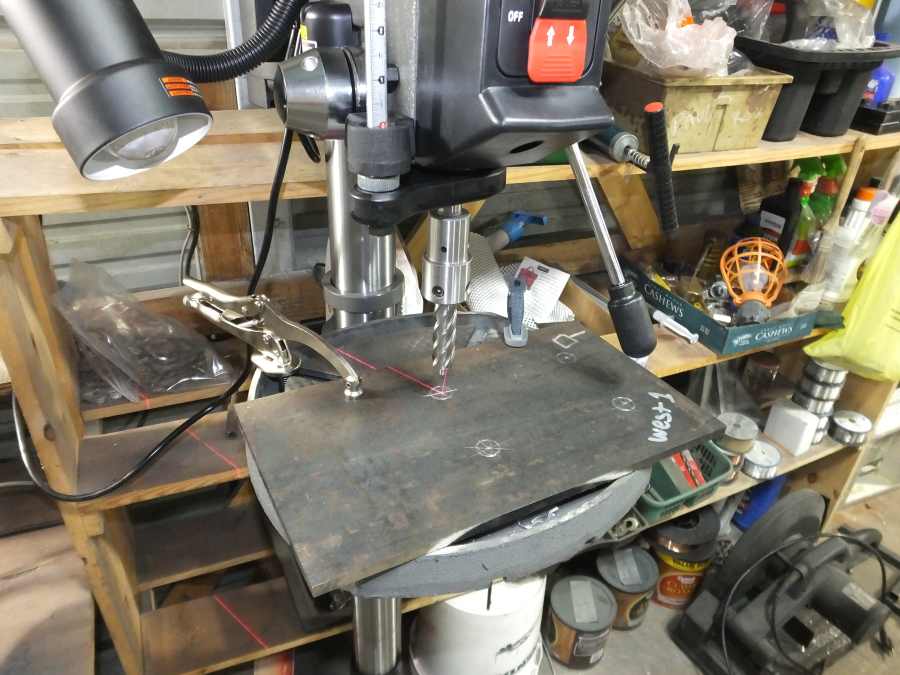
We use cross hair lasers (those red lines) on our drill press for amazing precision.
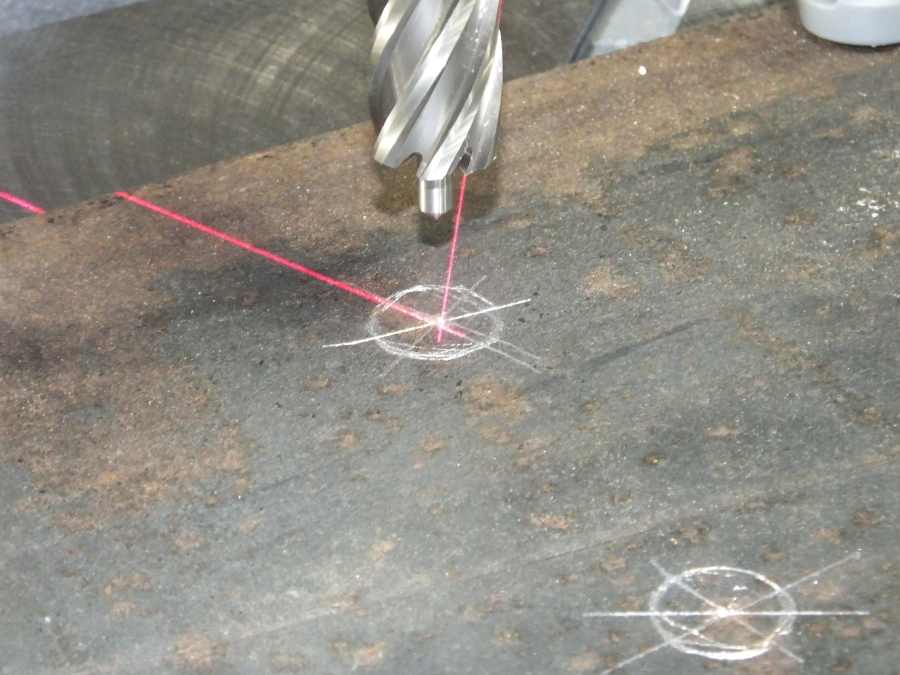
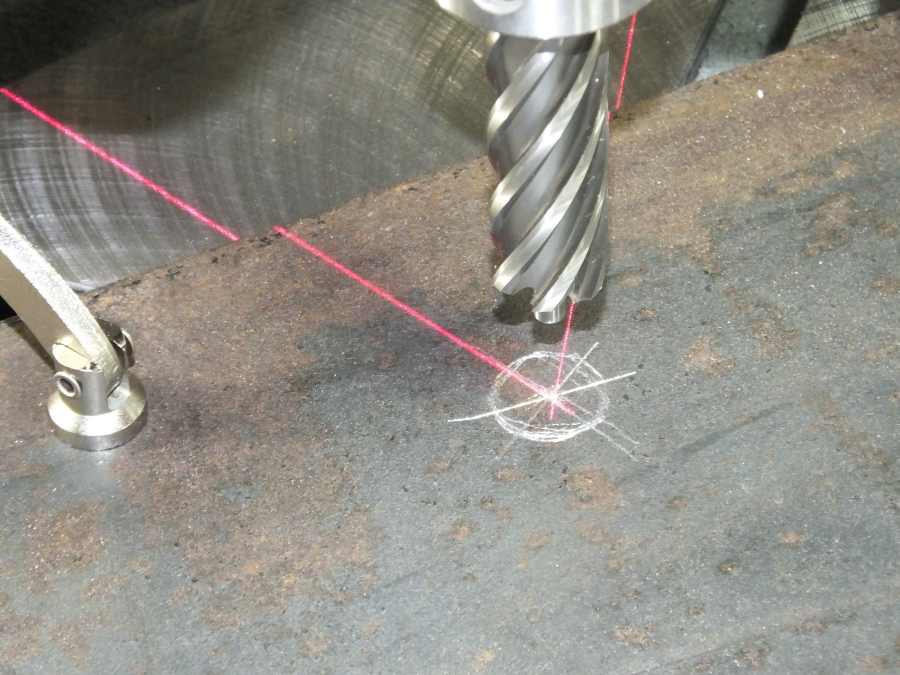
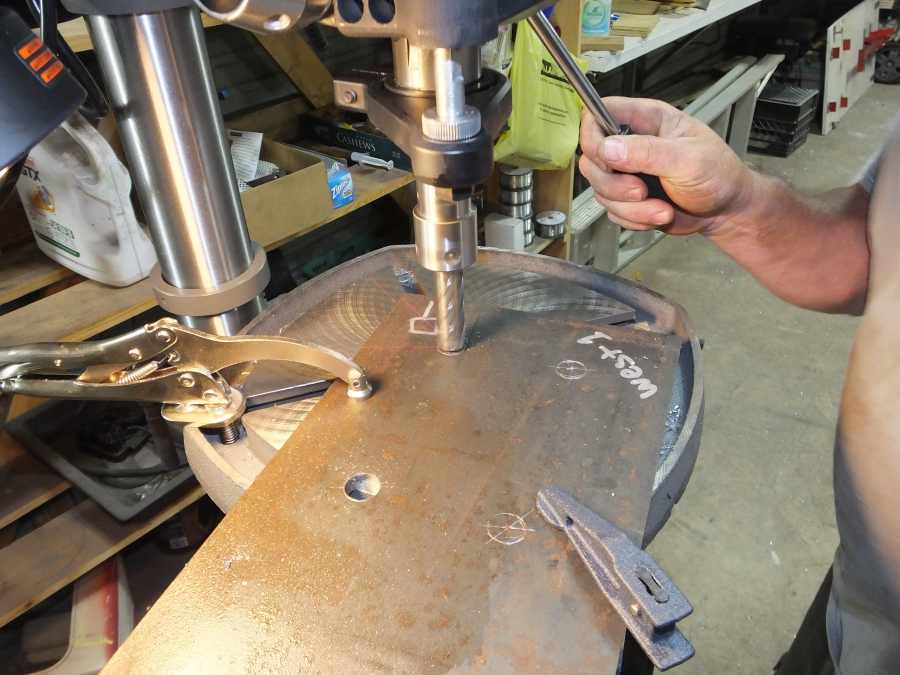
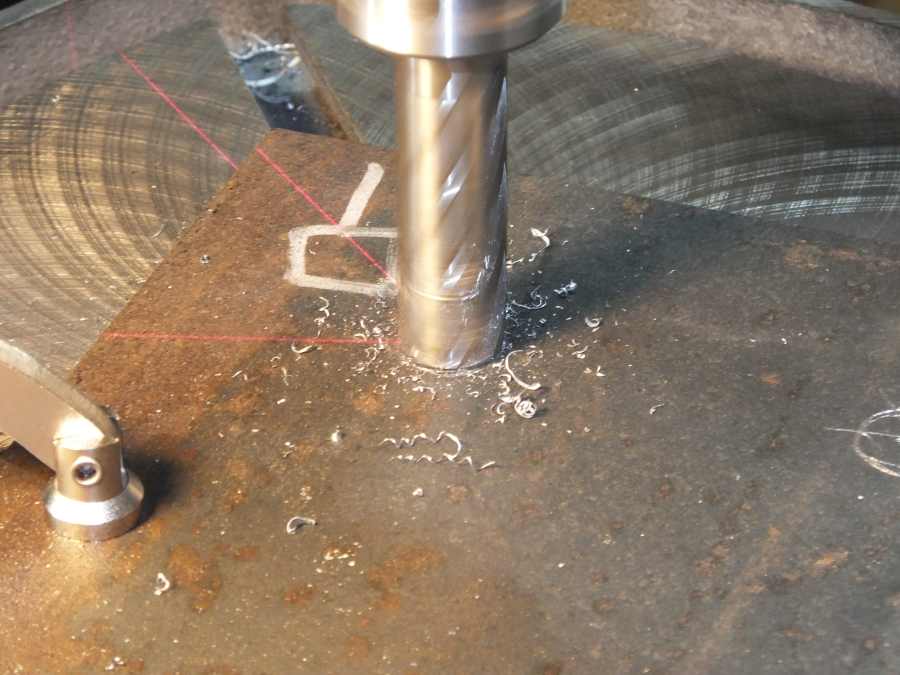
Steel shavings going round and round with the drill. Technically its not a drill bit, but a Annular Cutter. Very expensive but the Annular Cutters are amazing for making large holes in thick steel.
That's a 3/4" hole going in 1/2" thick steel. Try that one at home. You will have lots of fun.

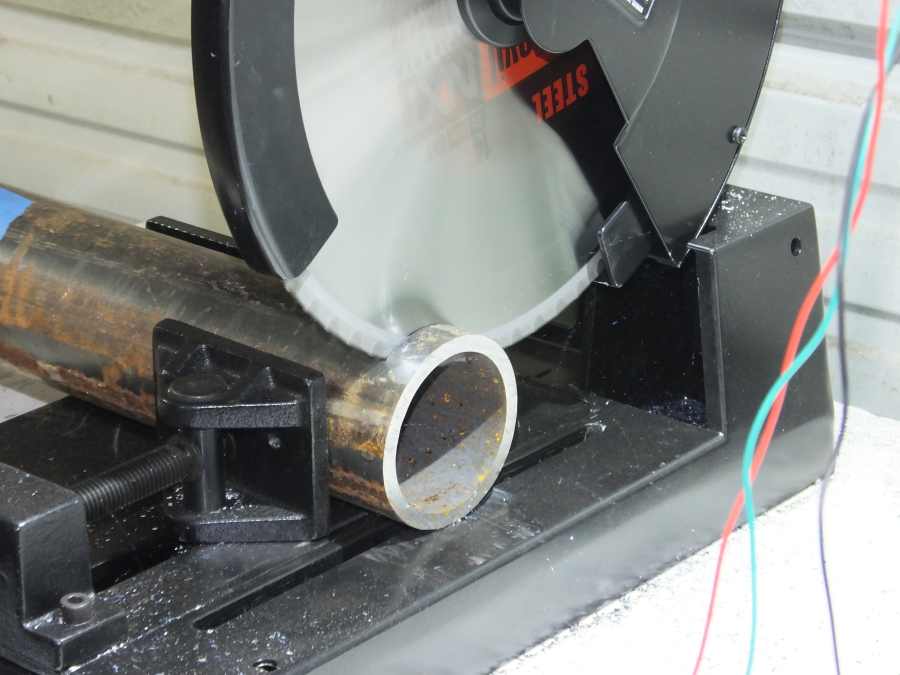
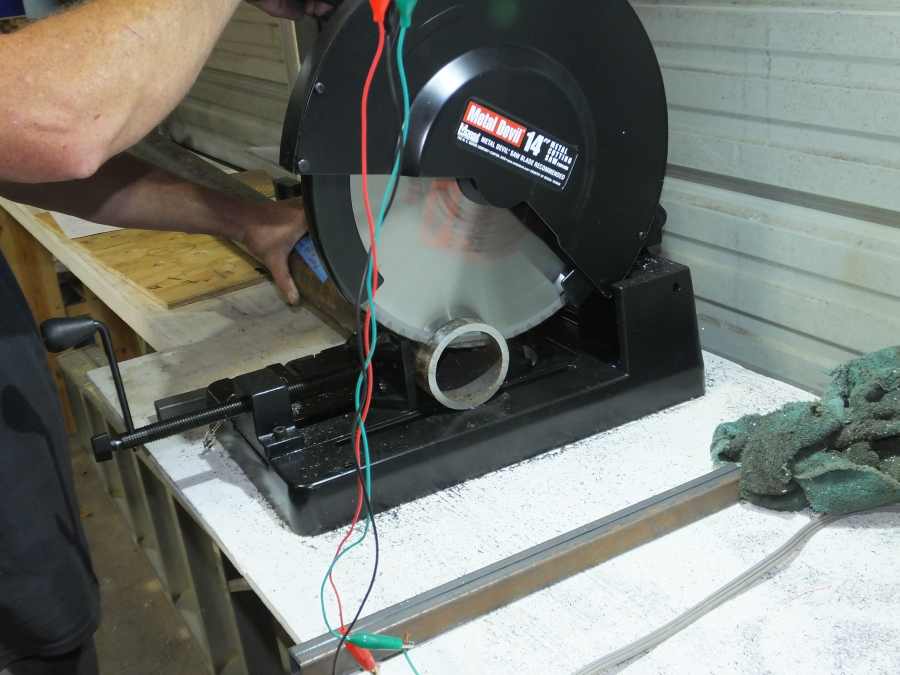
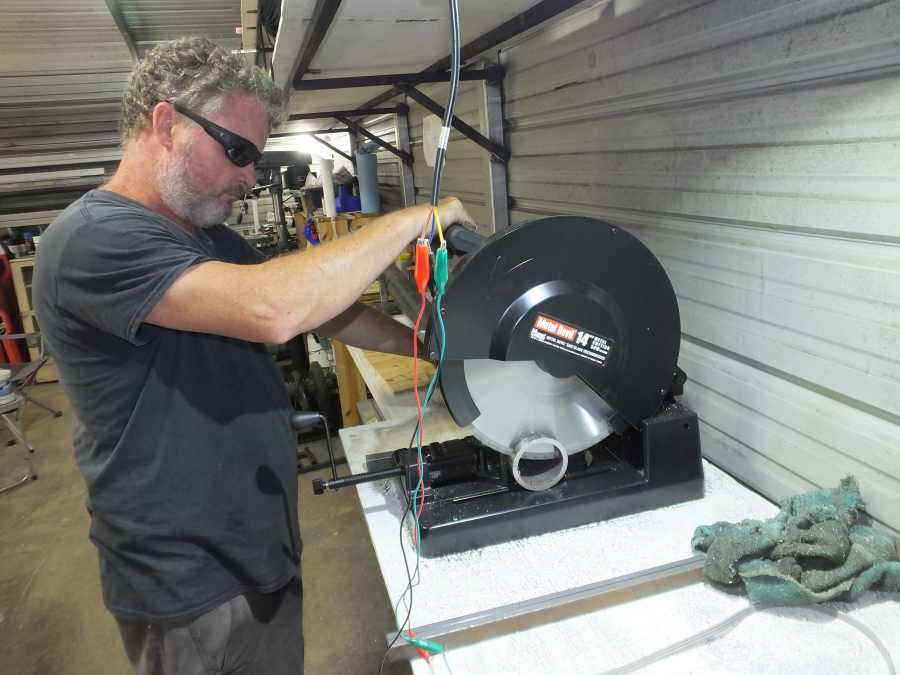
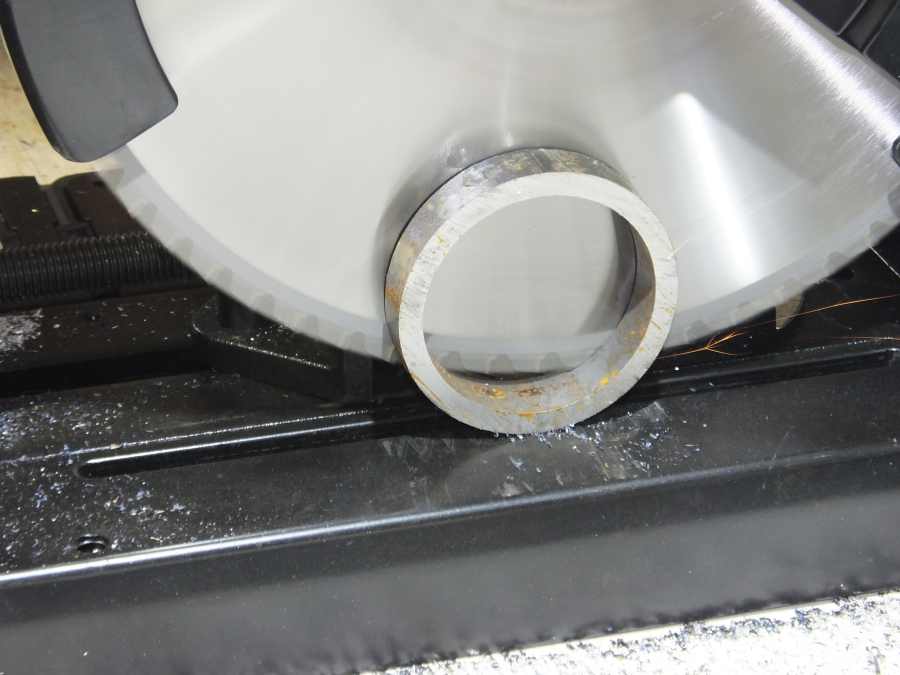
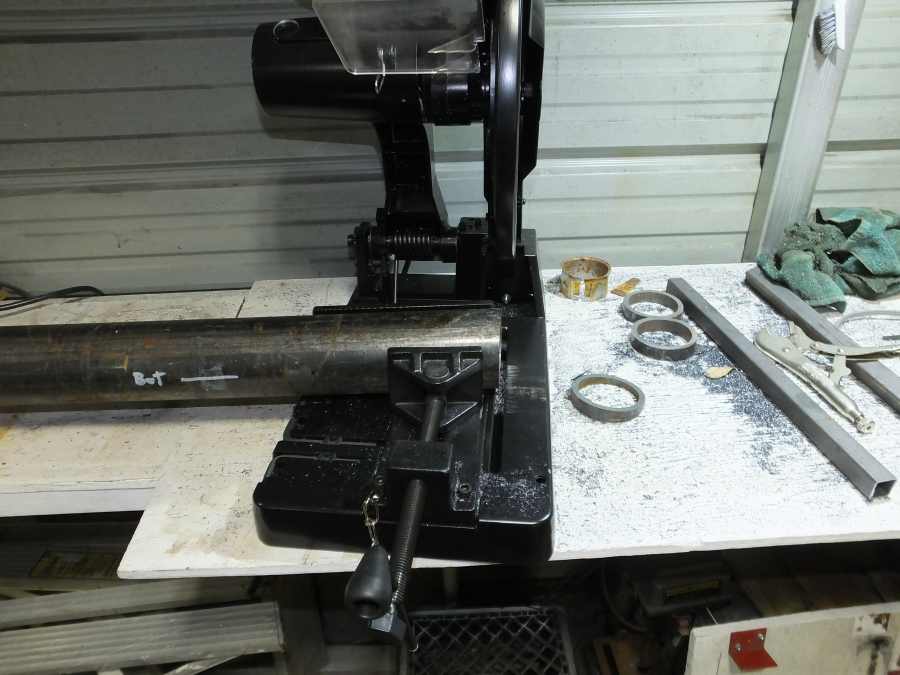
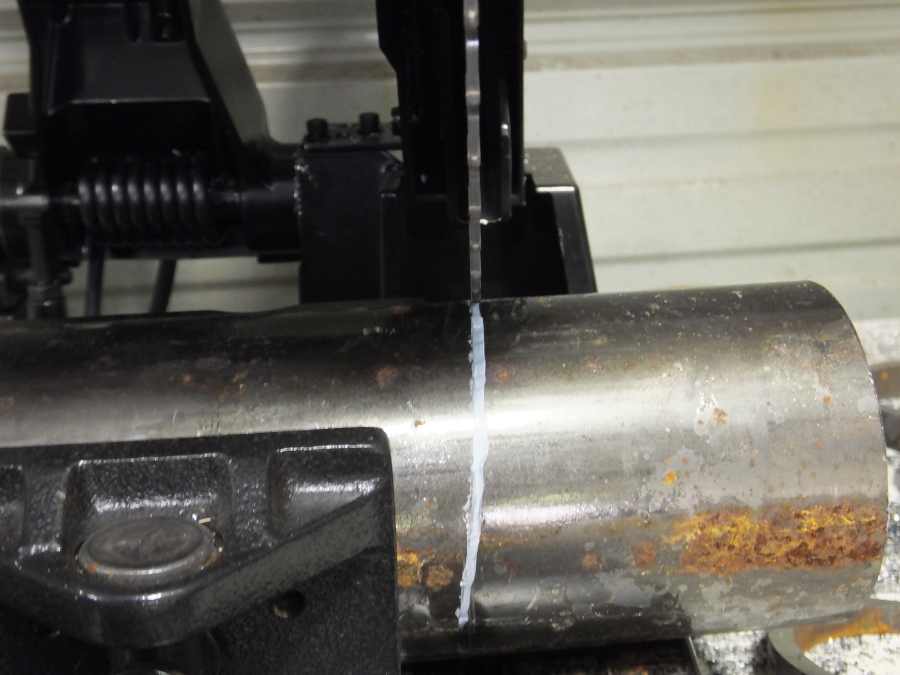
Now we have to cut the 4" steel tubes to precise lengths, and most important, the angle of the cut has to be perfect.
That is another bad ass saw. Not only will it cut very thick steel very quickly, but it can cut amazingly accurate angles when it's set up properly.
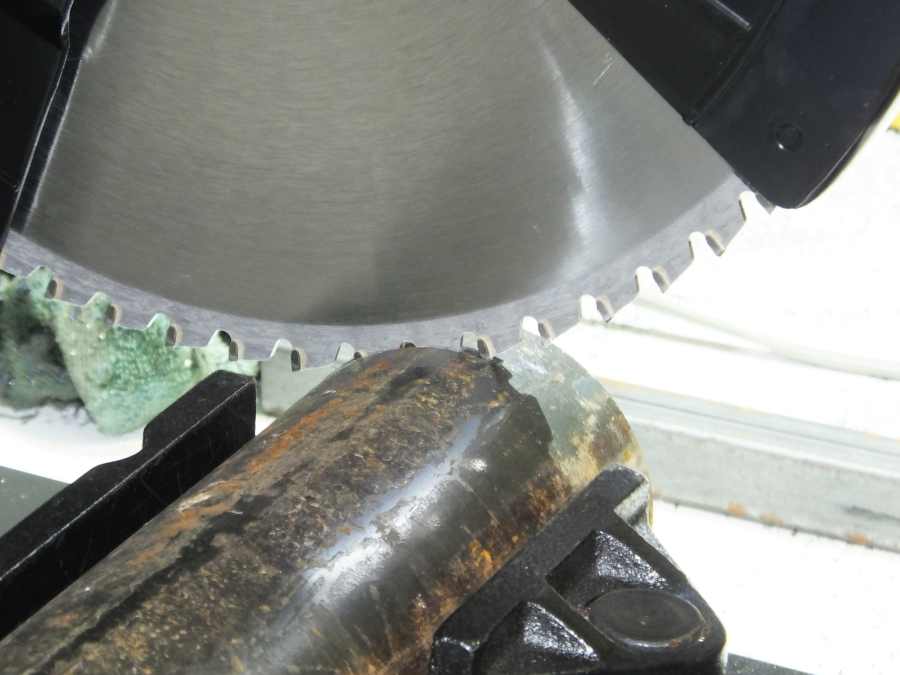
Dewault, Makita, Bosch, Milwaukee and bunches of others are far too sloppy for me. This is an industrial quality saw made by MK Morse.

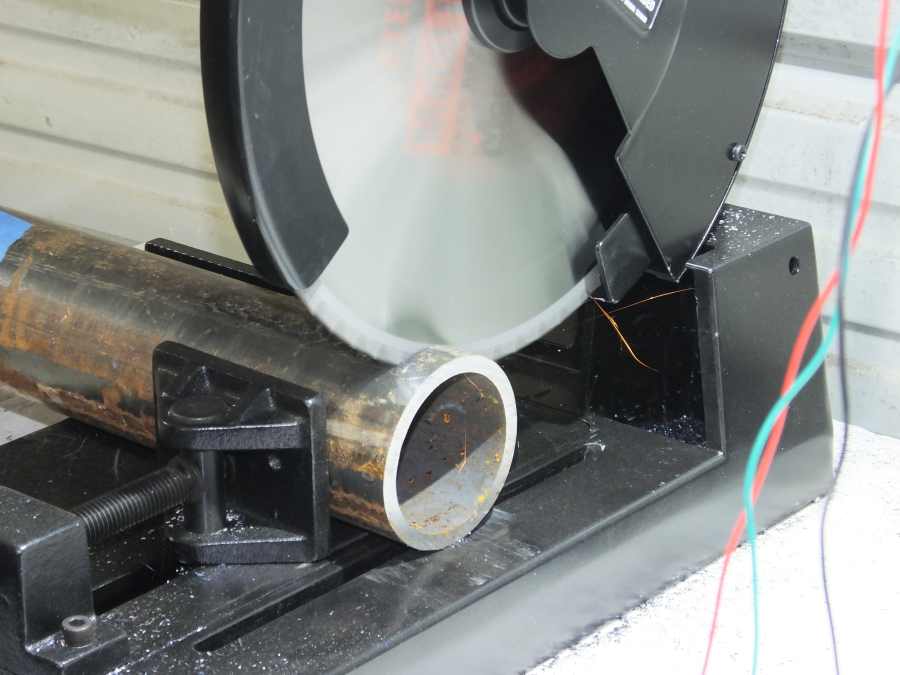
I quit using abrasive cutoff saws a long time ago. They don't have the accuracy I need. This is called a COLD CUT SAW since it does not use abrasive, the cuts do not get hot.
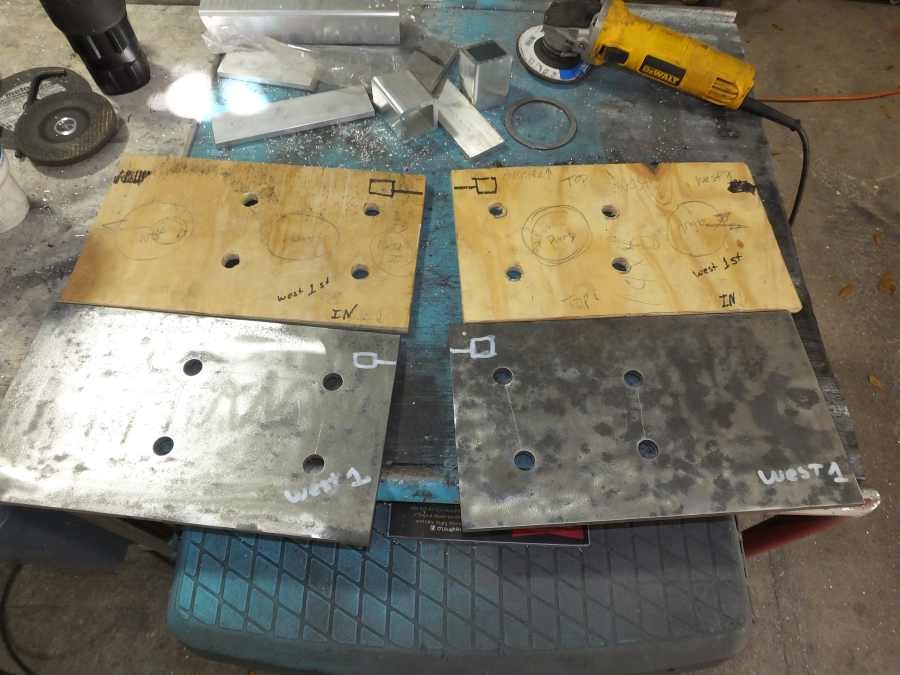
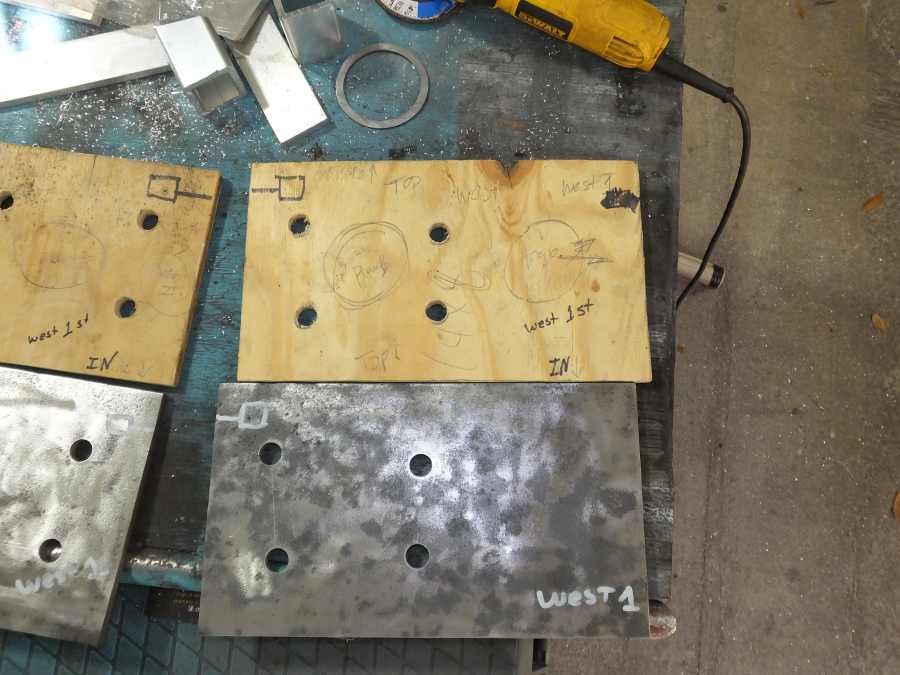
Below: You can see how far off that bolt pattern is from square. But our plates have to match the bolts already set in the concrete.
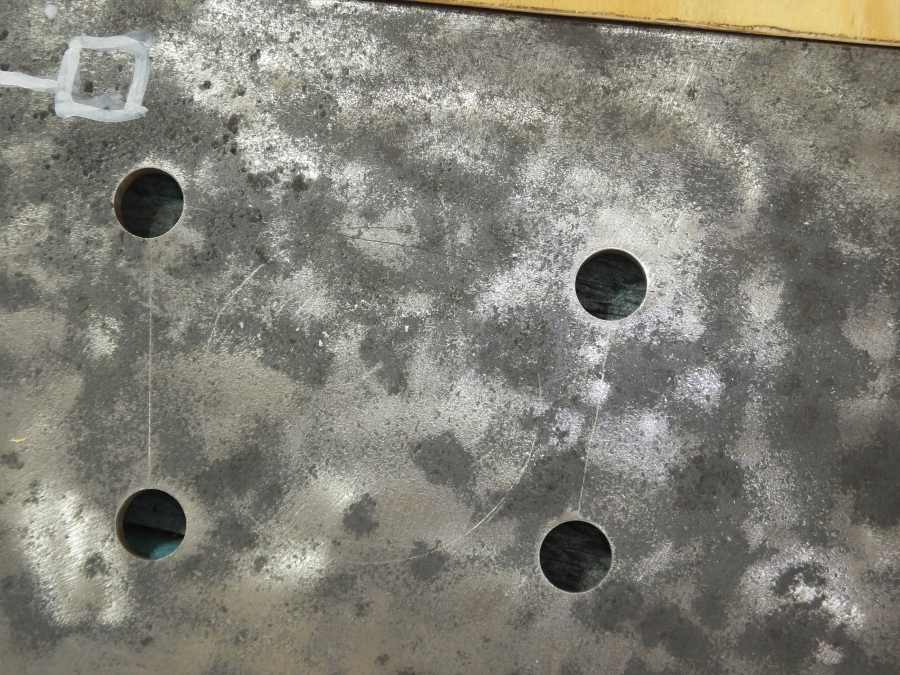
There is four columns and four different sets of bolt patterns.
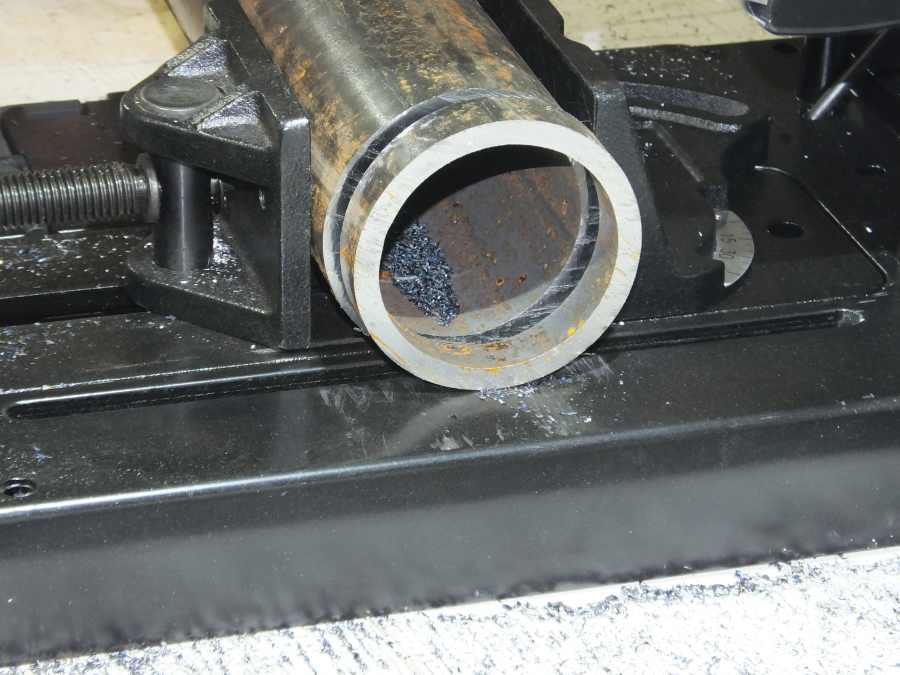
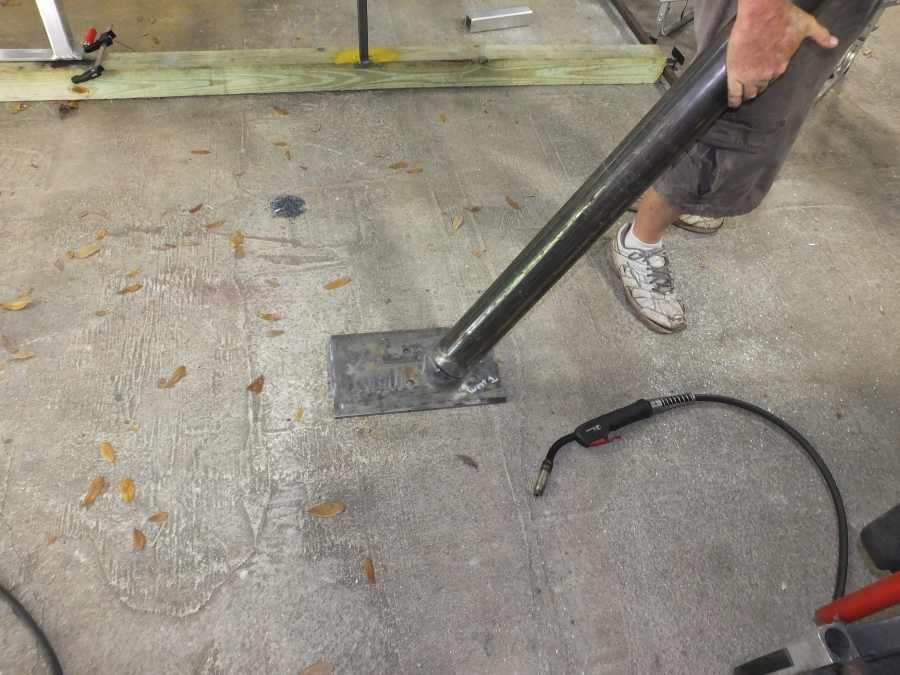
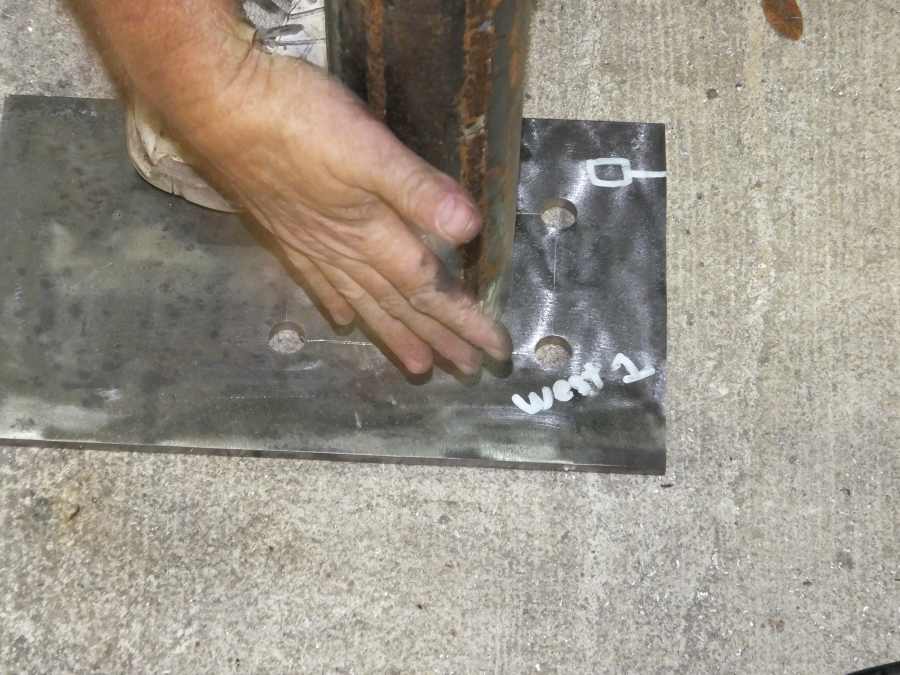
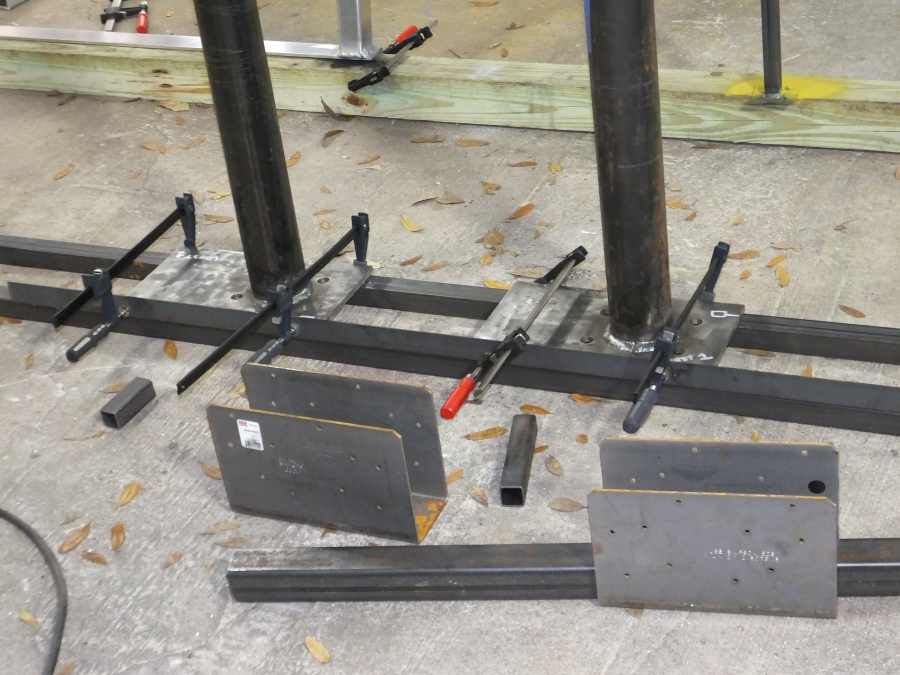
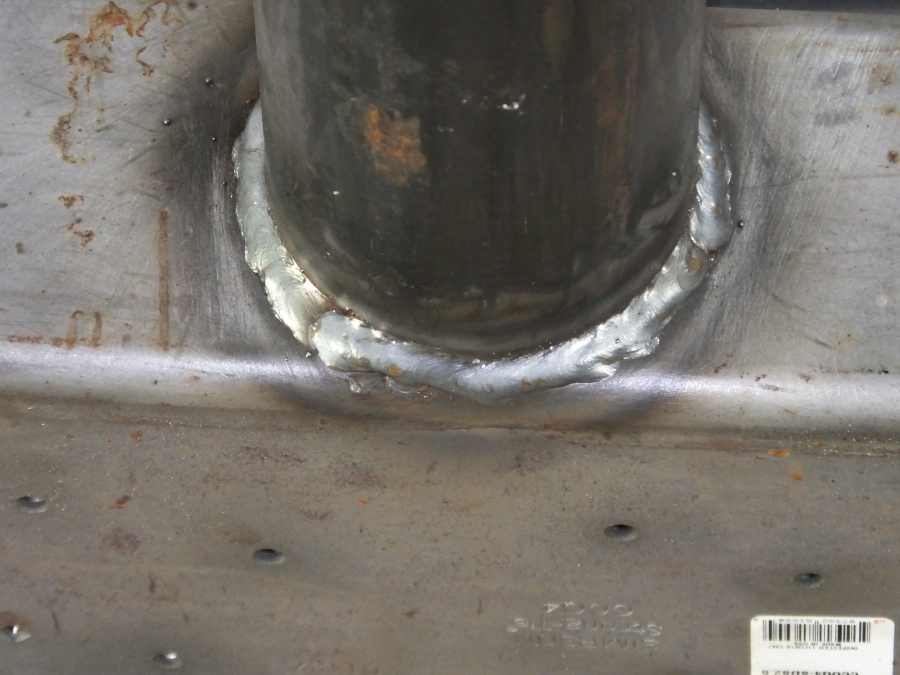
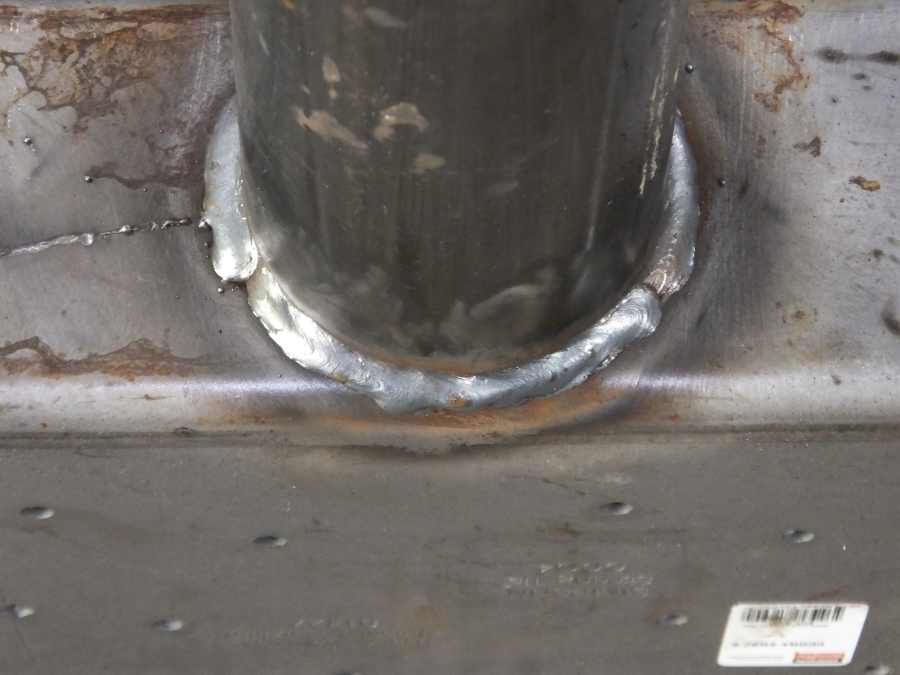
Now we set the round tube atop of the plates for welding. If the end cuts of the tubes were not at perfect 90 degrees, we would have to use squares and try to hold the tubes up perfectly straight for welding.
That would be a real nightmare. But that's how the other welding shops do it.
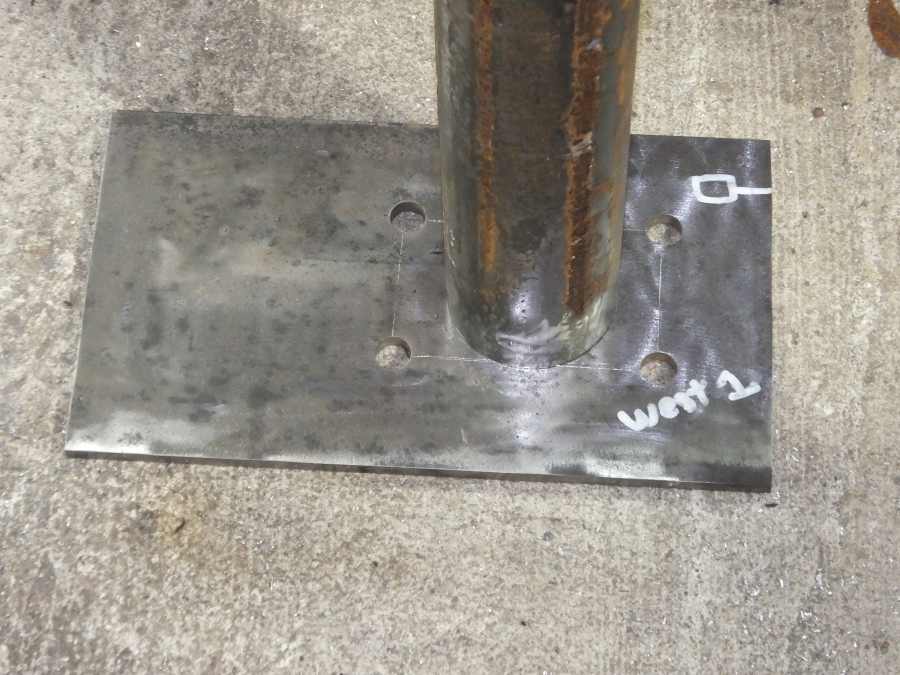
Because my saw cuts so amazingly precise, I just set the tubes on the plates and they stand up perfectly straight by themselves. No square needed.
It makes my welding so accurate, easy and quick.

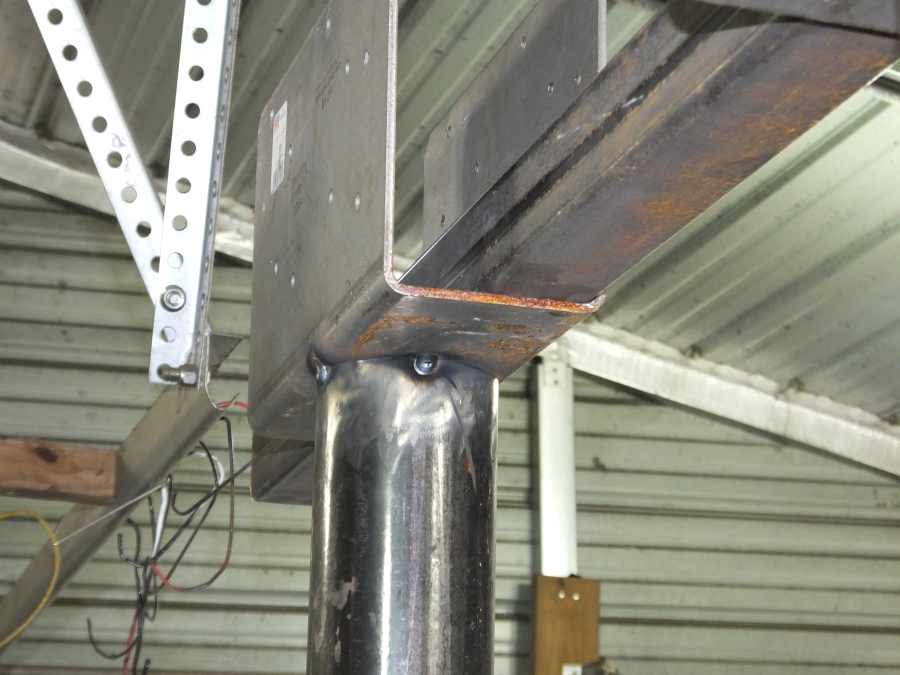
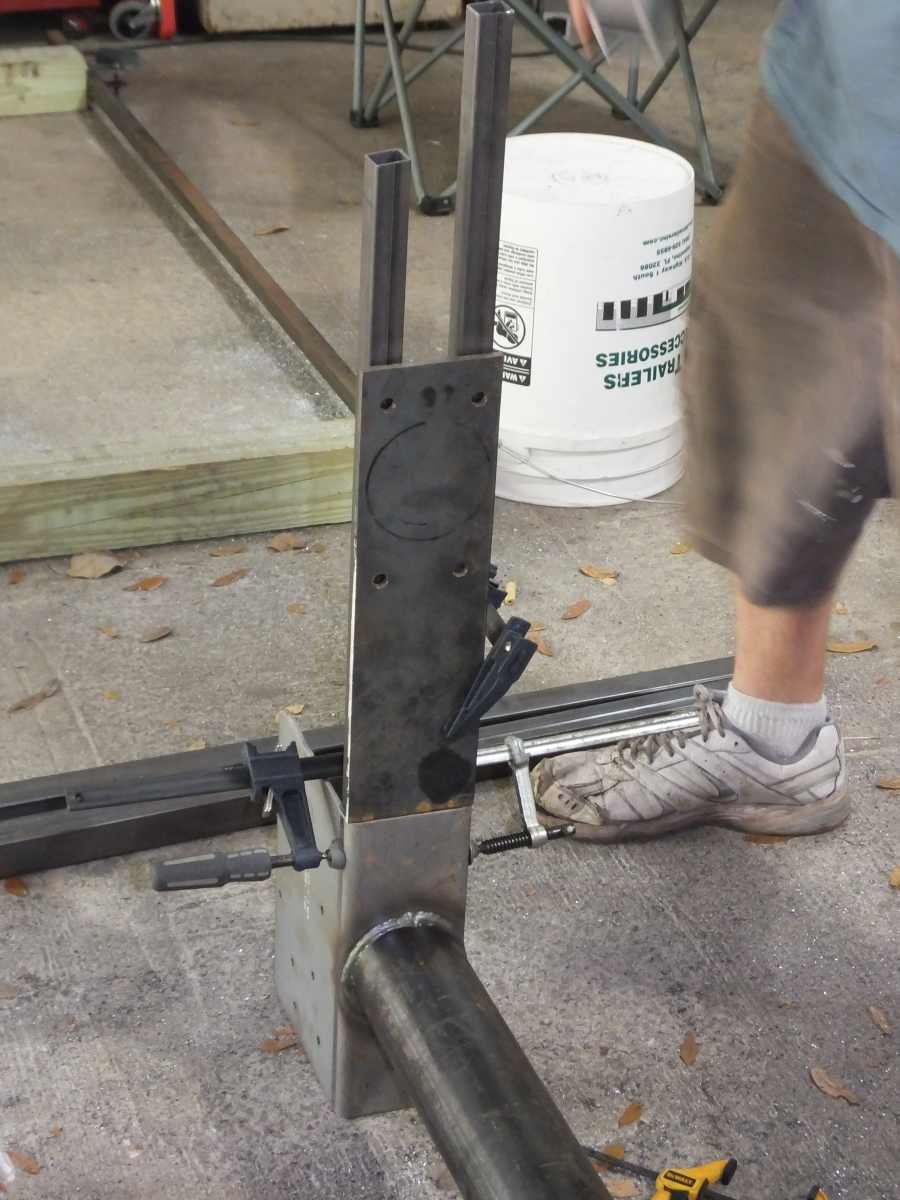
Now things start to get trickier. When I weld the bucket on top of the tubes, the angle plane of the bucket must be exactly the same as the angle plane of the base plate.
We cant have the buckets and base plates aiming in different directions, can we? The bold pattern on the base plates determines which direction the columns will aim. Cant rotate the columns.
But will the bucket aim in the precise direction that the long wooden beam must aim, that is going to be sitting in the buckets?
It will if I have anything to say about it.
By lining up the base plates to face exactly in the same direction, I can then match the buckets to also sit in perfect alignment facing the same direction.
If the buckets are 1/2 of one degree off, the wooden beam will not sit in multiple buckets simultaneously. That would be big trouble.

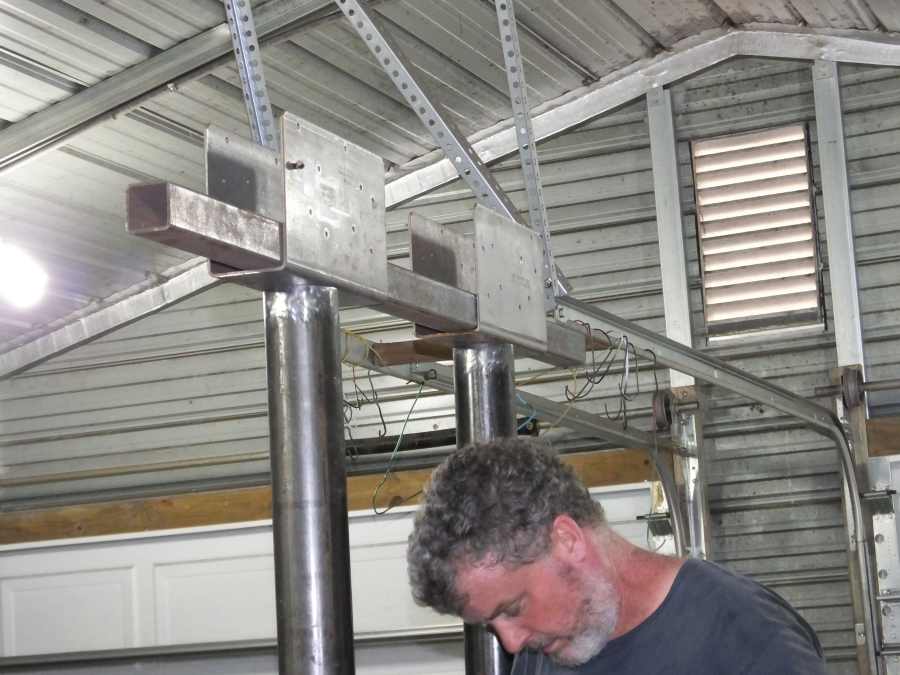
Can you see how that square metal tube sitting in both buckets simultaneously, makes both buckets aim in exactly the same direction? Perfect precision.
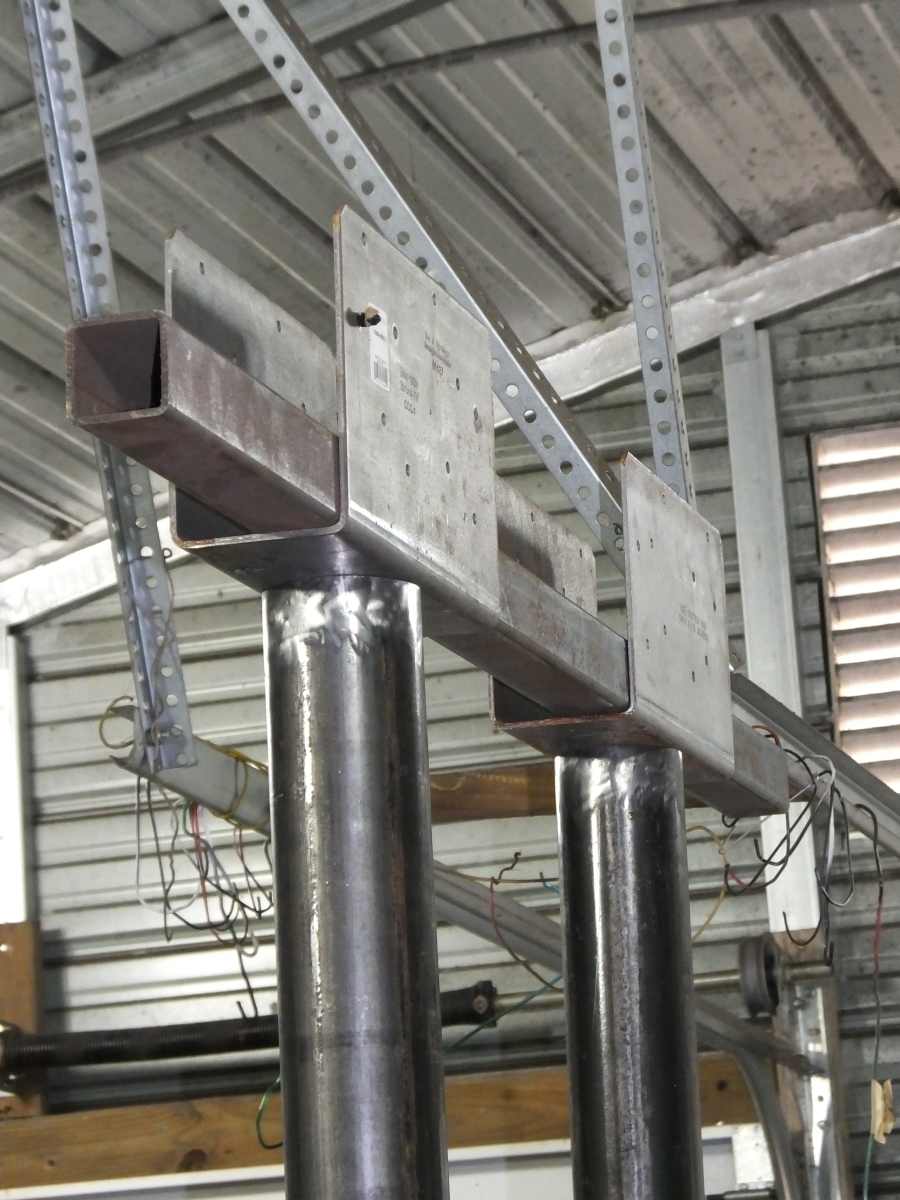
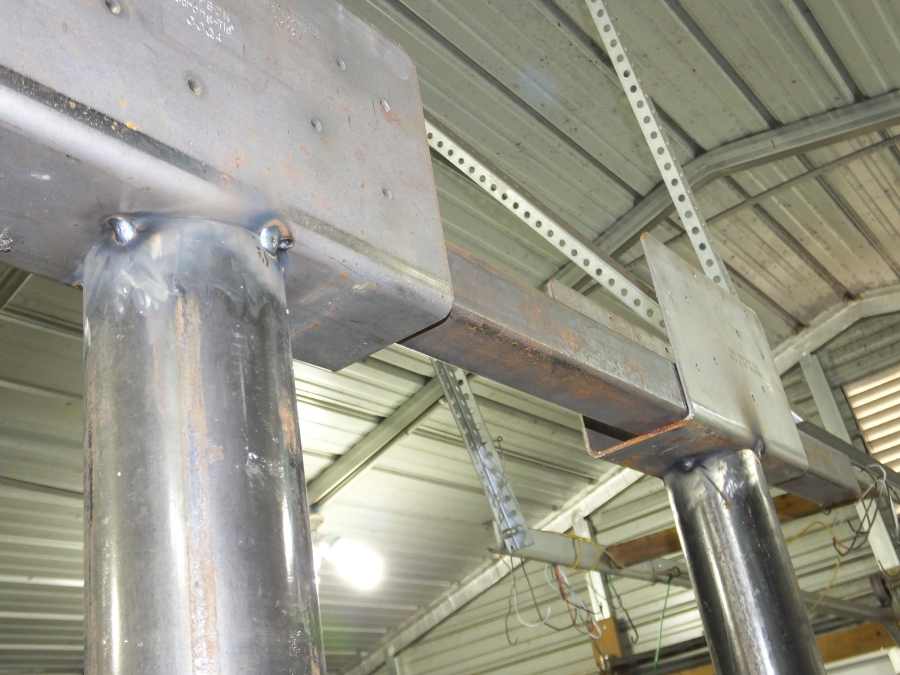
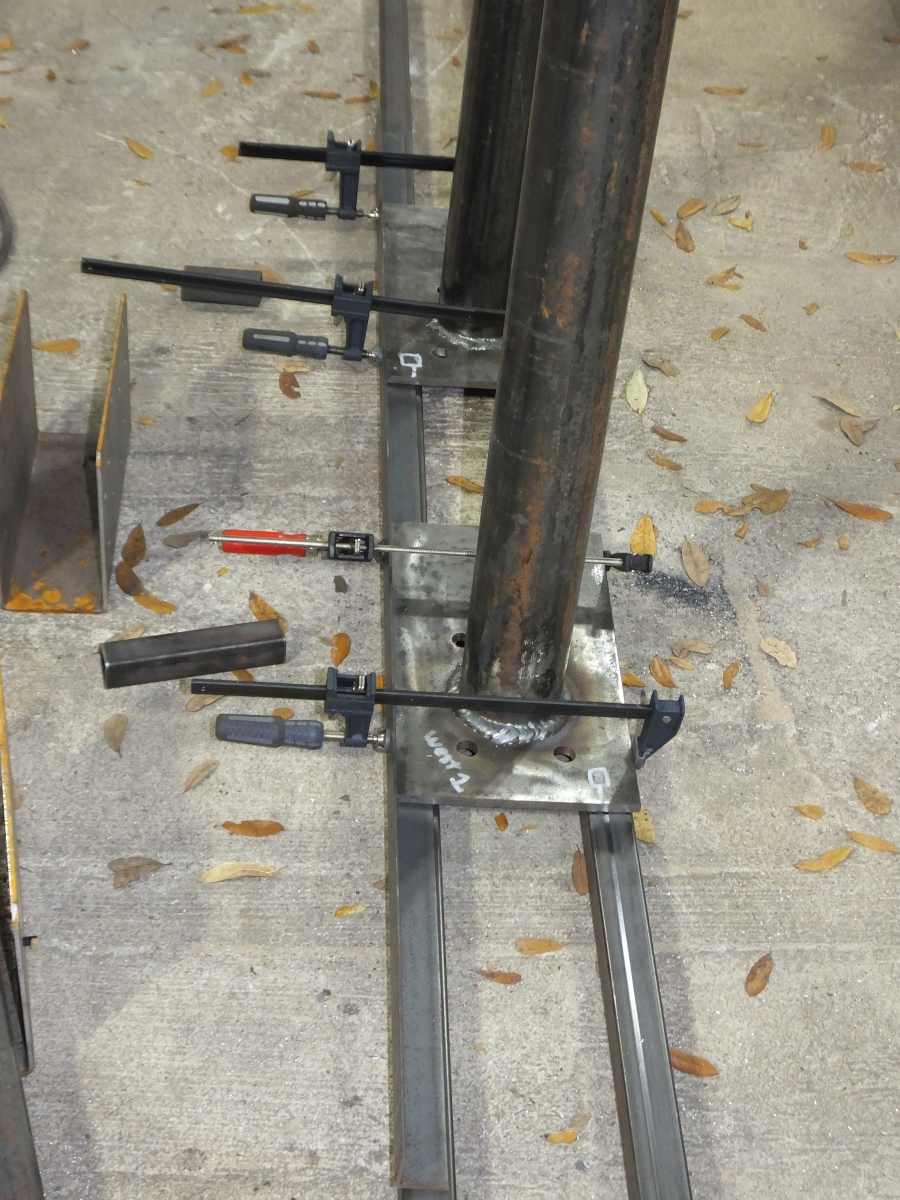
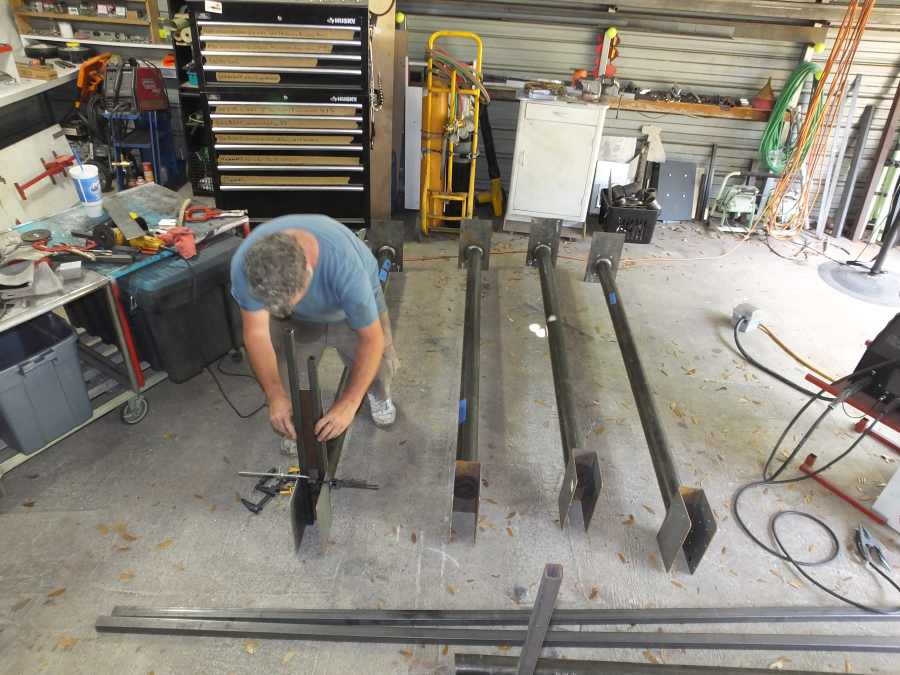
Now that the tack welds hold the buckets in perfect position, we'll flip them over for performing the full welds.

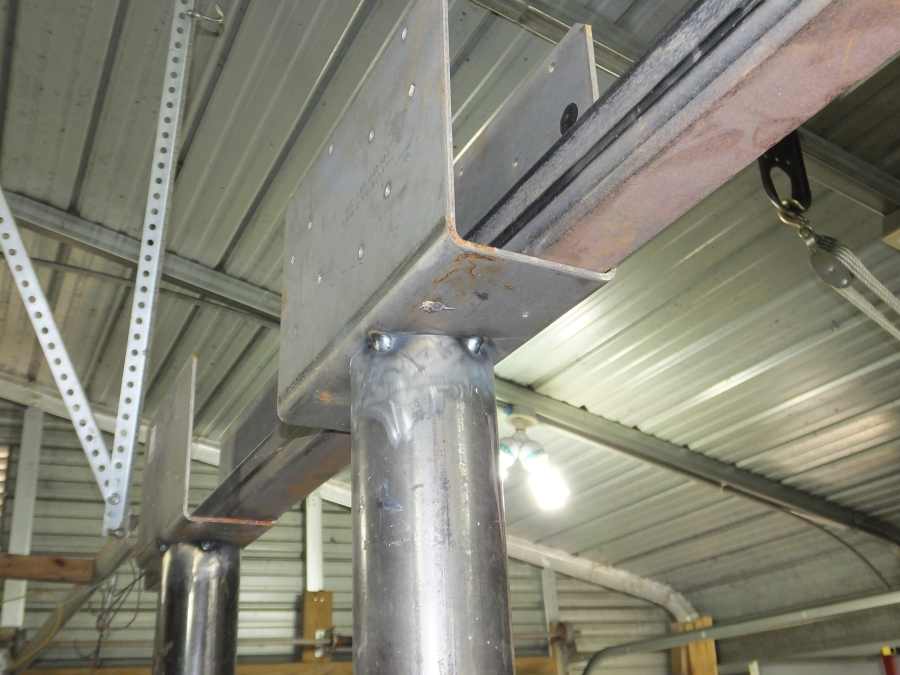
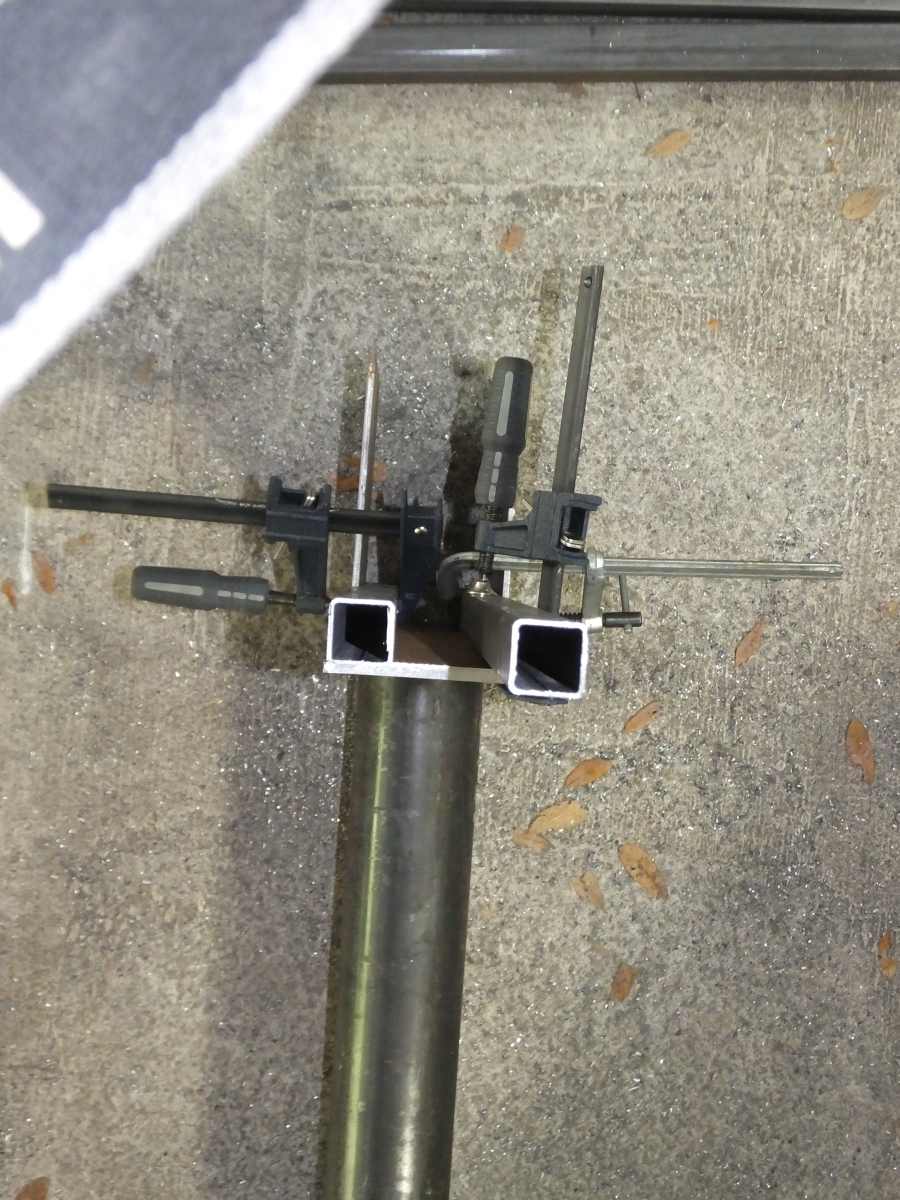
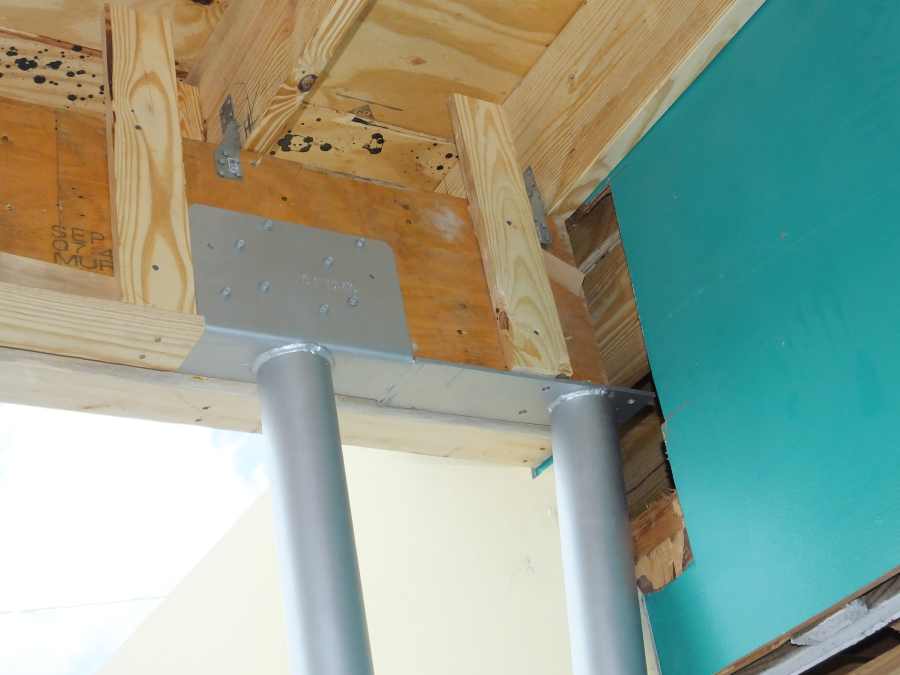
Now that was the easy part. Now the other tubes to be welded on, must be at another angle that is NOT 90 degrees. I need 82.5 degrees on the others.
I'm recalibrating the saw to cut at 82.5 degrees.
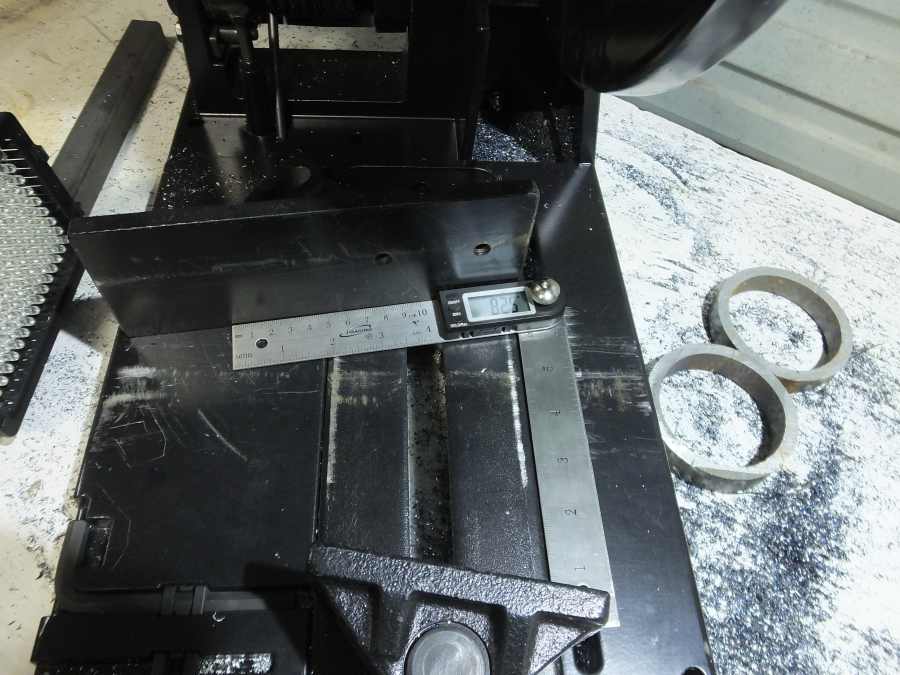
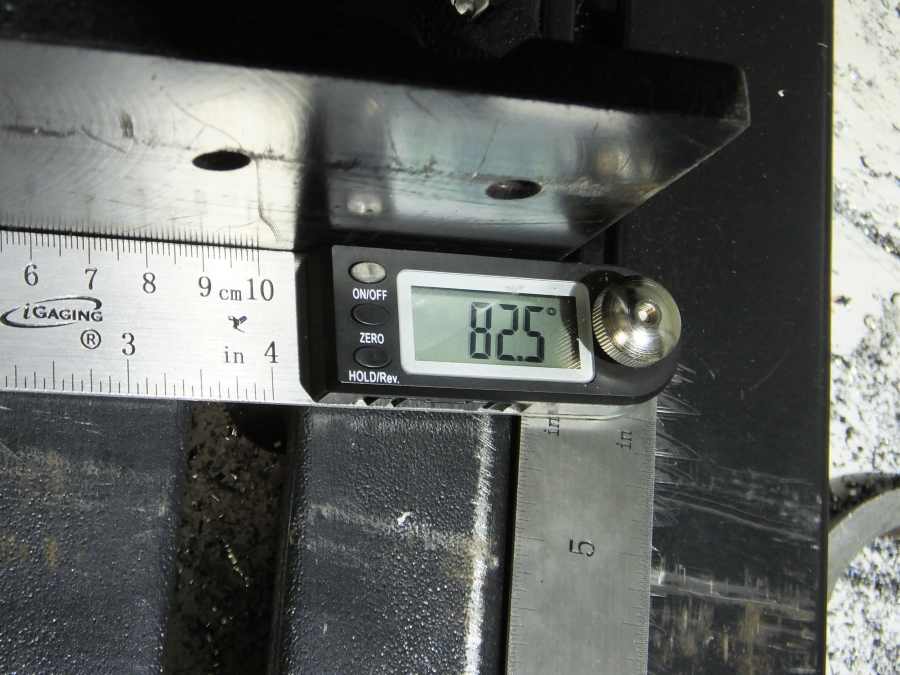
Now that new cut is exactly 82.5 degrees. You can hardly see the difference off of 90 degrees, but if you look closely...
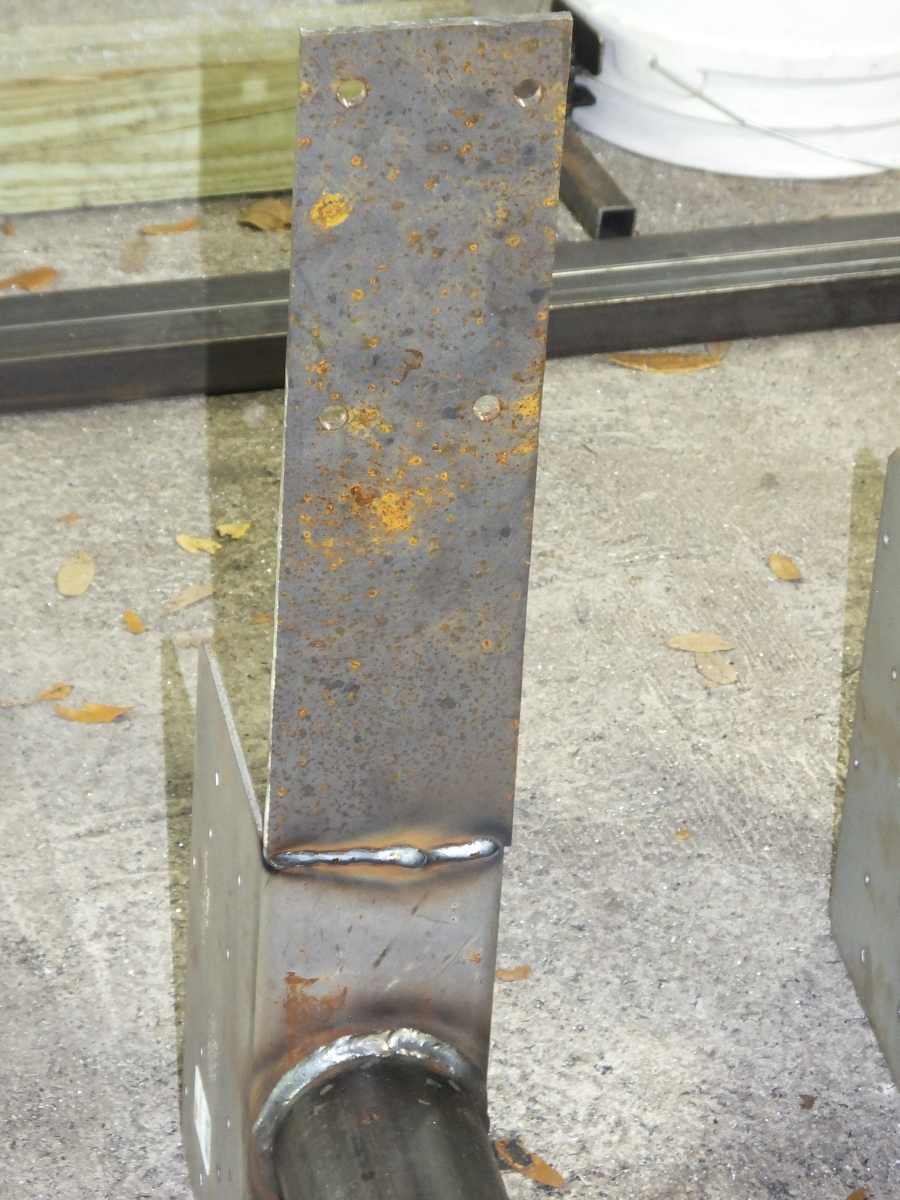
Now you can see on the 2nd tube, the 82.5 degree cut at the top leaves it aimed exactly at the bottom of the bucket plane.


The plate coming out of the bucket, helps us align the leaning tube properly so when we weld it on the base plate, the upper alignment will be perfect. This is a test fit to verify we are on track as is our intention.

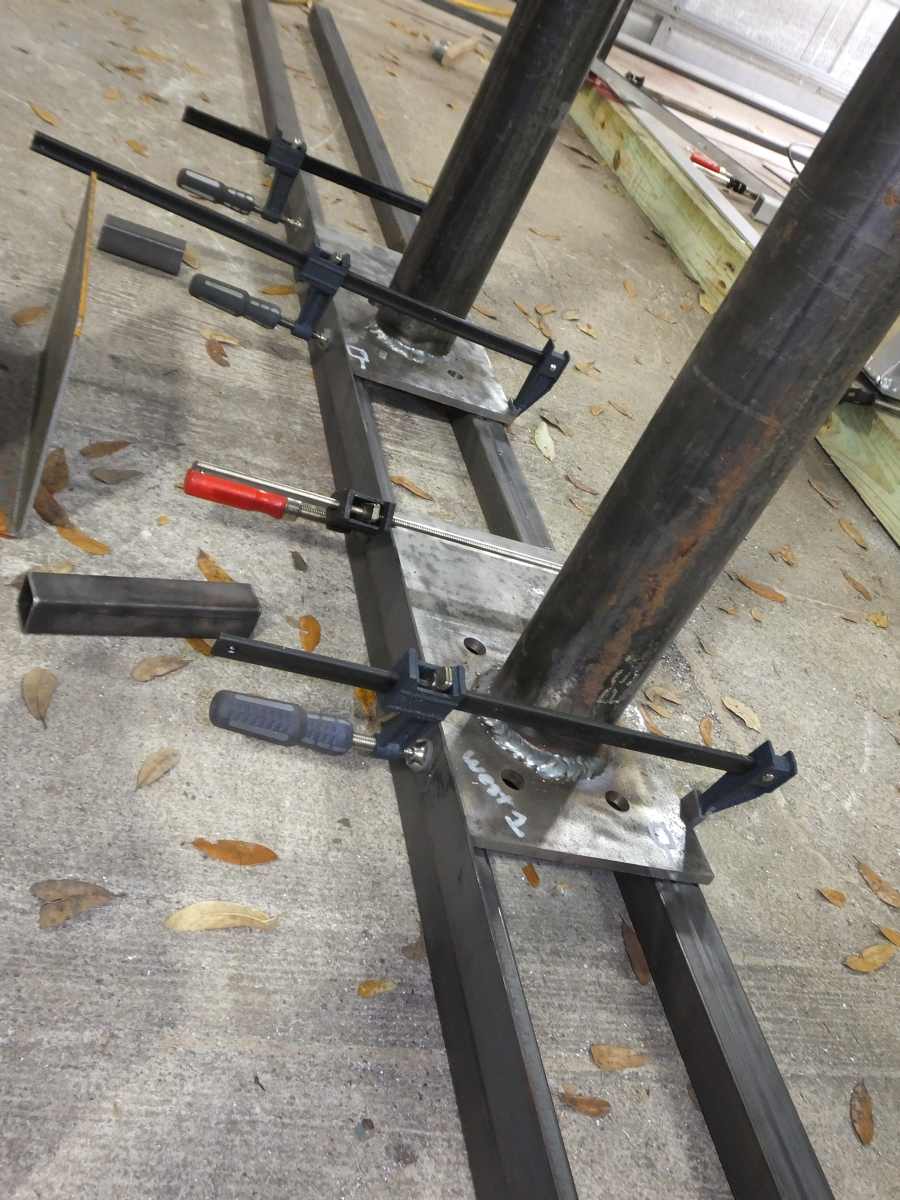
Clamping some guides onto the bucket to hold and aim our CONTINUITY plate from the bucket to the new leaning tube which is going to be added next.

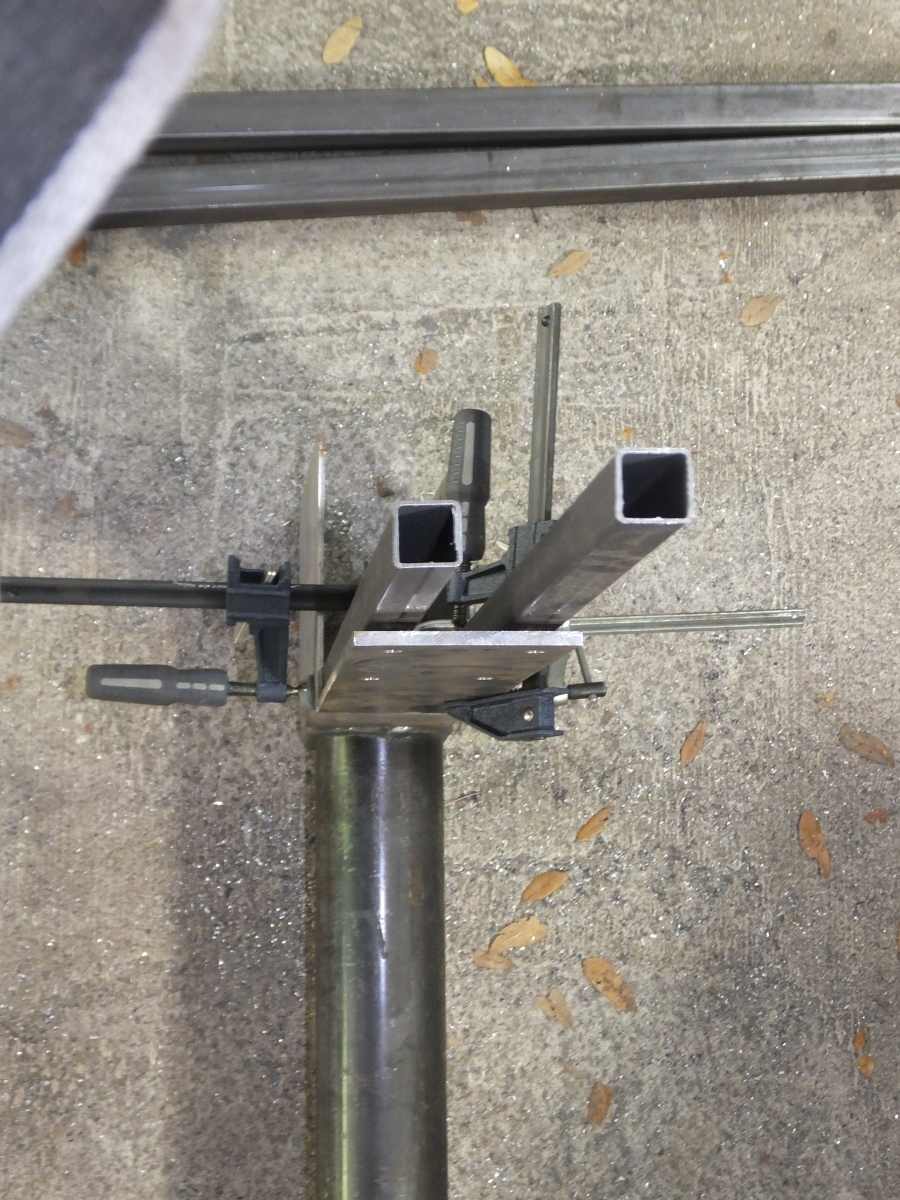
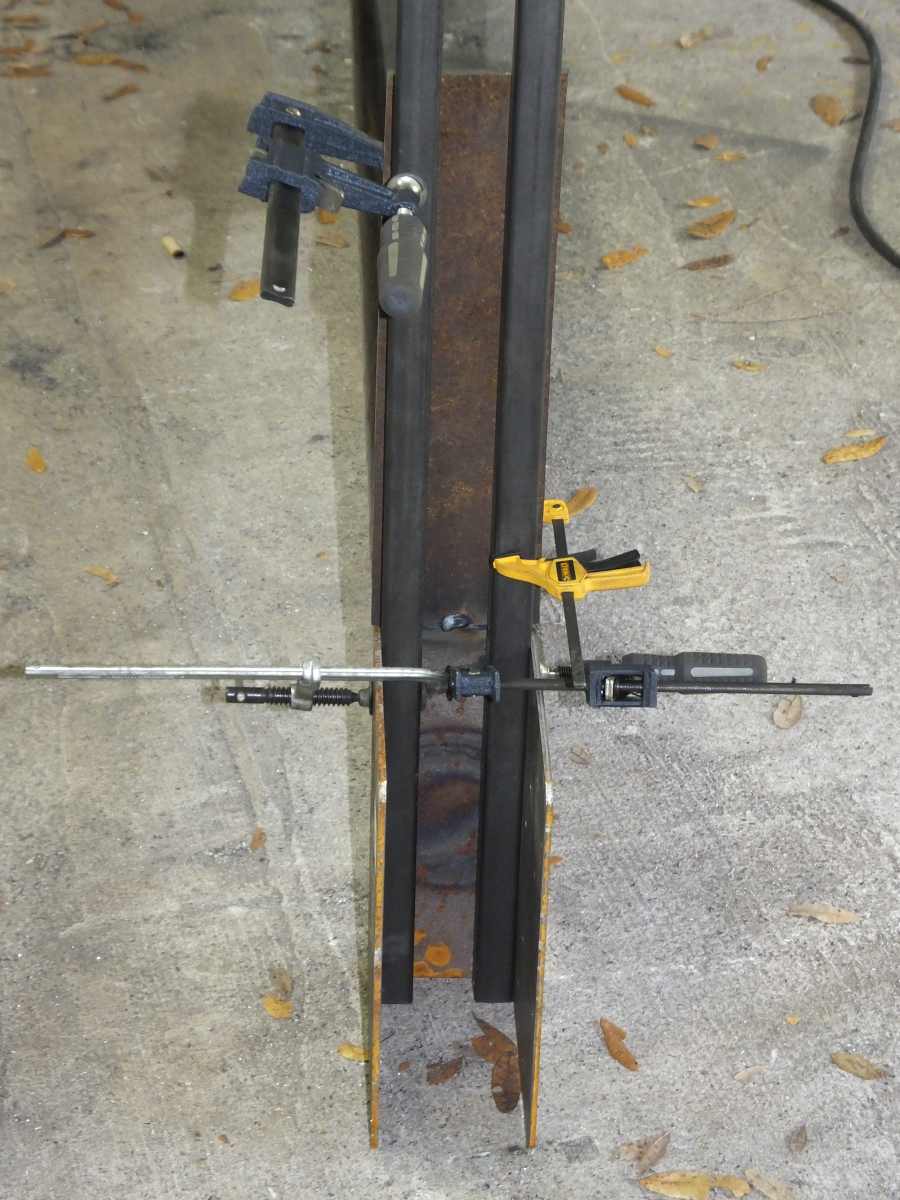
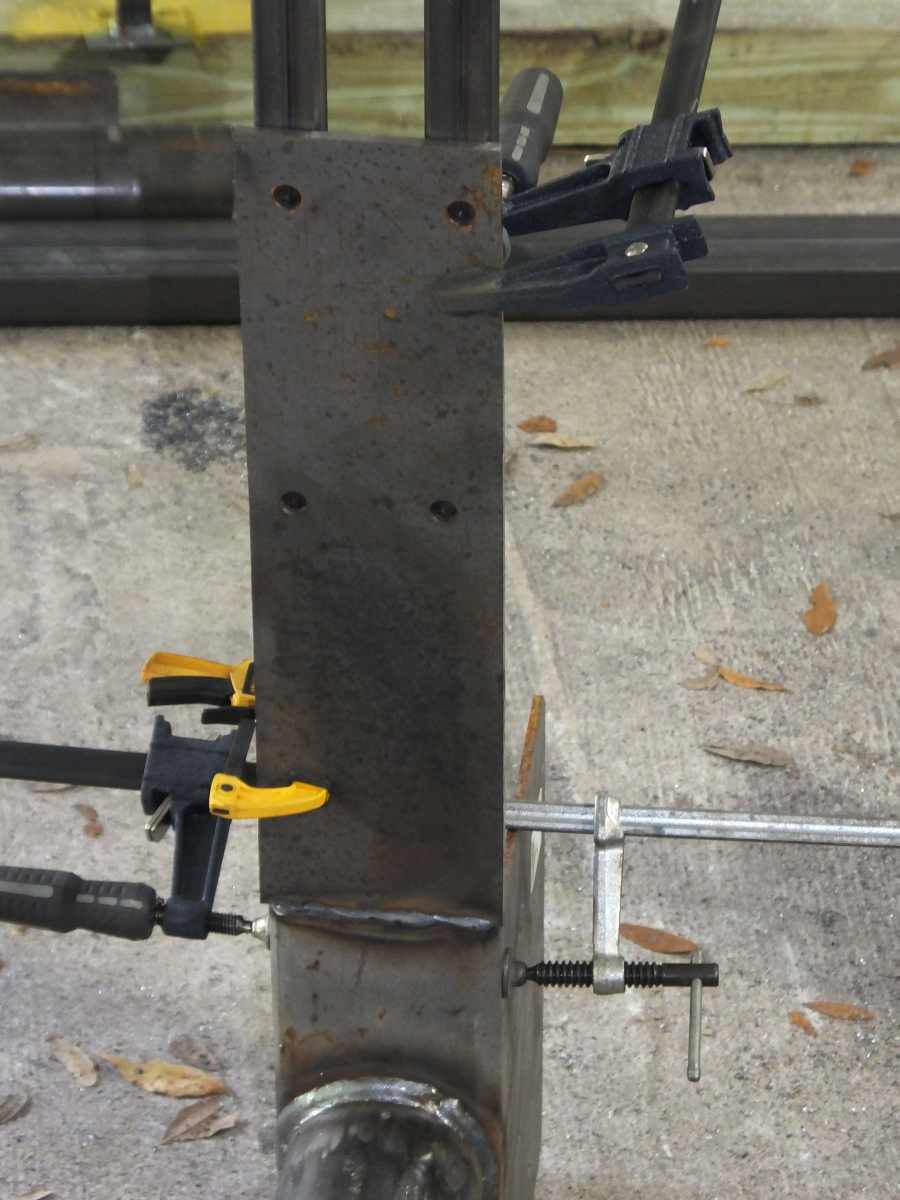
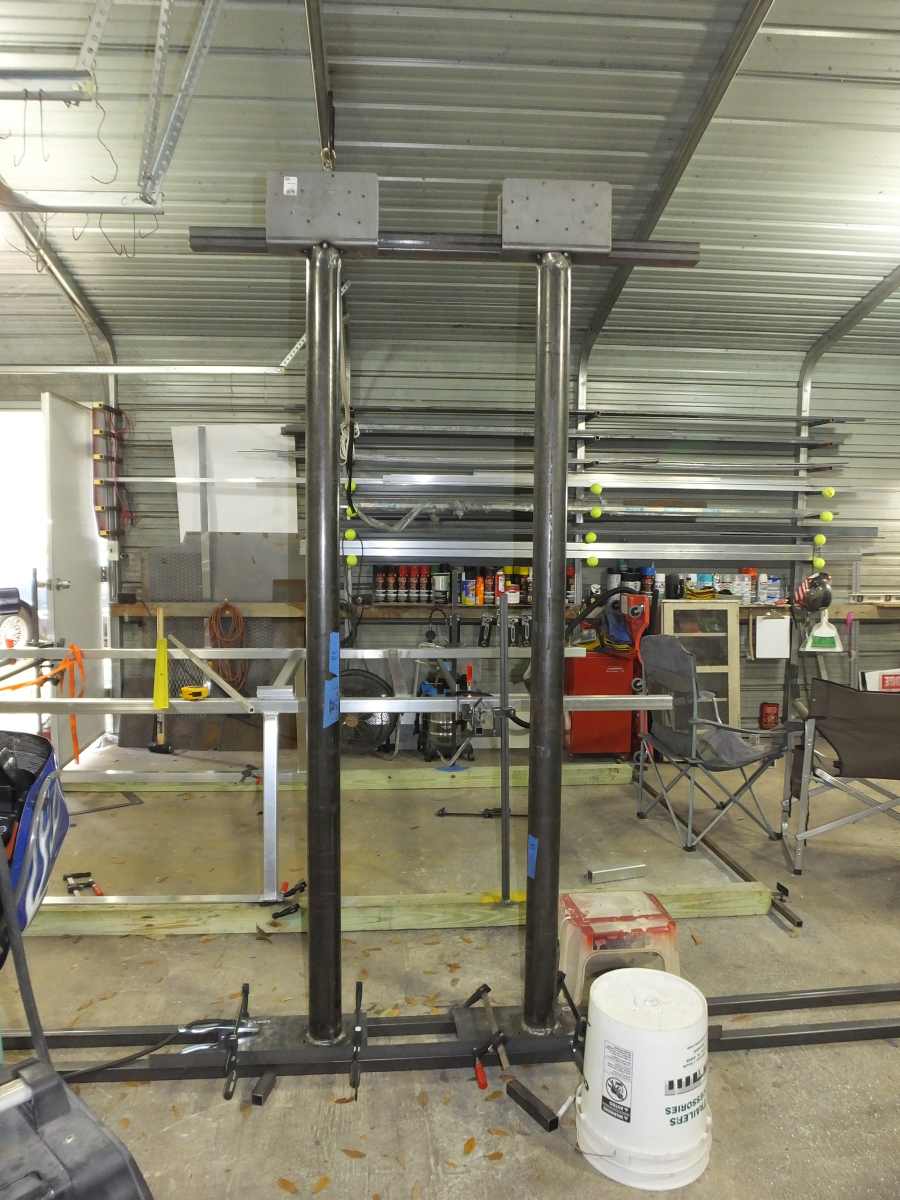
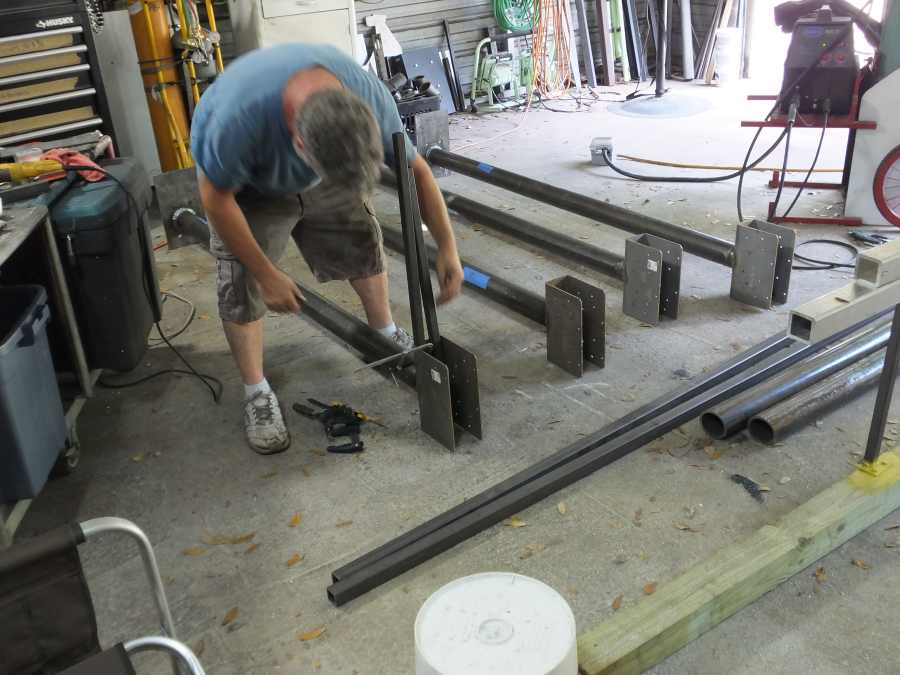
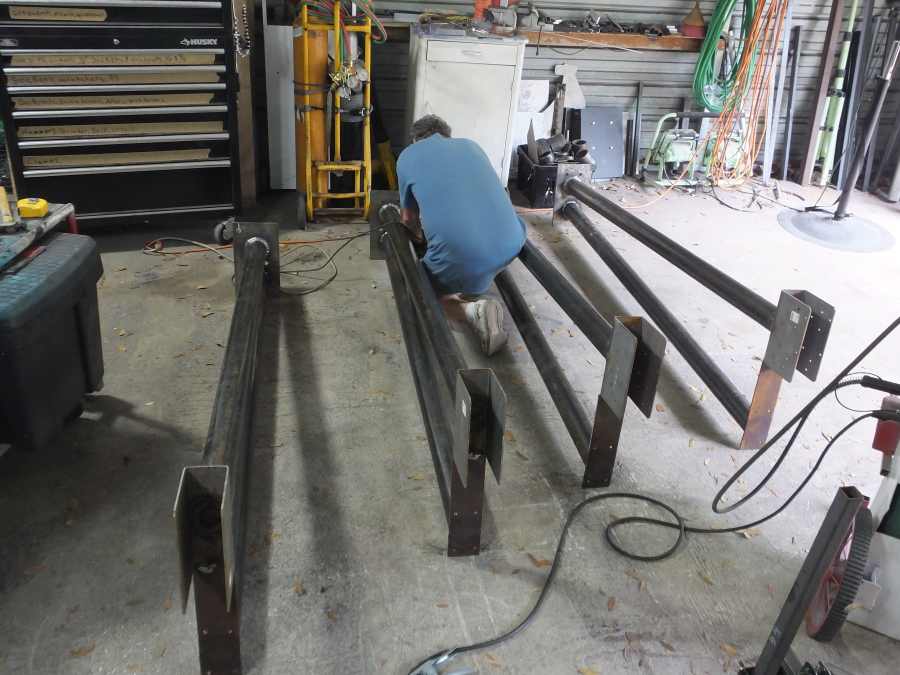
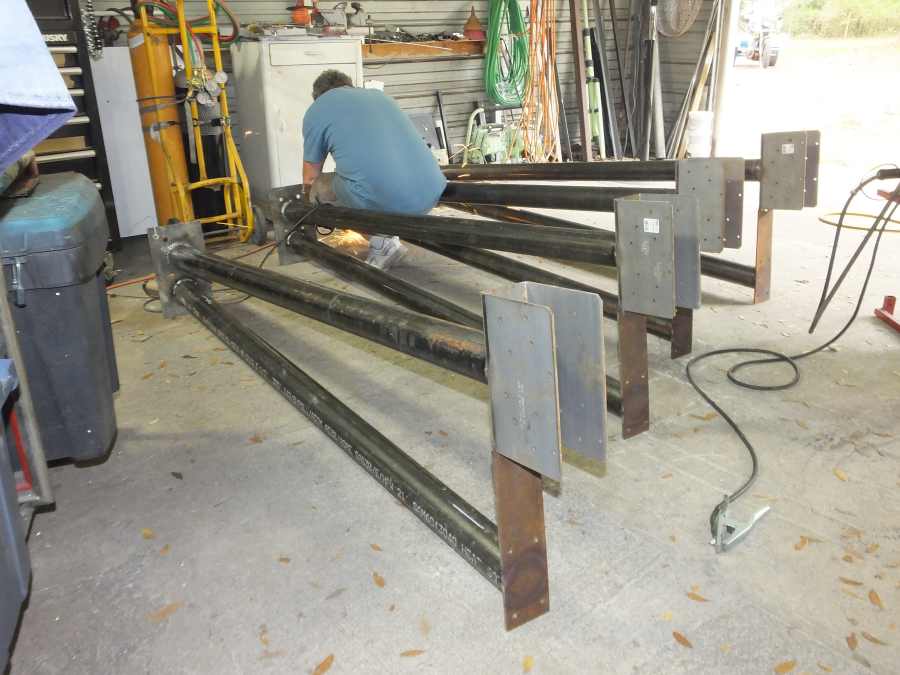
2 continuity plates are welded on, and one more is clamped in place waiting to be welded.
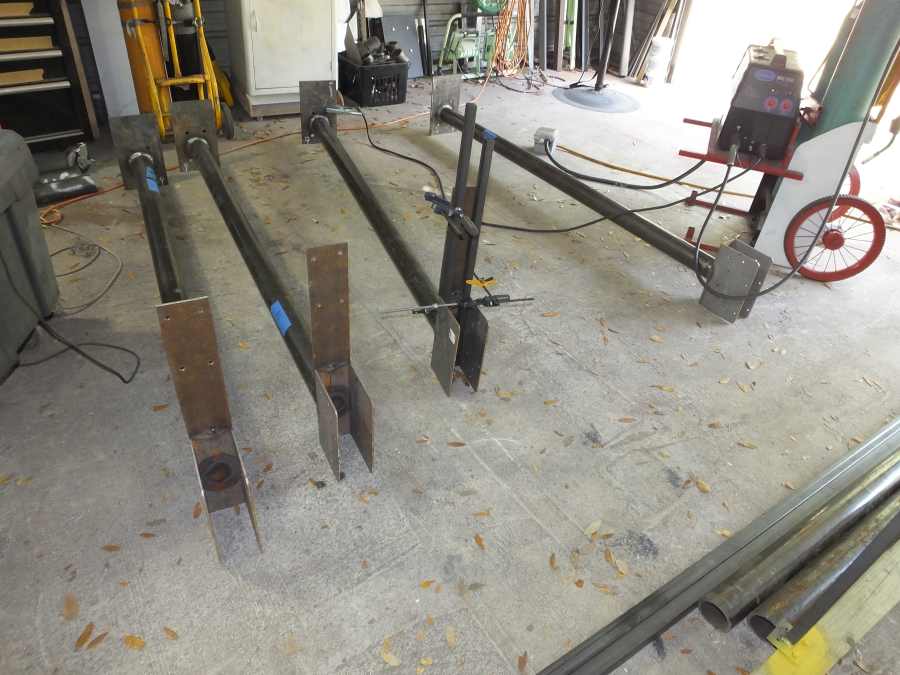
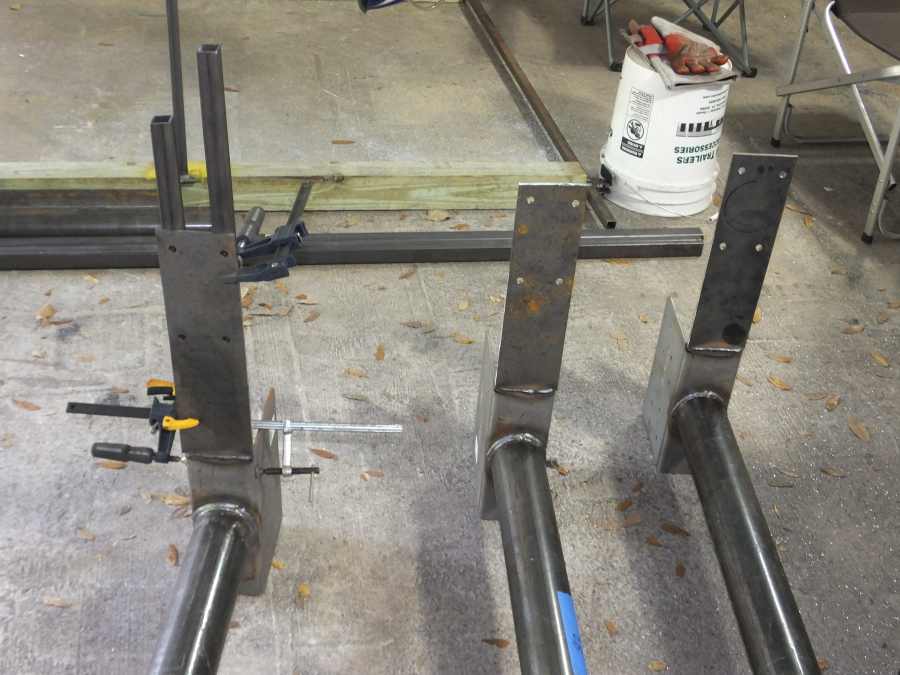
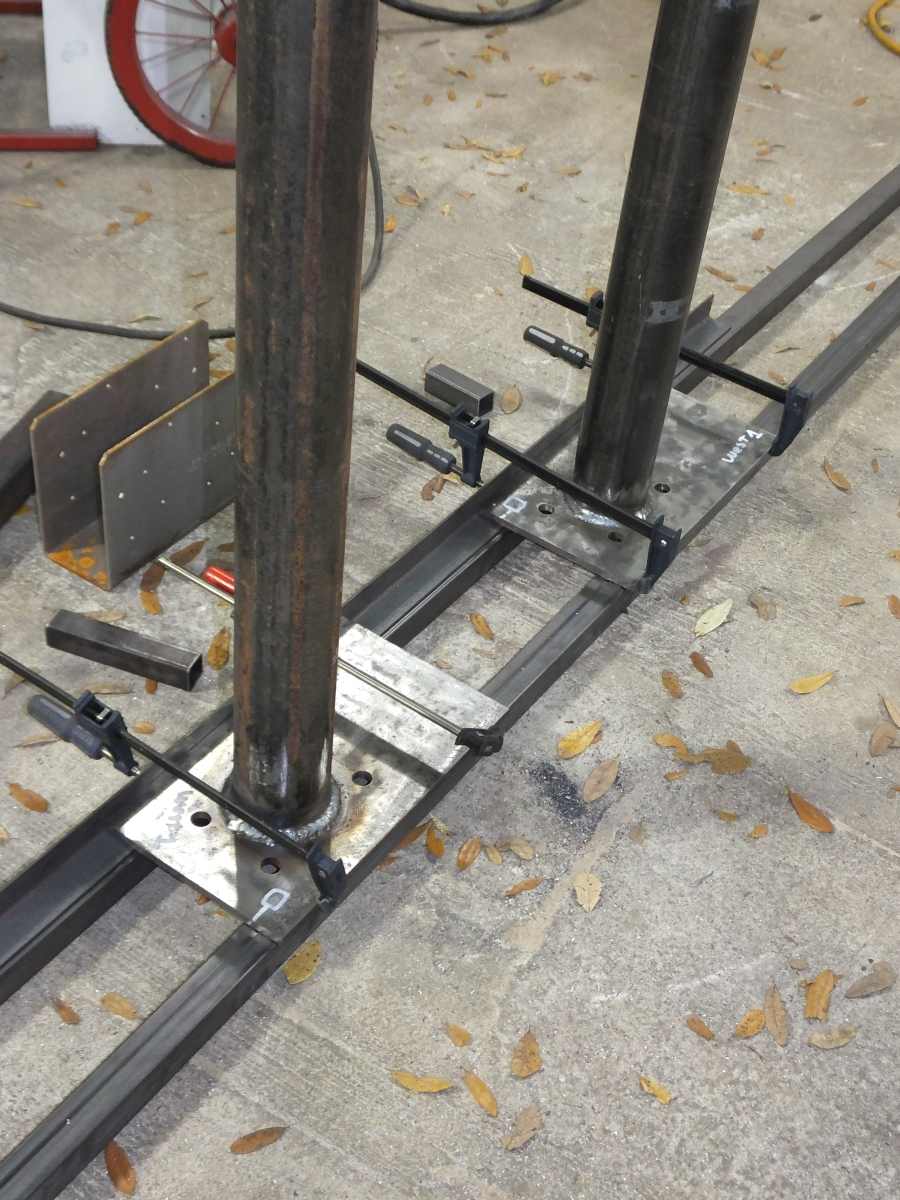
Now all four continuity plates are welded on. Now its time to add the 2nd angled column post to each of them.

Since our cuts, lengths and angles are so precise, placing the last tubes is easy. They only fit in one place.

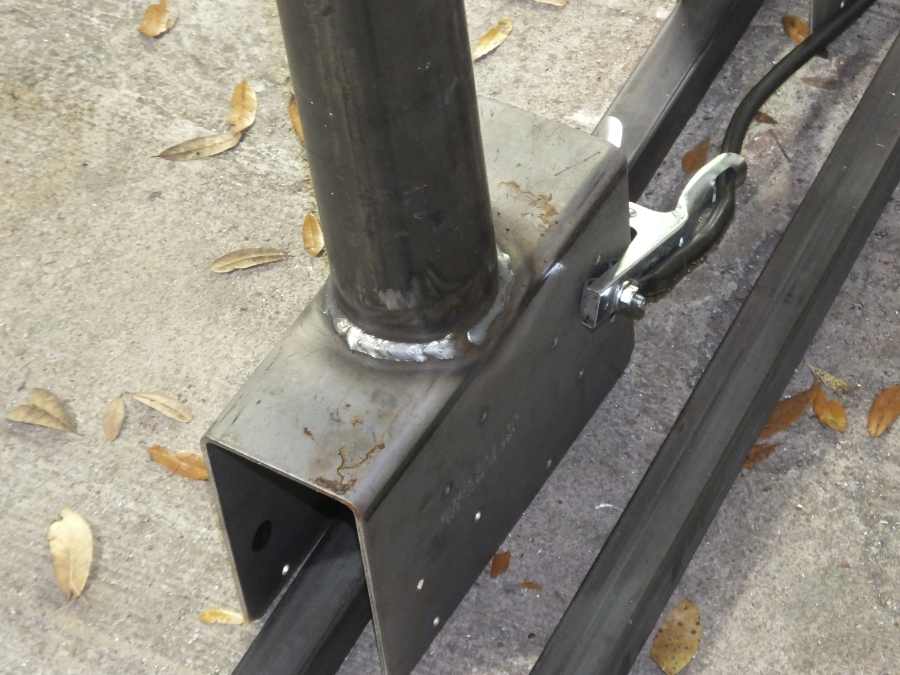
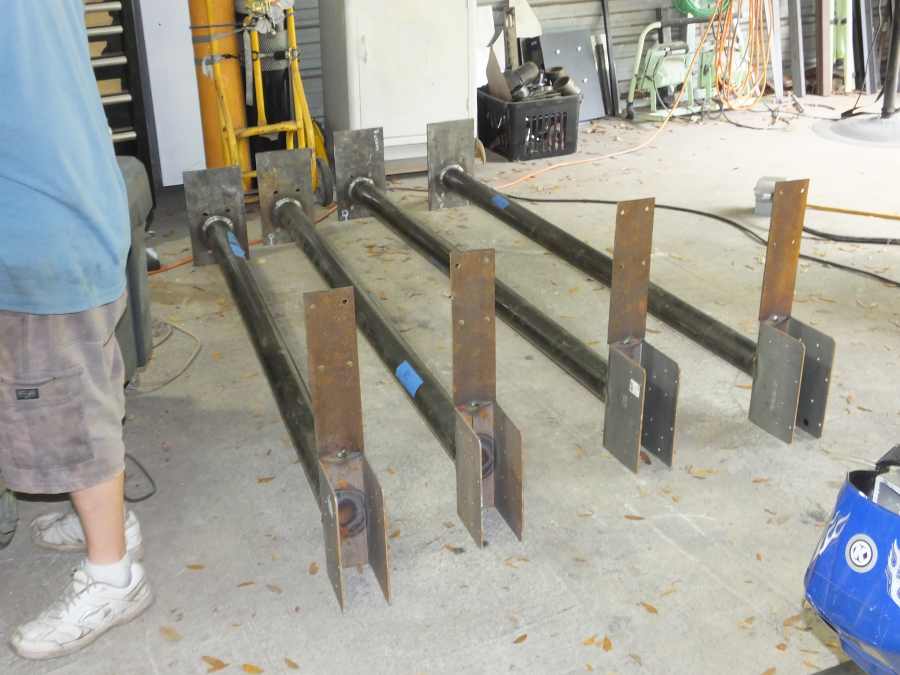
The drawing calls for a 2" gap between the tubes at the bottom. This is easy. Place a 2" wide aluminum tube between them and the gap is perfect.

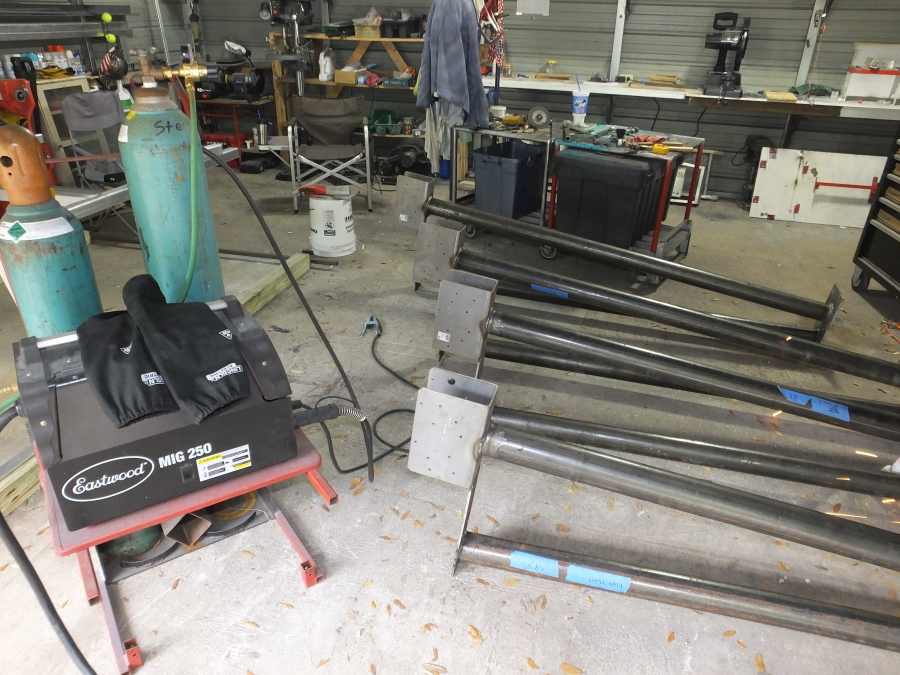
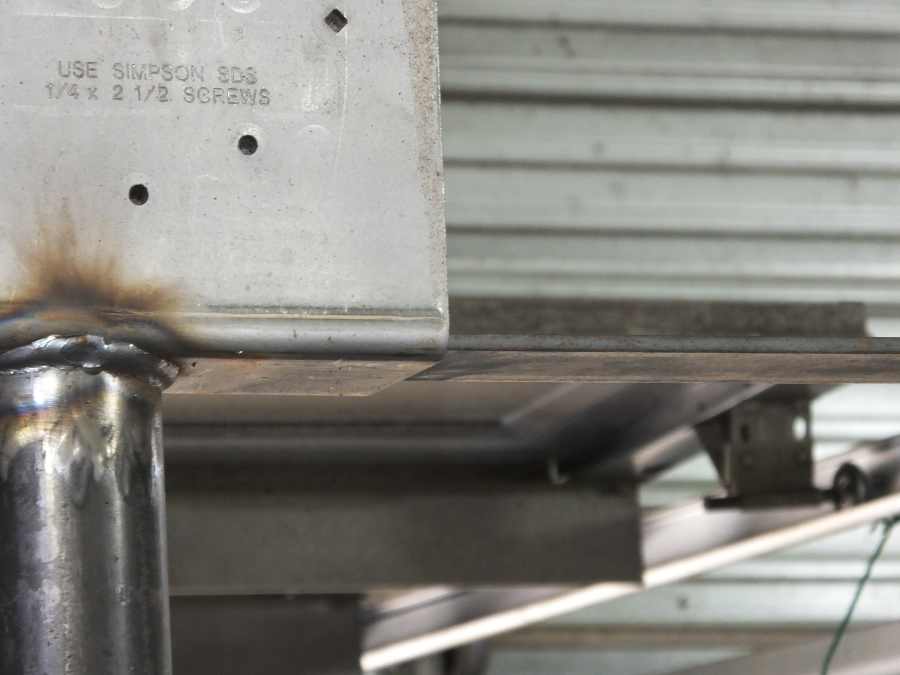
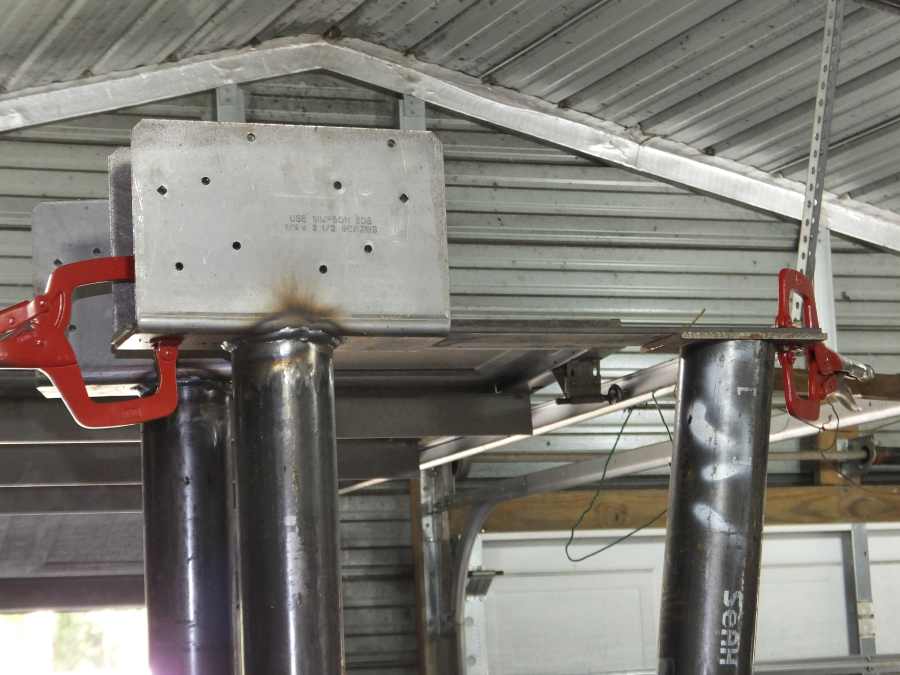
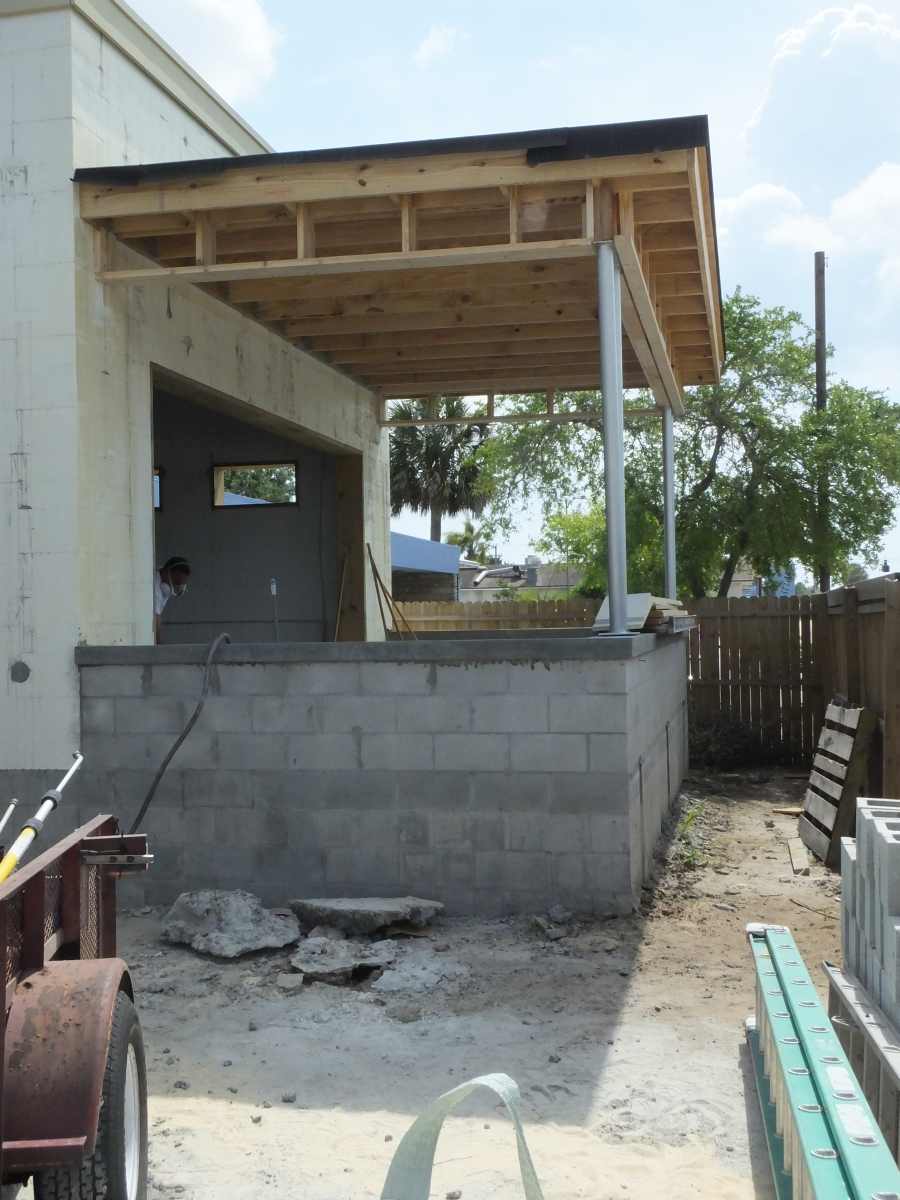
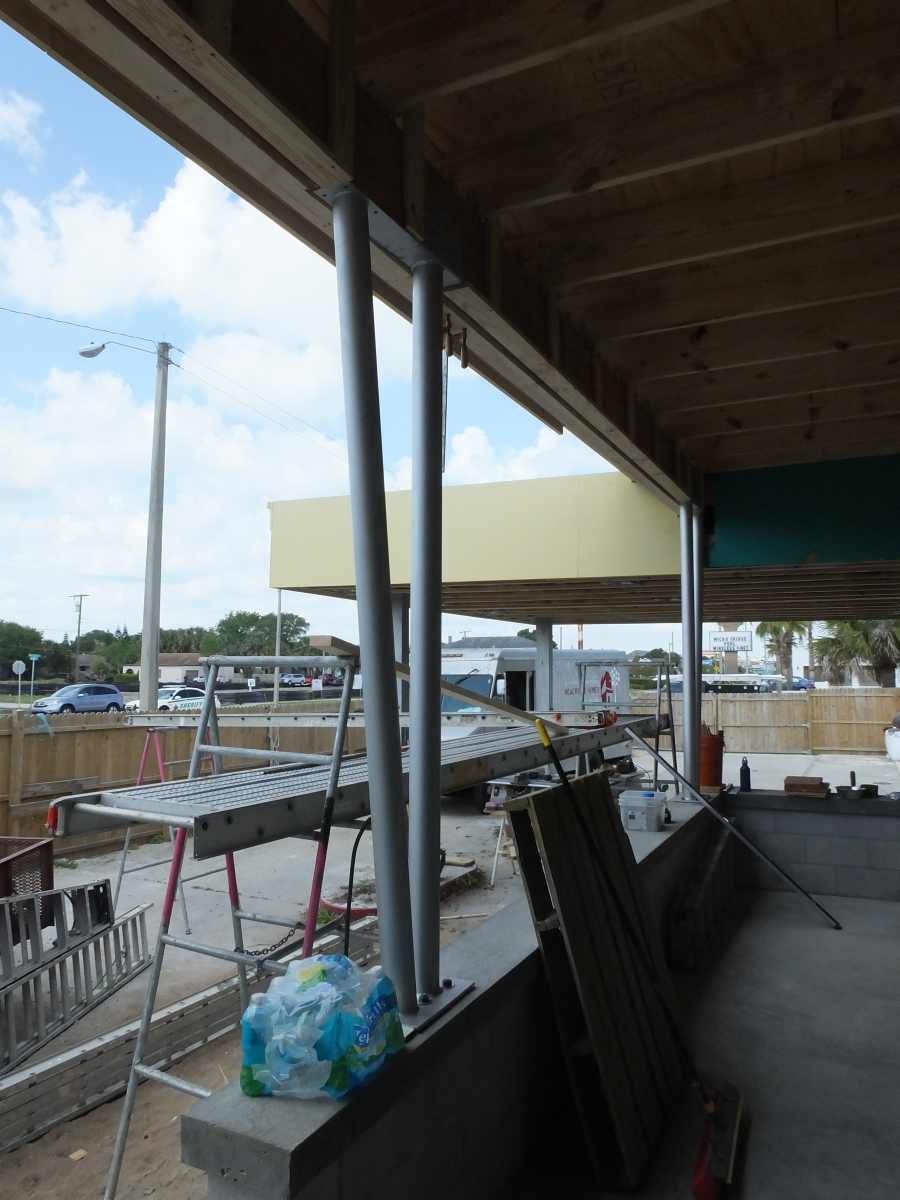
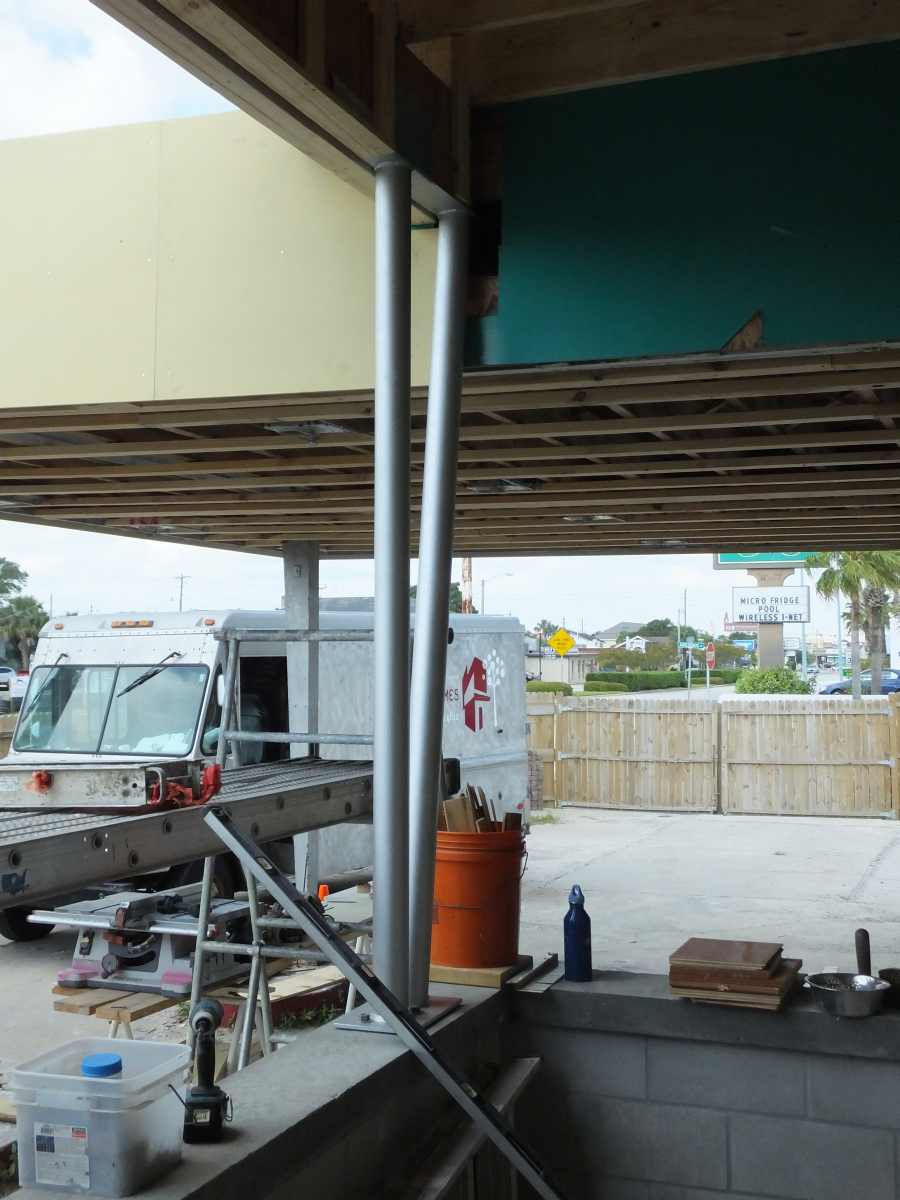
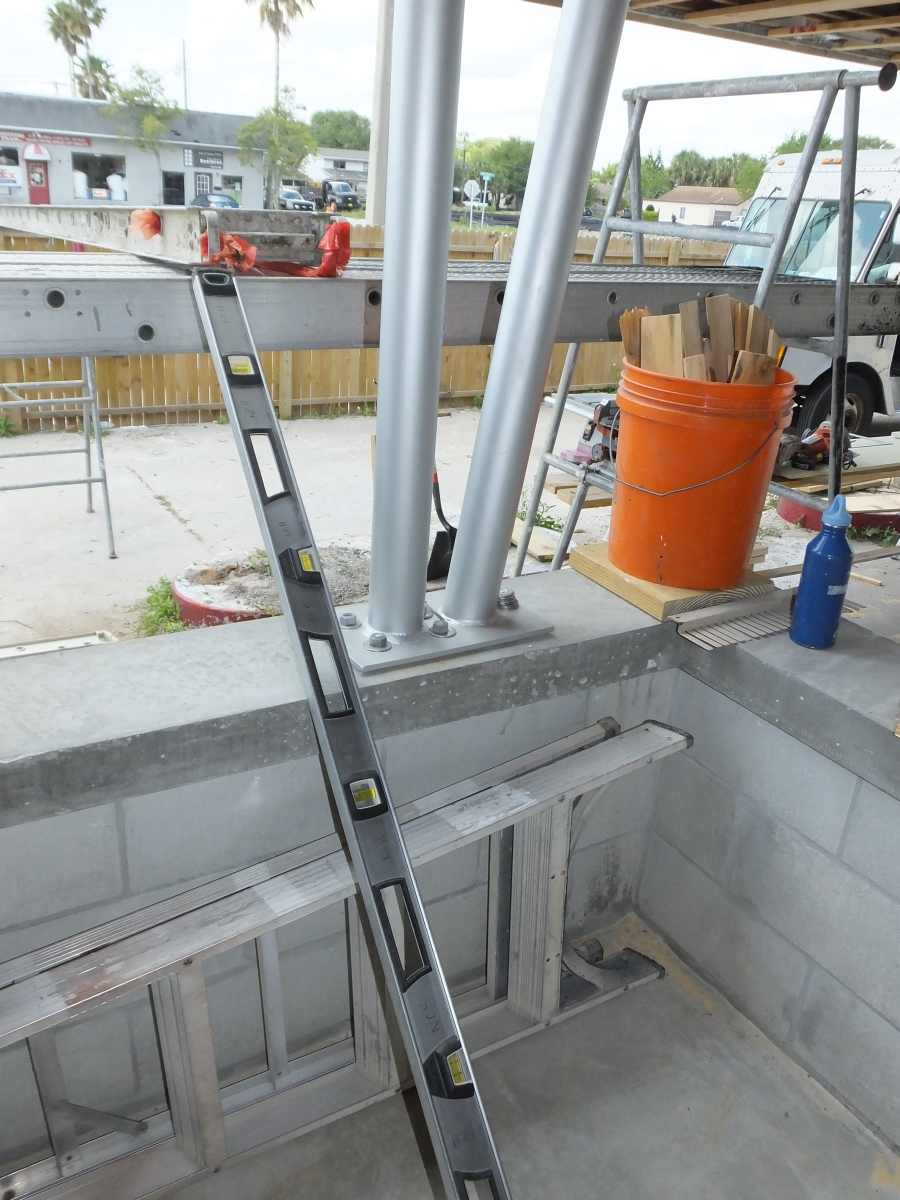
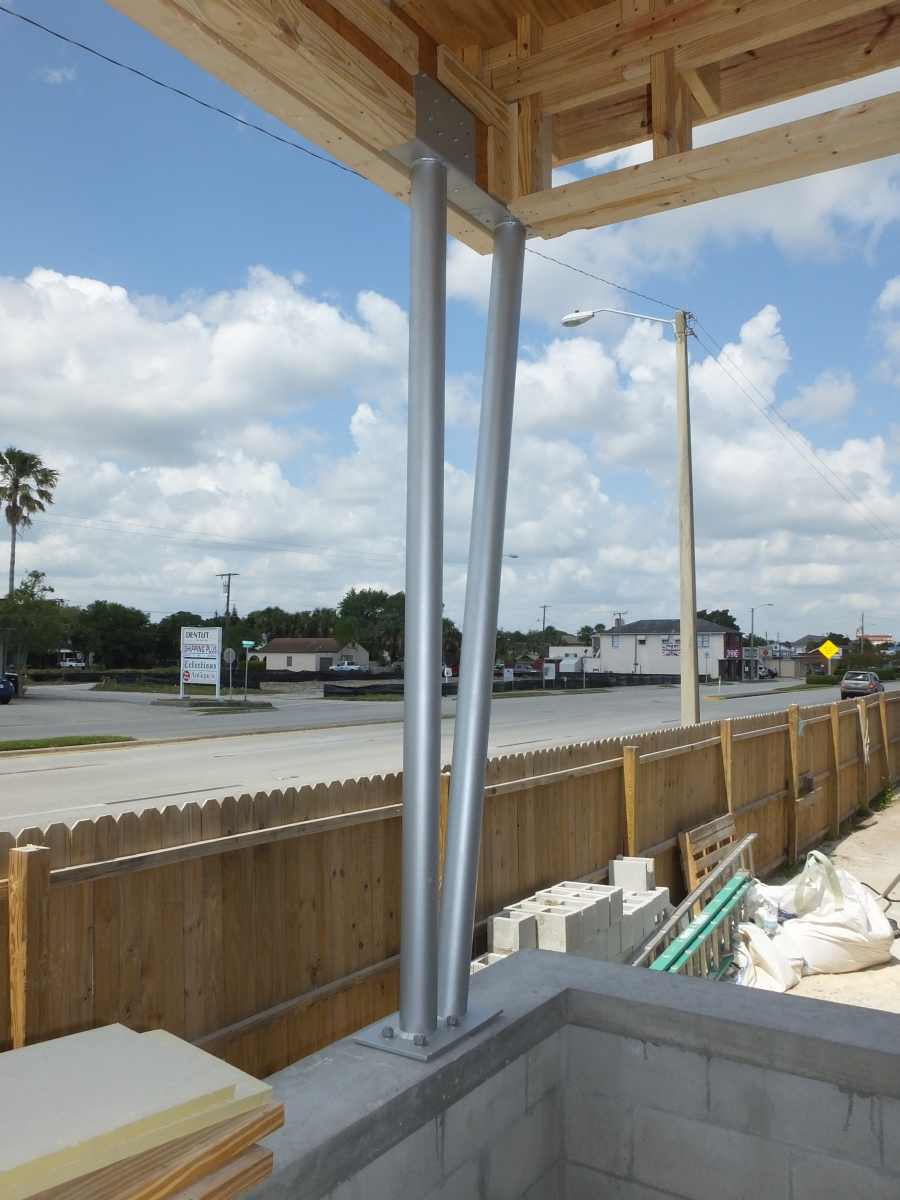
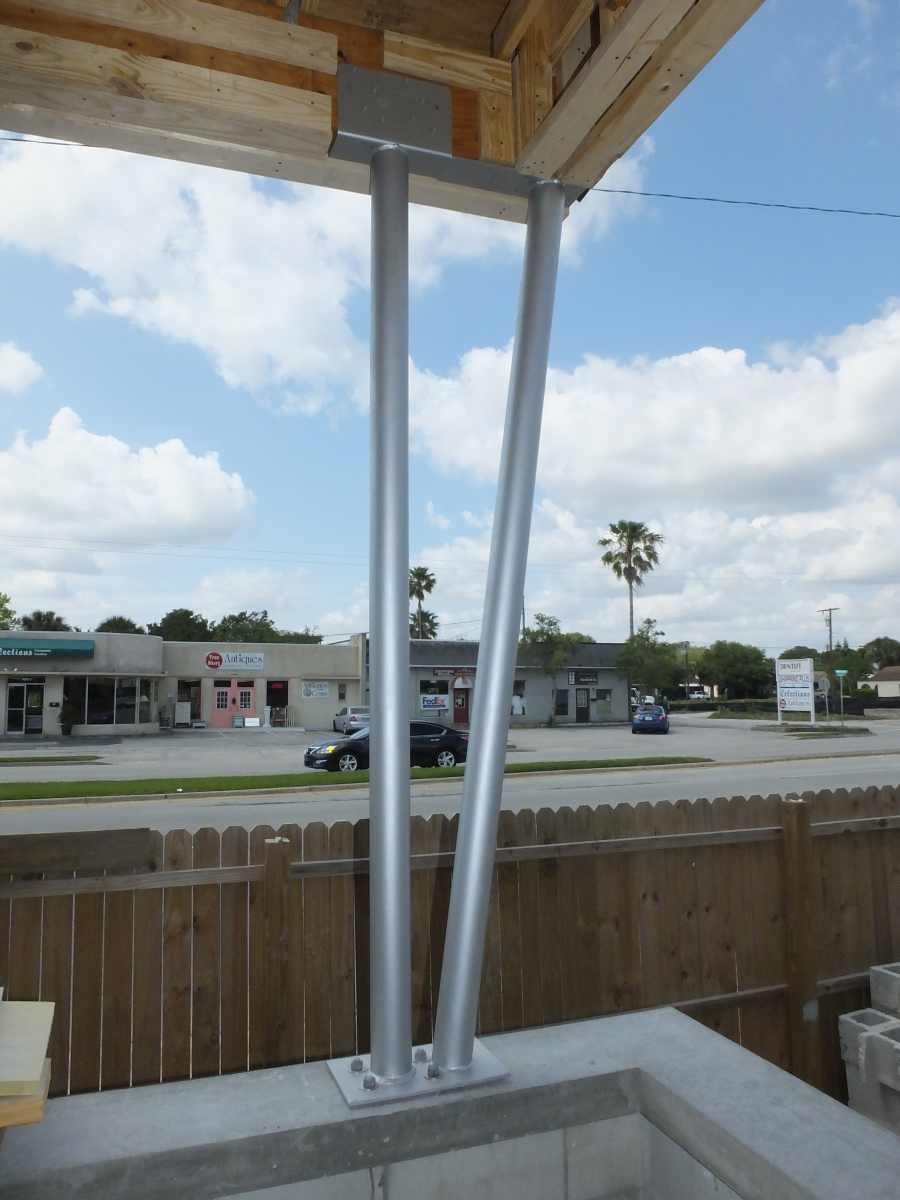
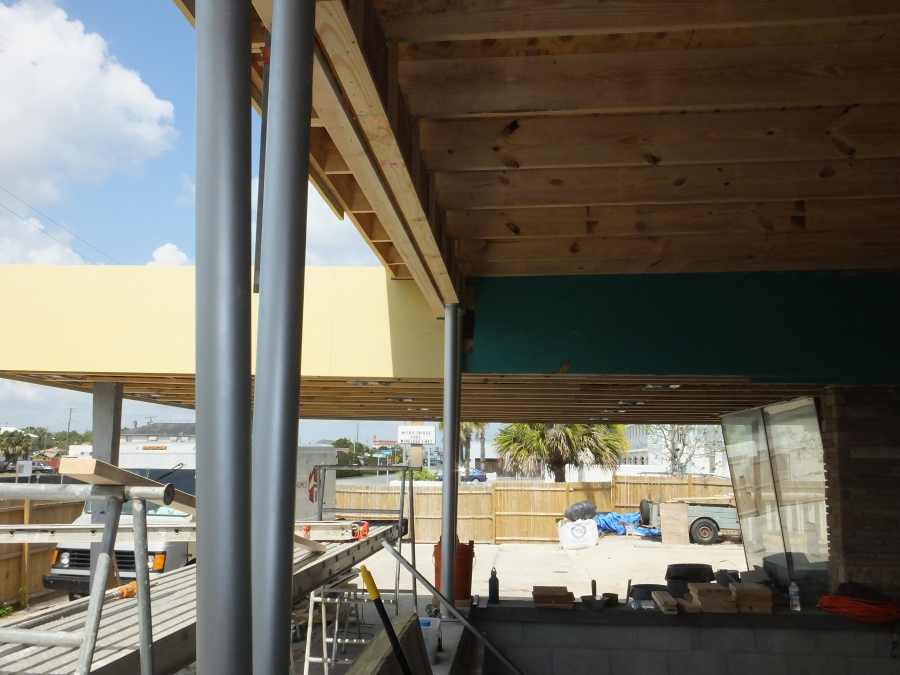
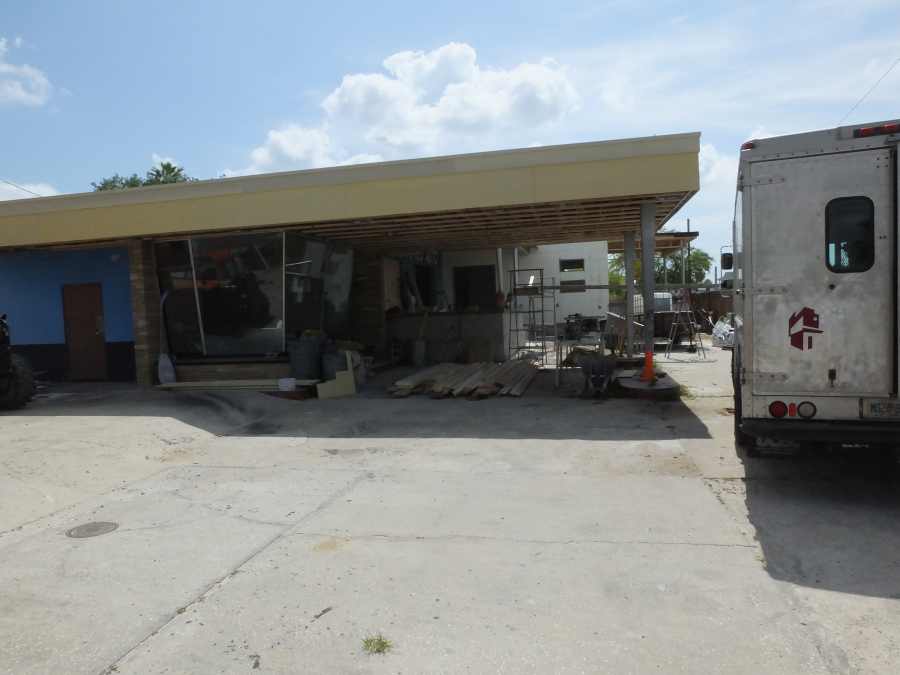
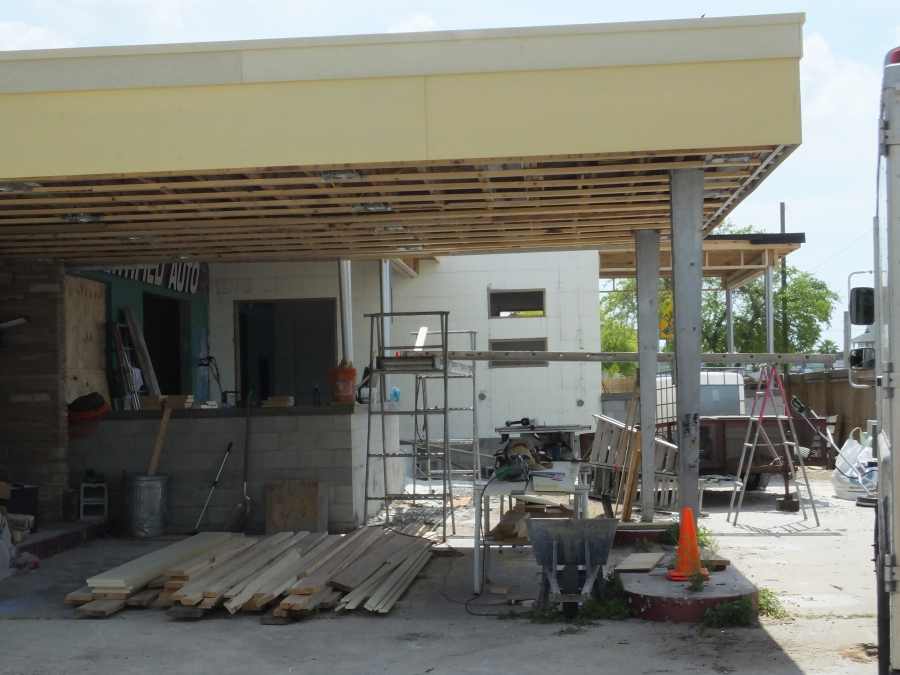
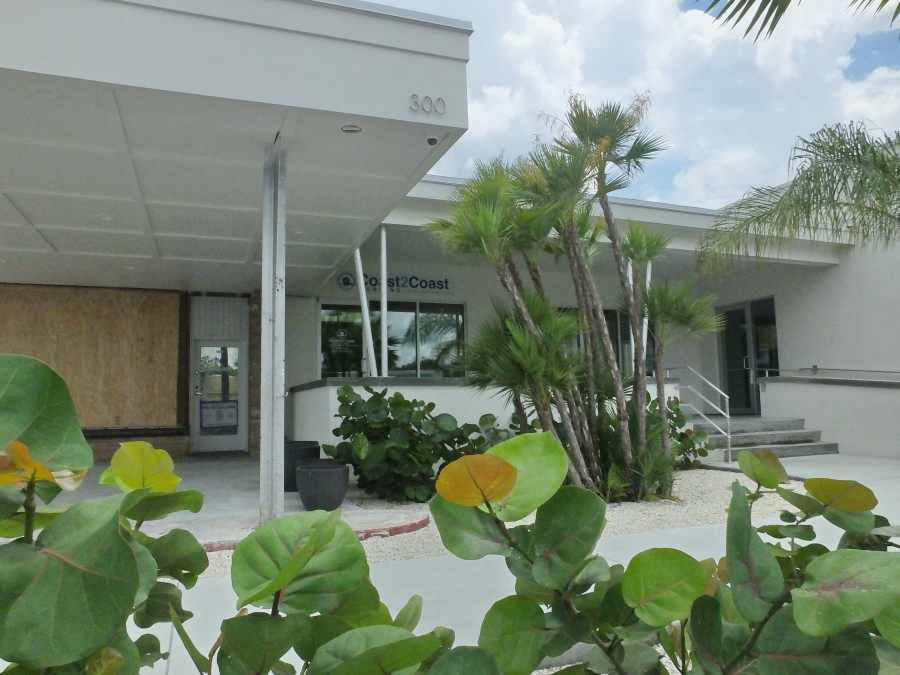
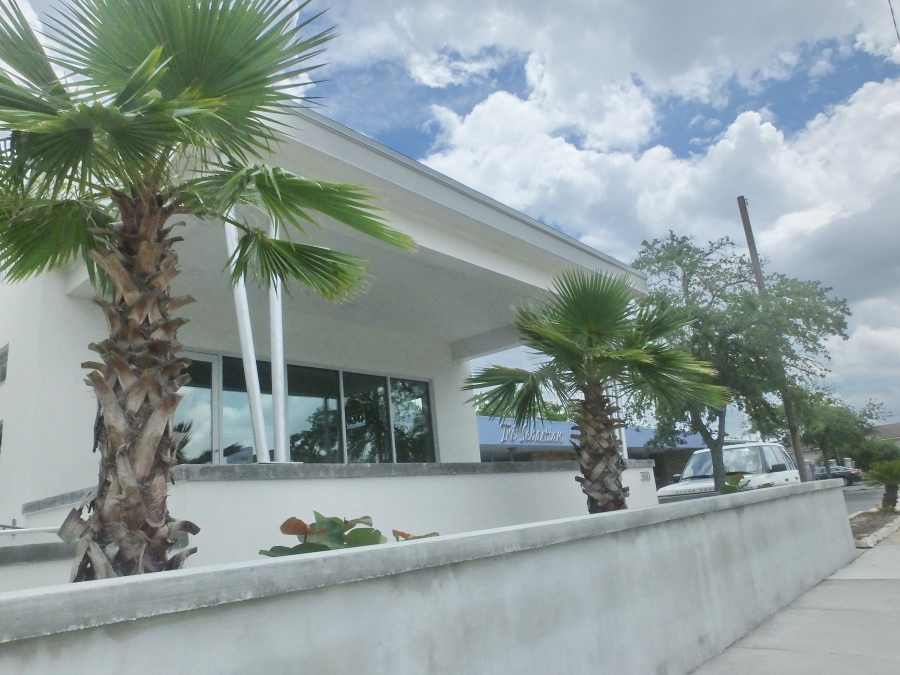
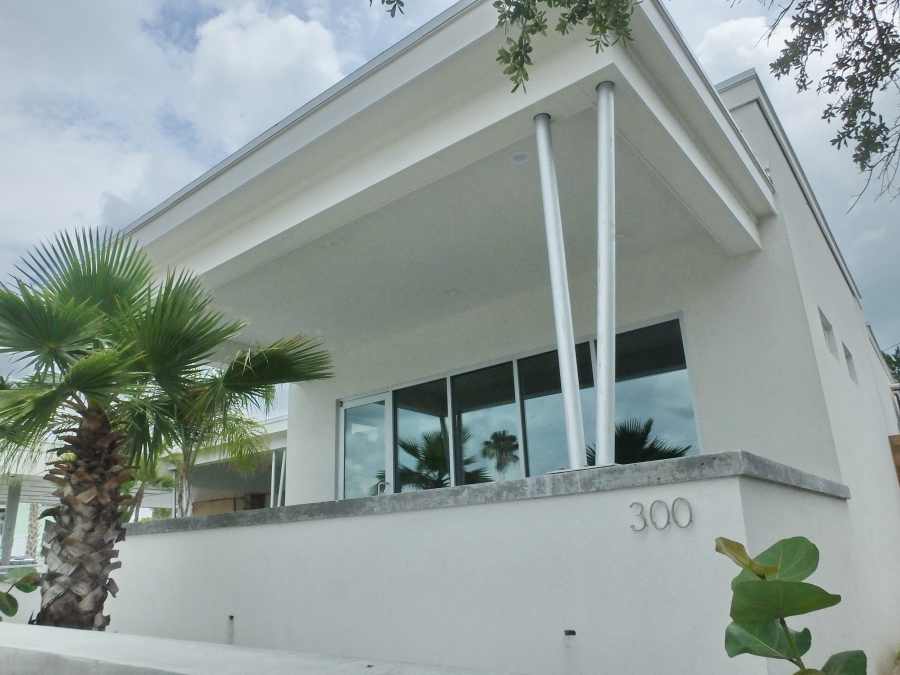
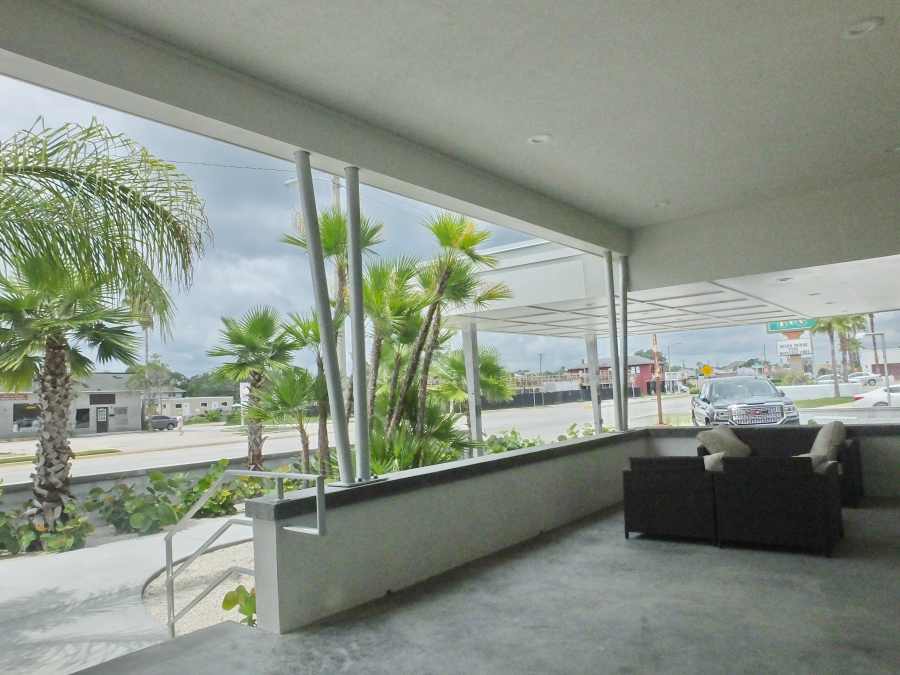
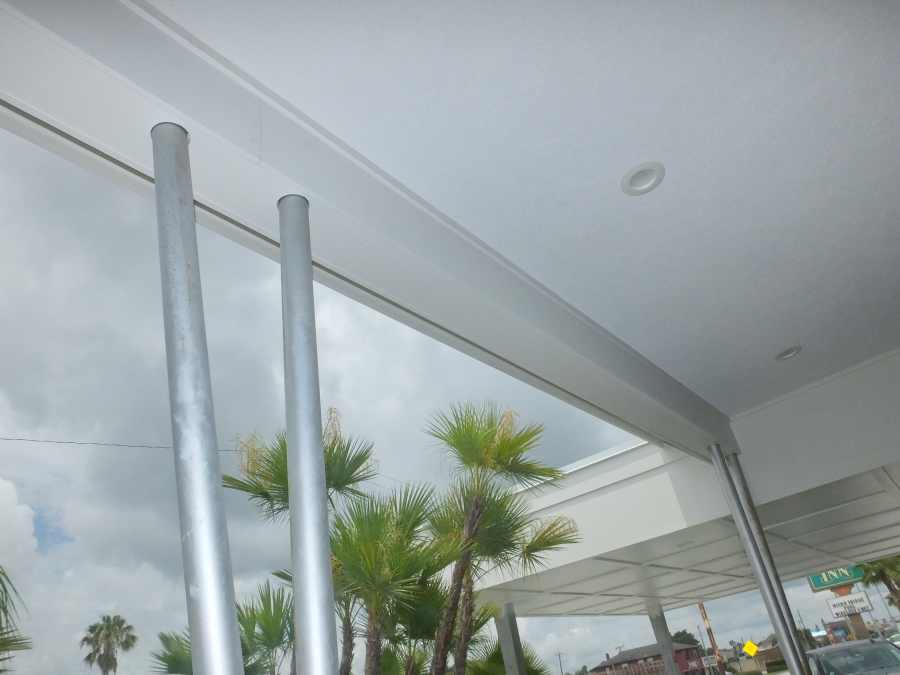
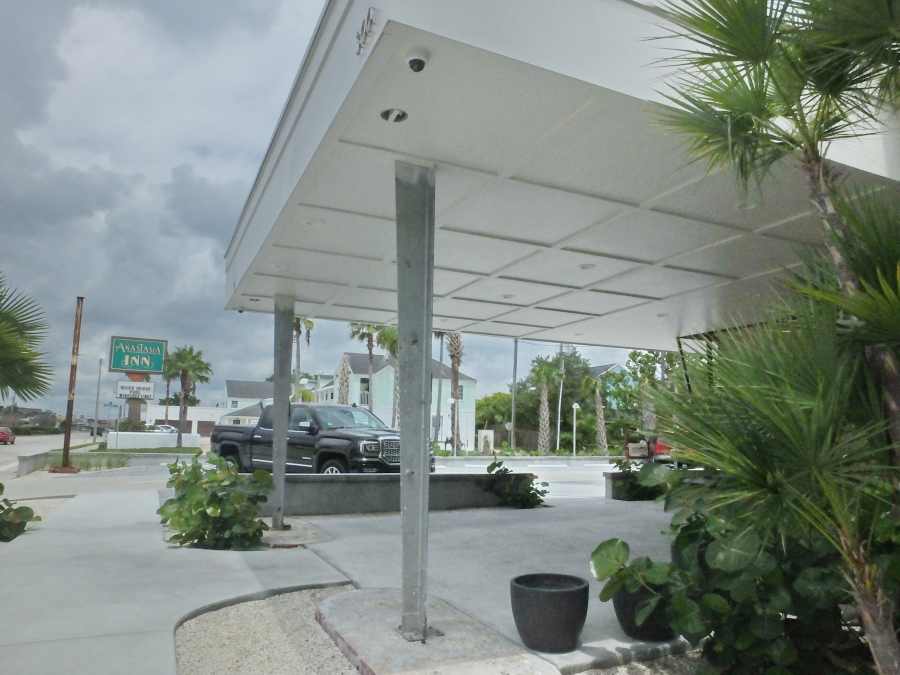
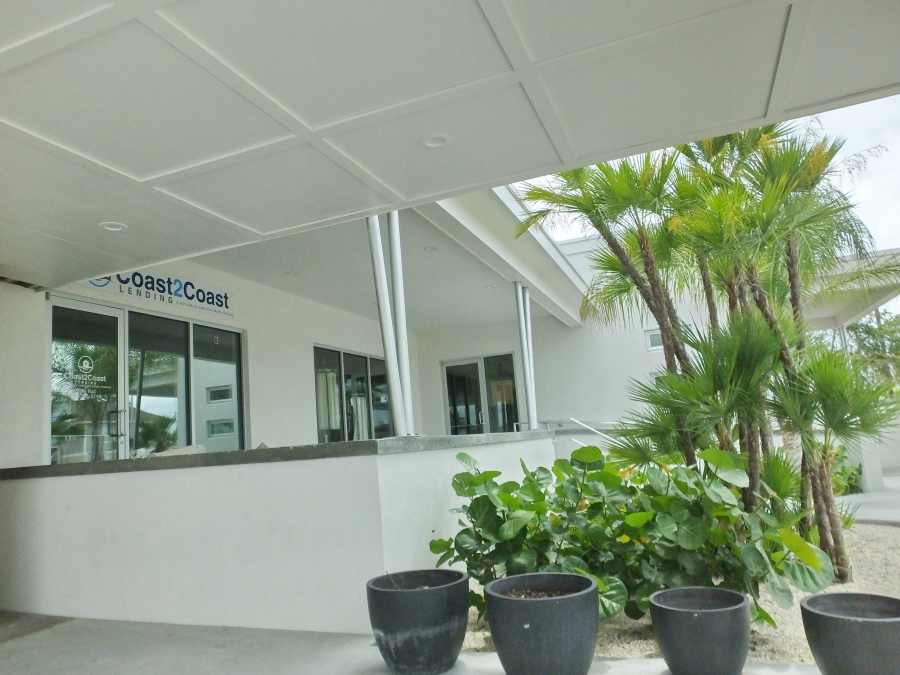
These four custom columns are now fully fabricated and complete. The builder wants to clean and paint them himself. Now its time to install them in the building they will be holding up.
I did not do the install. The builder did.
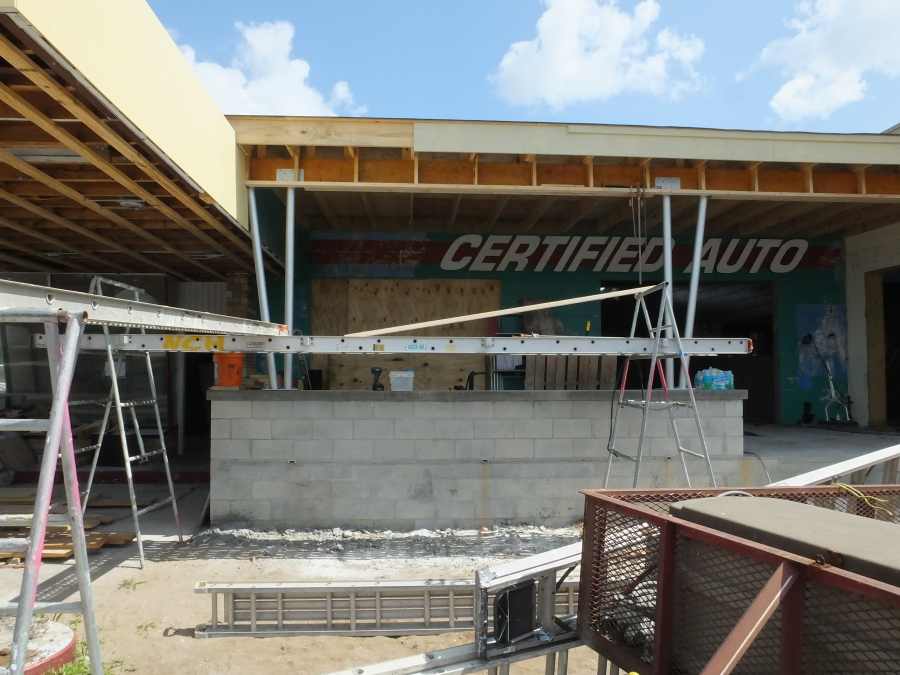
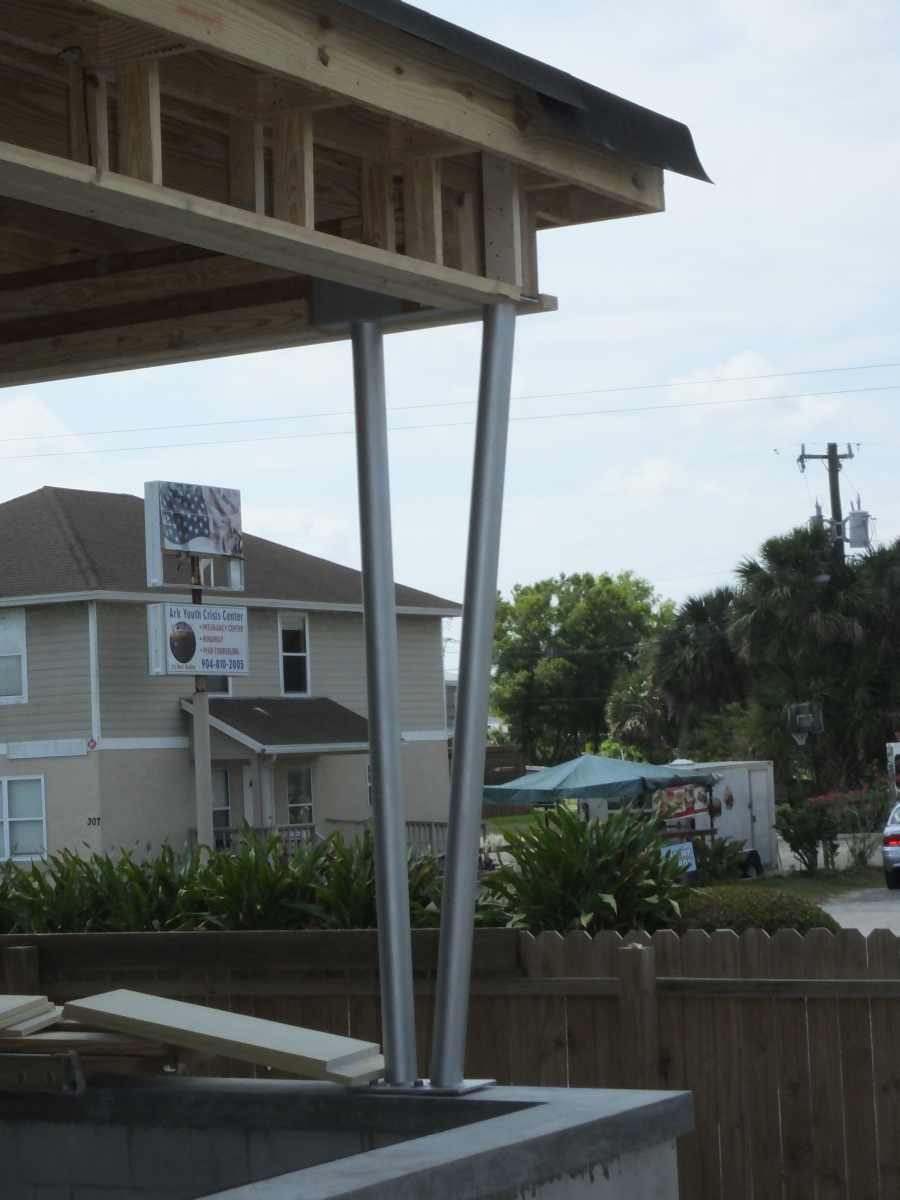
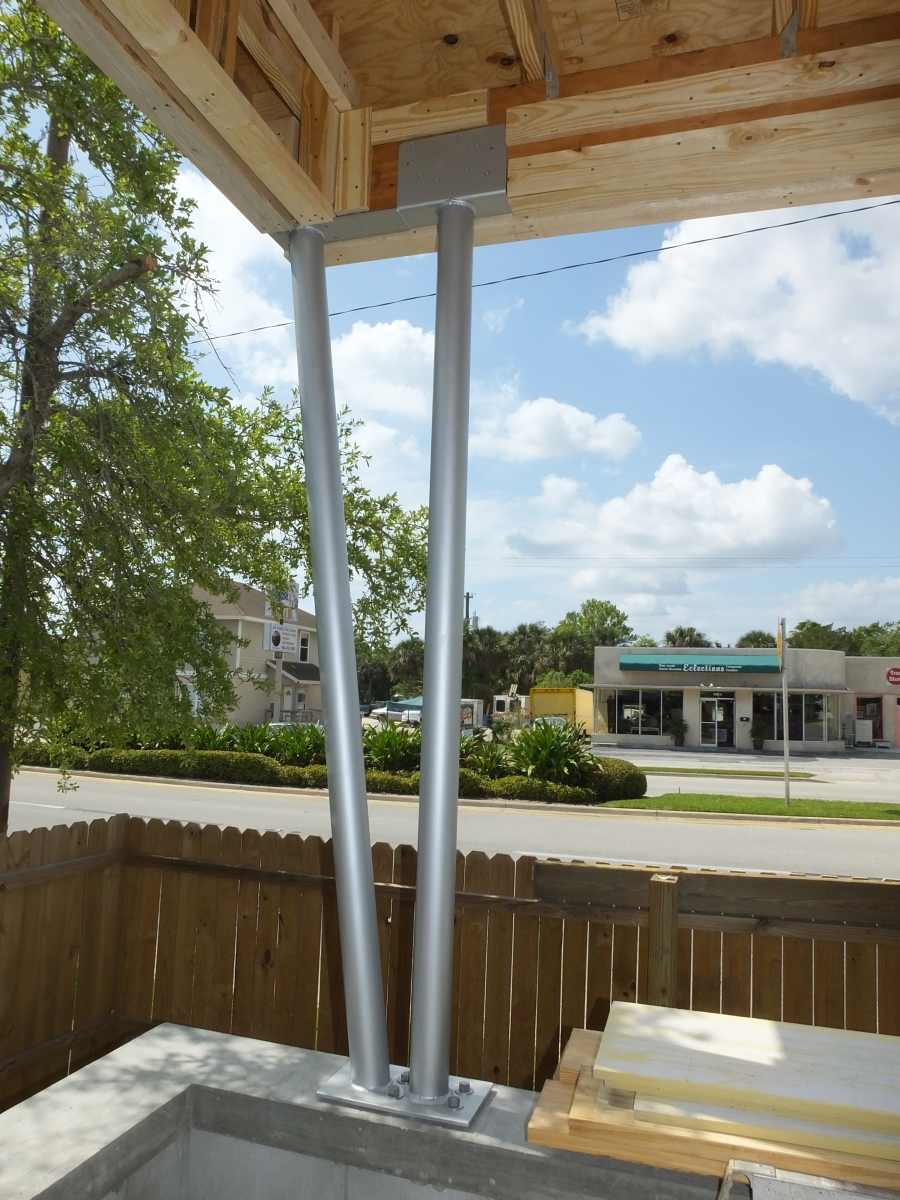
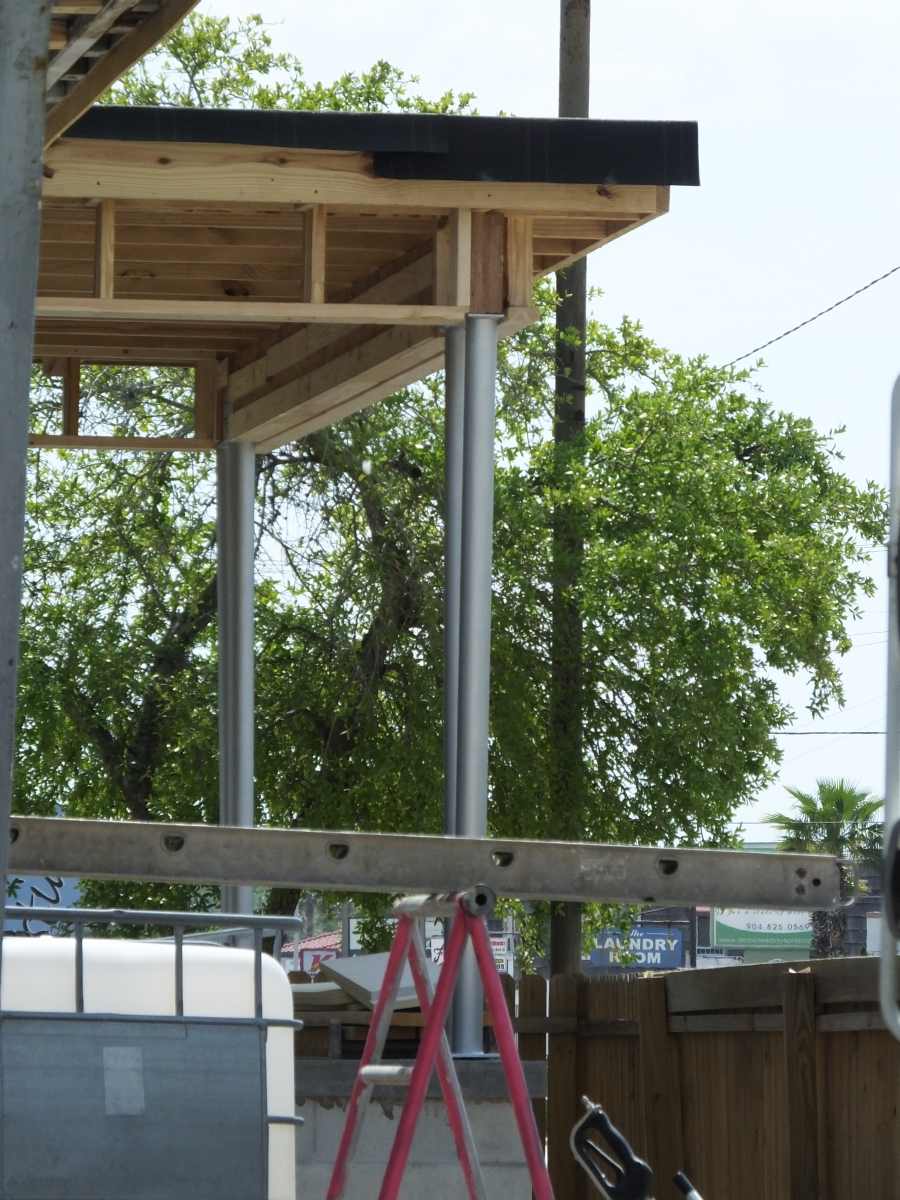
Notice the V shape of the columns. This is so they will match some preexisting columns.
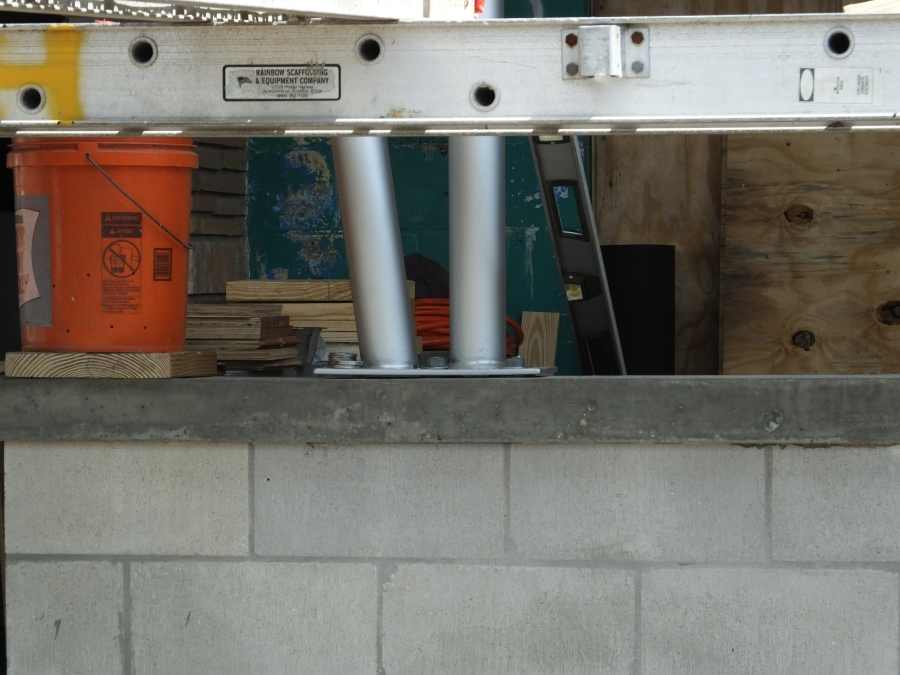
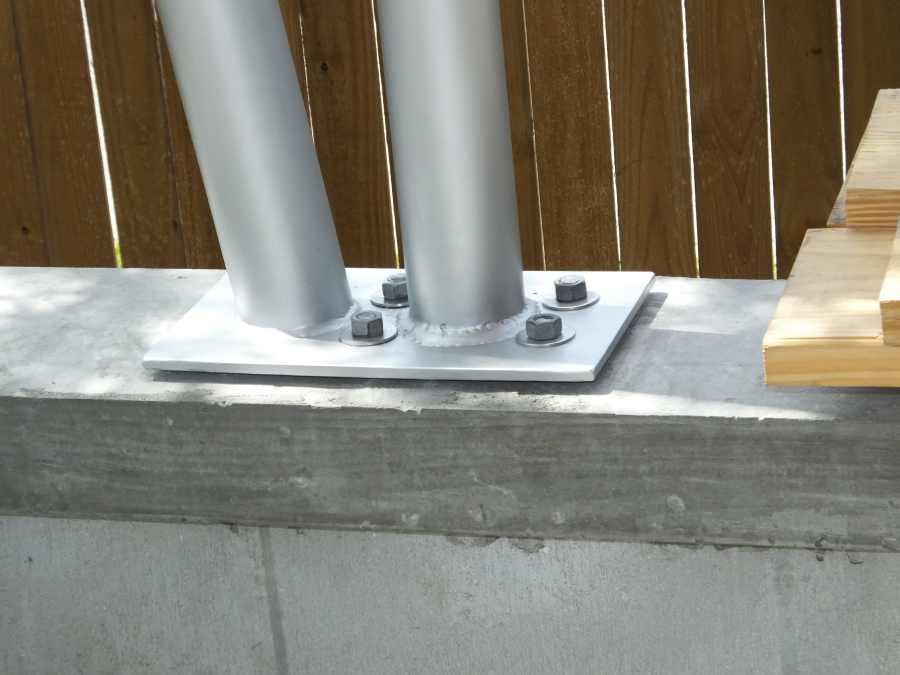
The mason built the wall 1/4" to low. The builder did not want the laminated beam to be sitting lower than the blueprints called for, so he shimmed the columns by placing washers on the bolts underneath the column base plates.
Now the base plates don't sit flat and to me it looks funny.
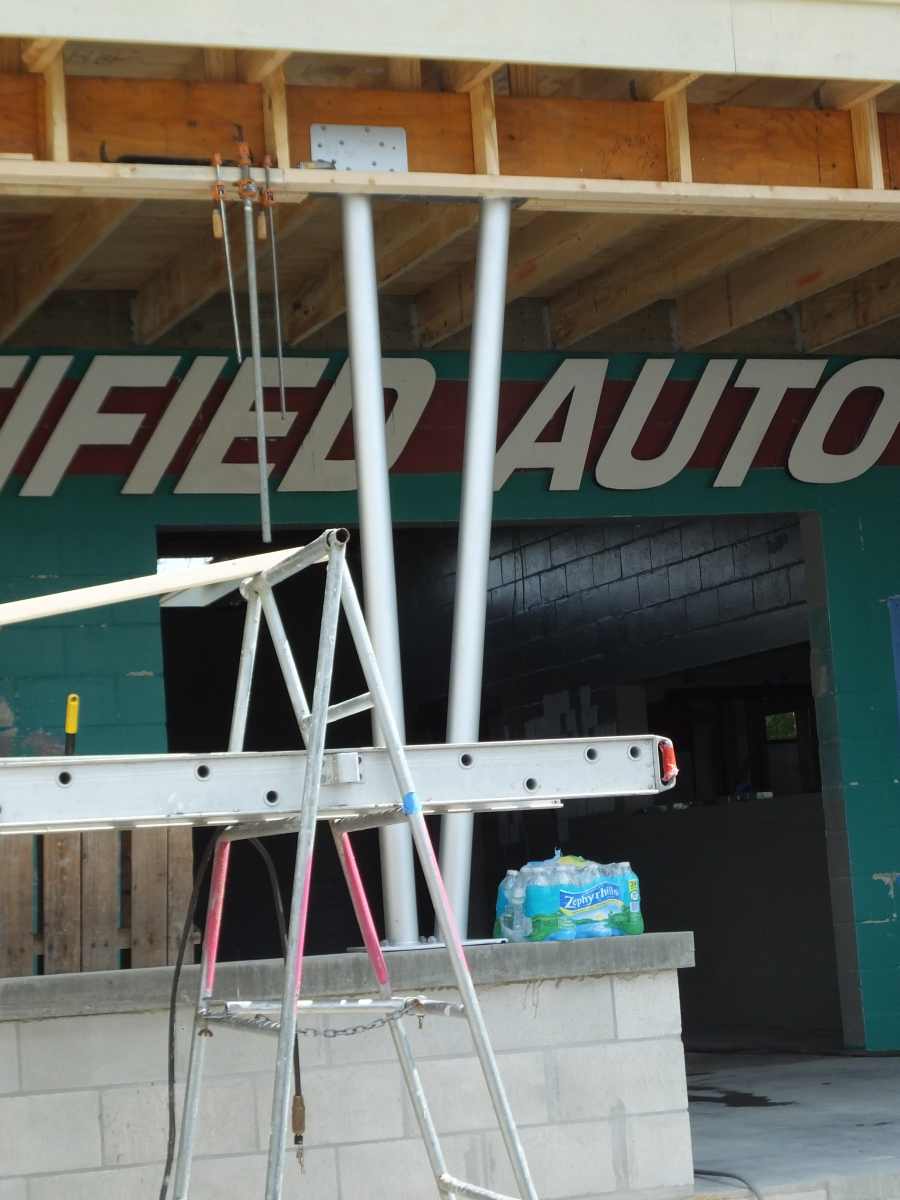
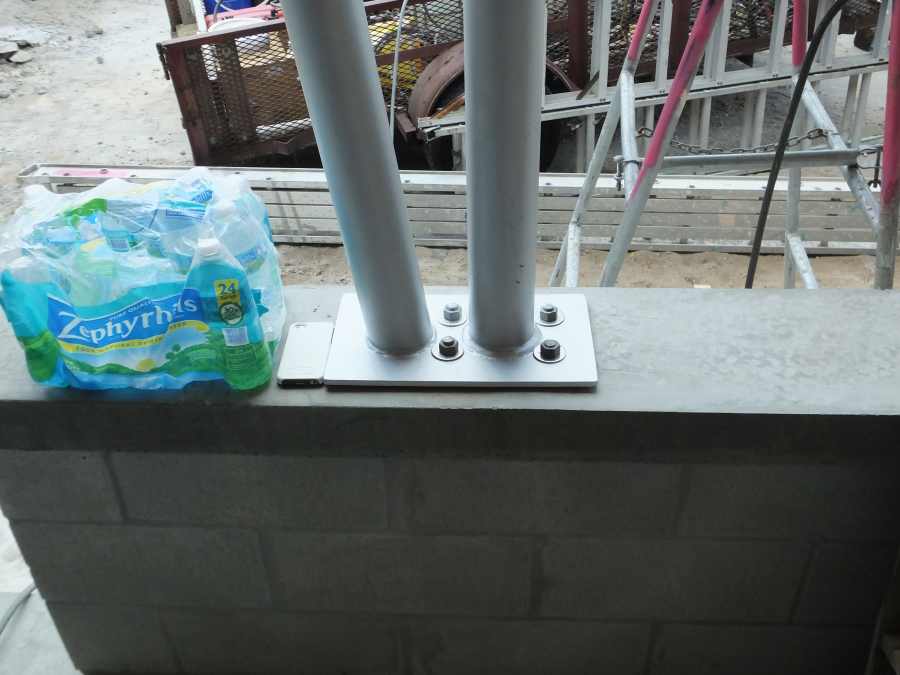

Wow, the wall is really low in this spot. He used a lot of spacers here.
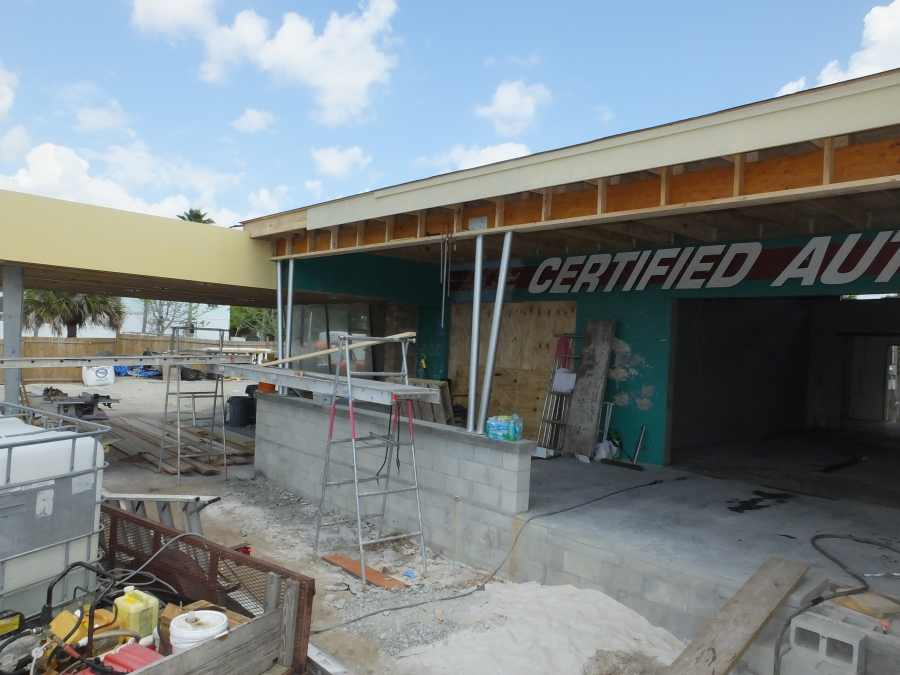
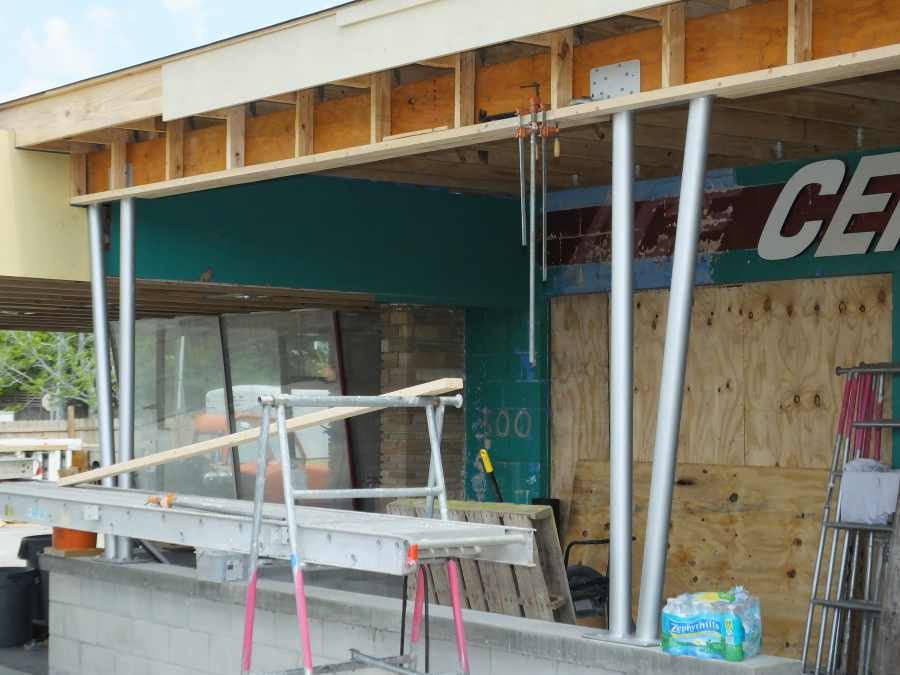
Now you can see the existing columns that stayed and how they have a V shape.
Now its one year later and all the construction is finished. Here are the after pictures.
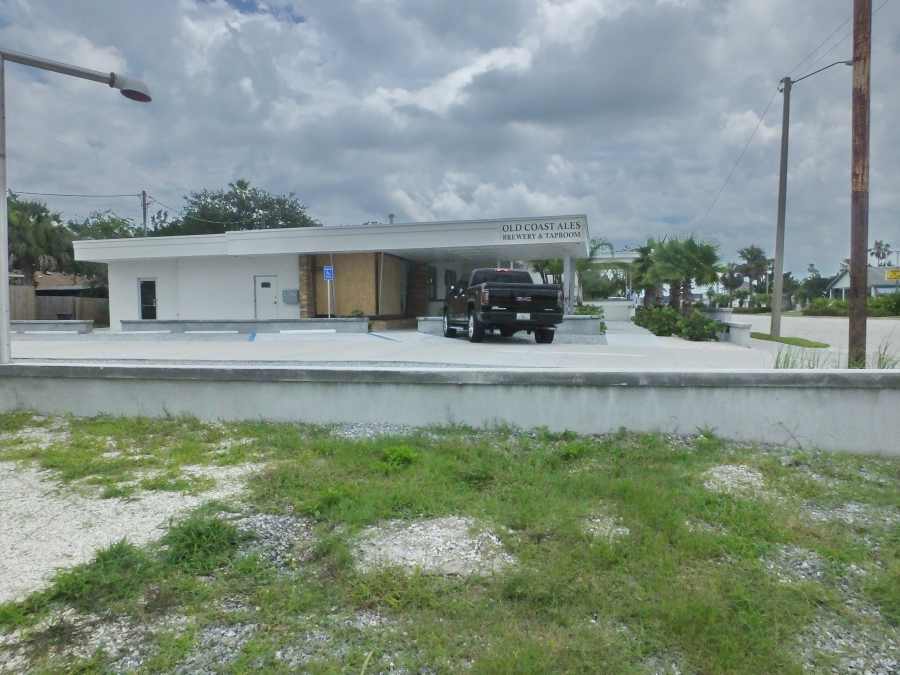


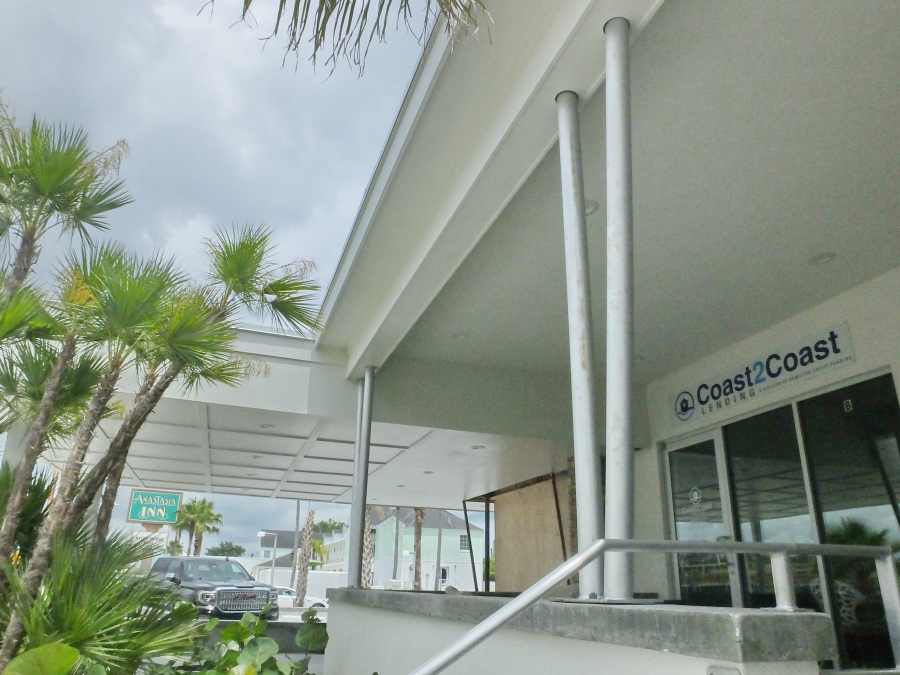
It looks like the paint job has already received a touch up. But rust is still coming through. I could have prevented this. I do a lot of metal and rust restoration and am a professional. But the builder saved money, maybe.
I hope you enjoyed this column fabrication documentary.